TT250 FORK CAP O-RING REPLACEMENT
The adjusting screws in the top of the forks contain O-rings.
These O-rings can be replaced if the caps are leaking.
Tools required:
- Flathead Screwdriver
- 18mm Wrench
- 19mm Wrench
- 22mm Socket
- Small Screwdriver or Pick
- Grease
- Needle Nose Pliers
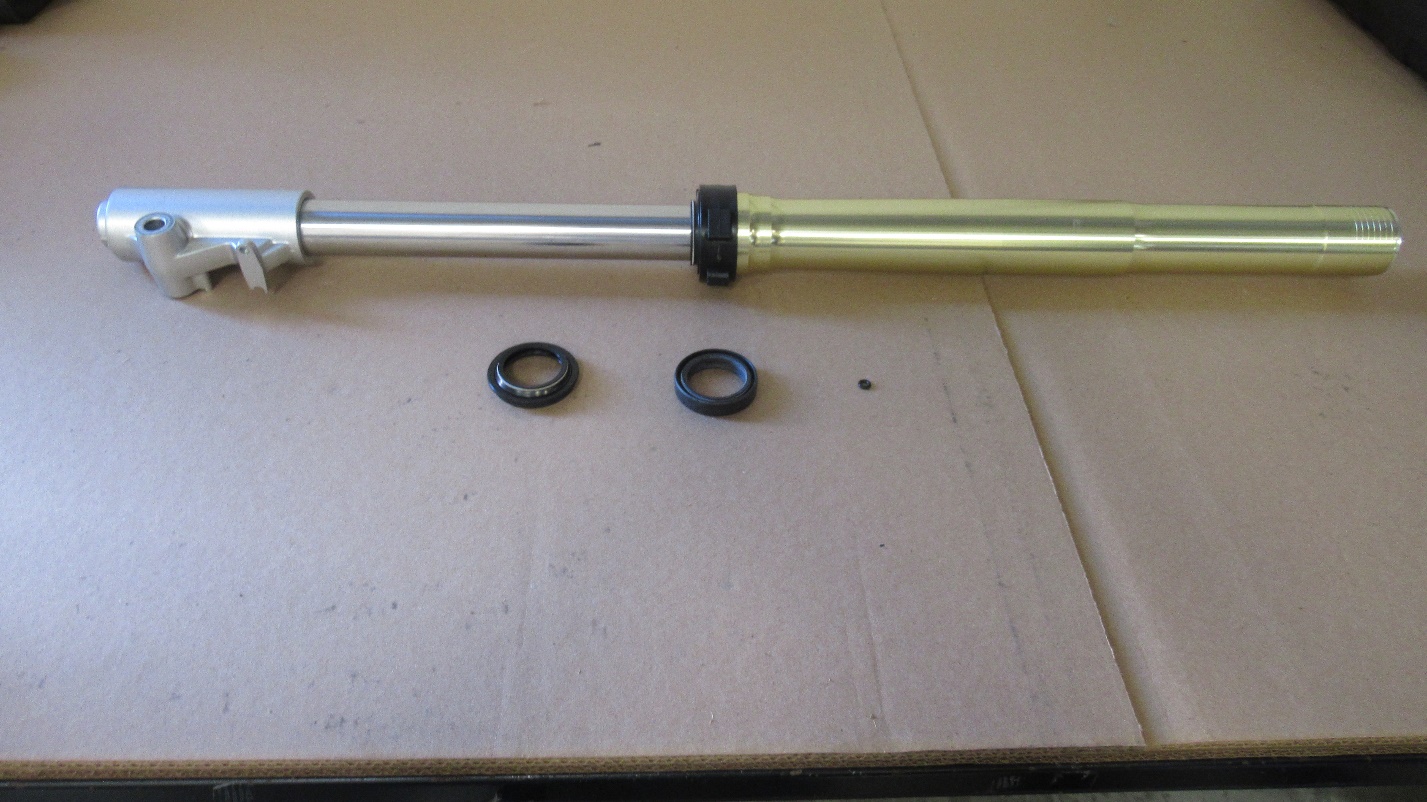
The O-ring replacement can be done with the fork left installed, but is often easier to service when removed.
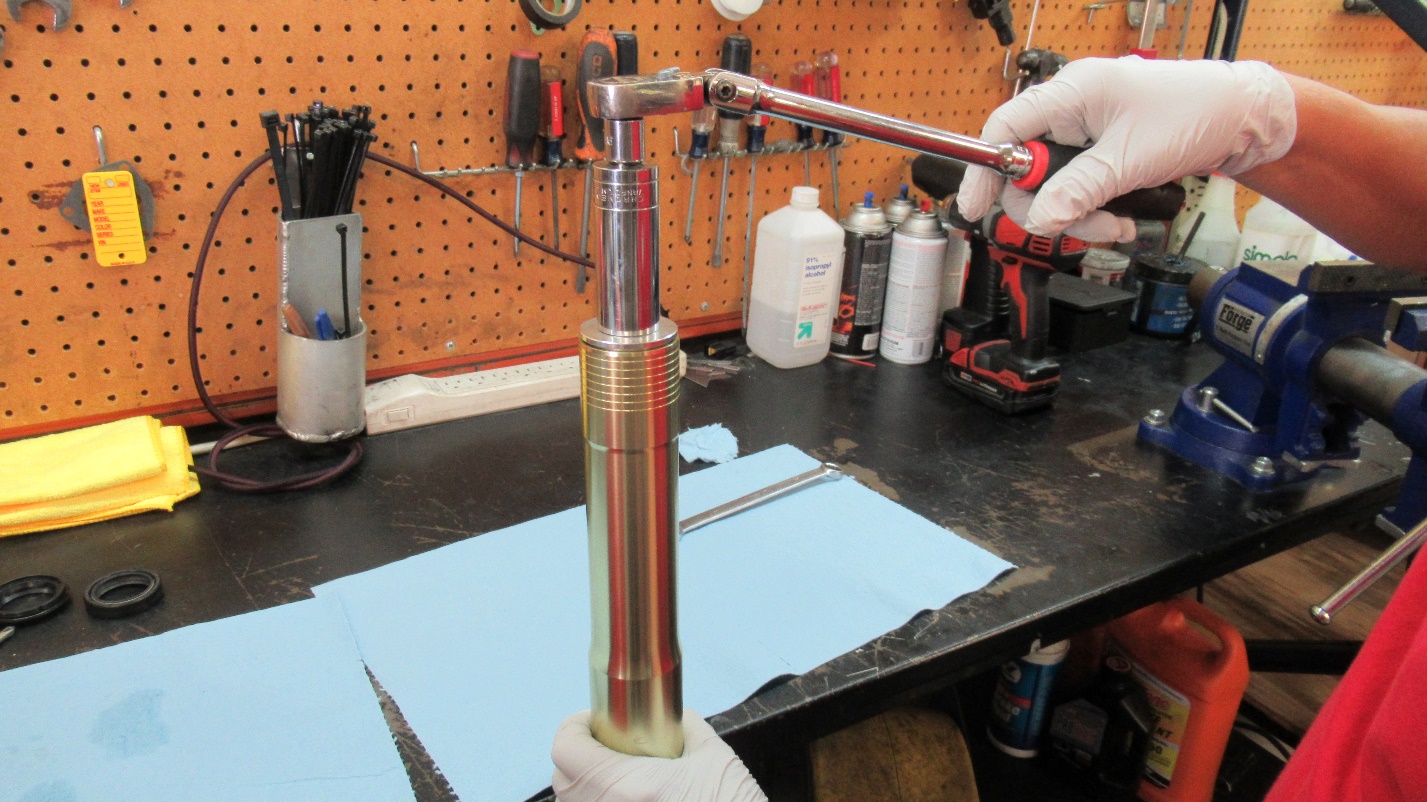
The fork cap can be unscrewed with a 22mm socket rotating counter-clockwise. (Pro-tip: loosen the cap while still install on motorcycle and keep hand tight)
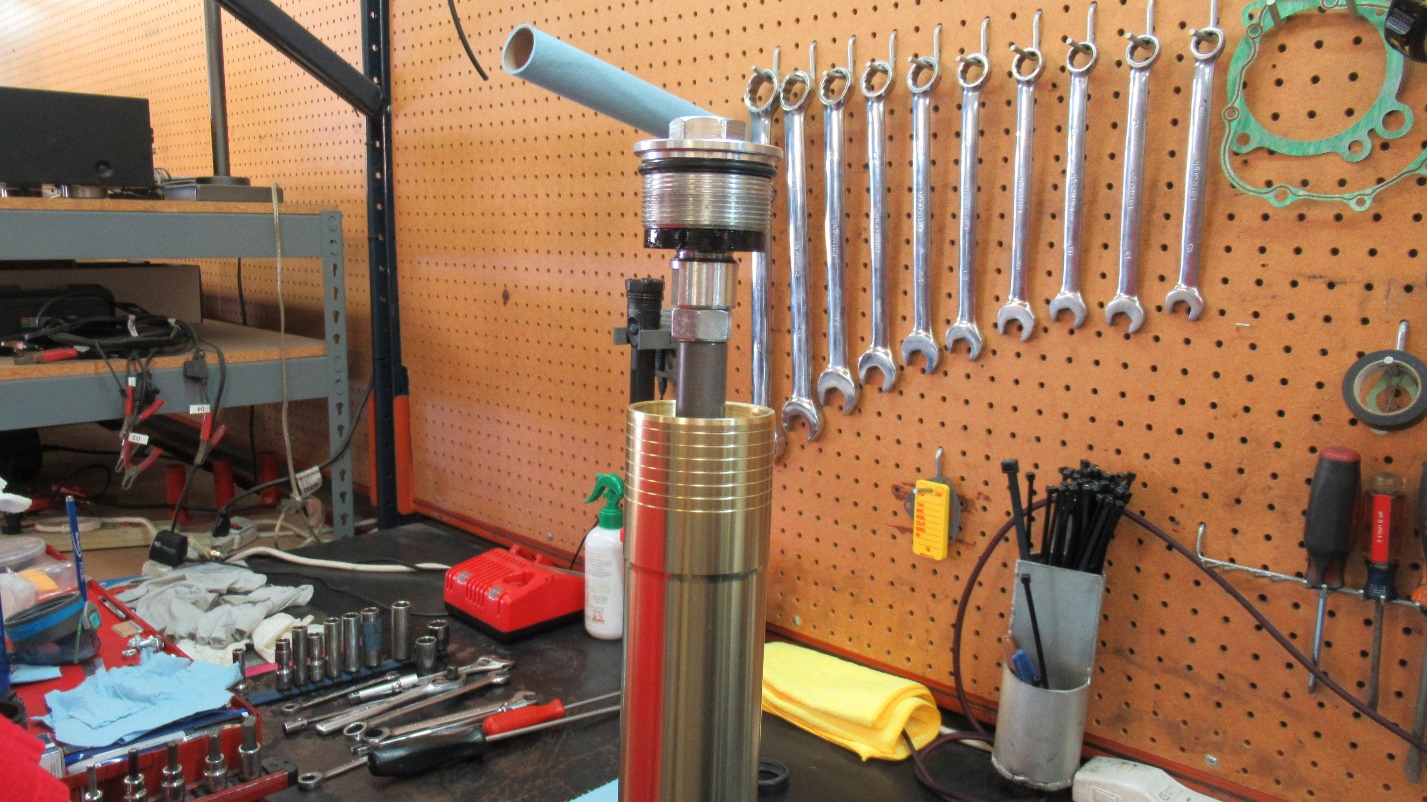
The bottom of the cap can be accessed by sliding down the gold tube.
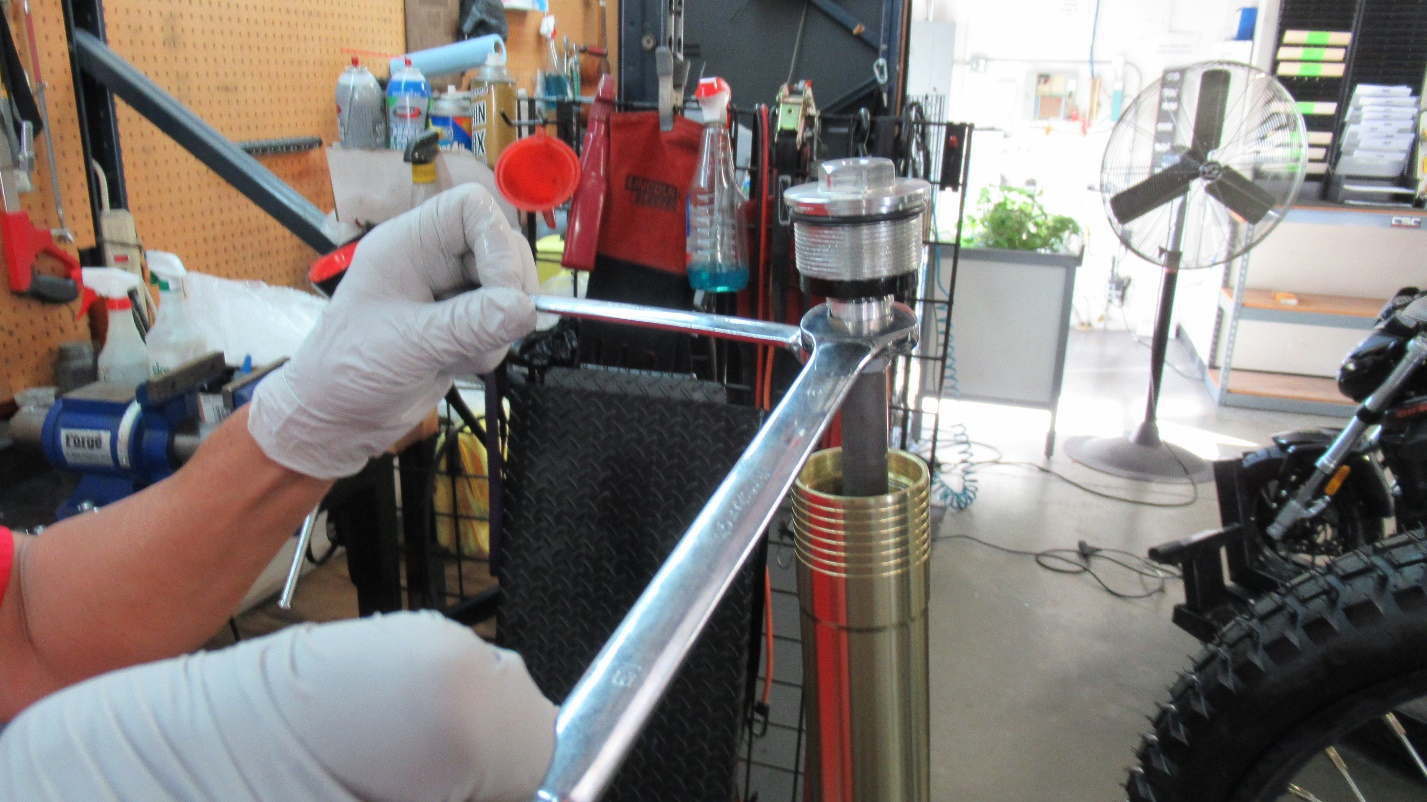
18mm and 19mm wrenches are used to release the locking nut under the cap.
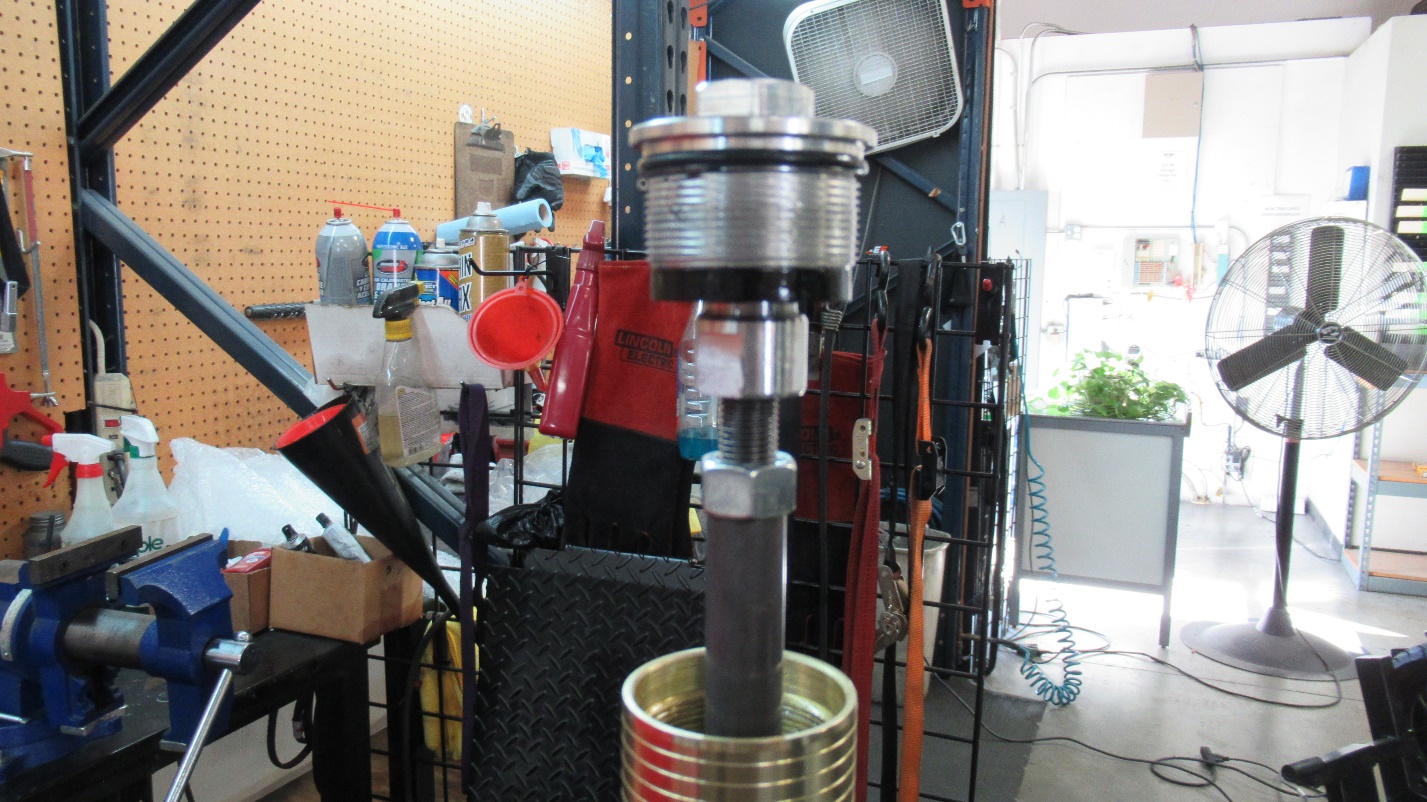
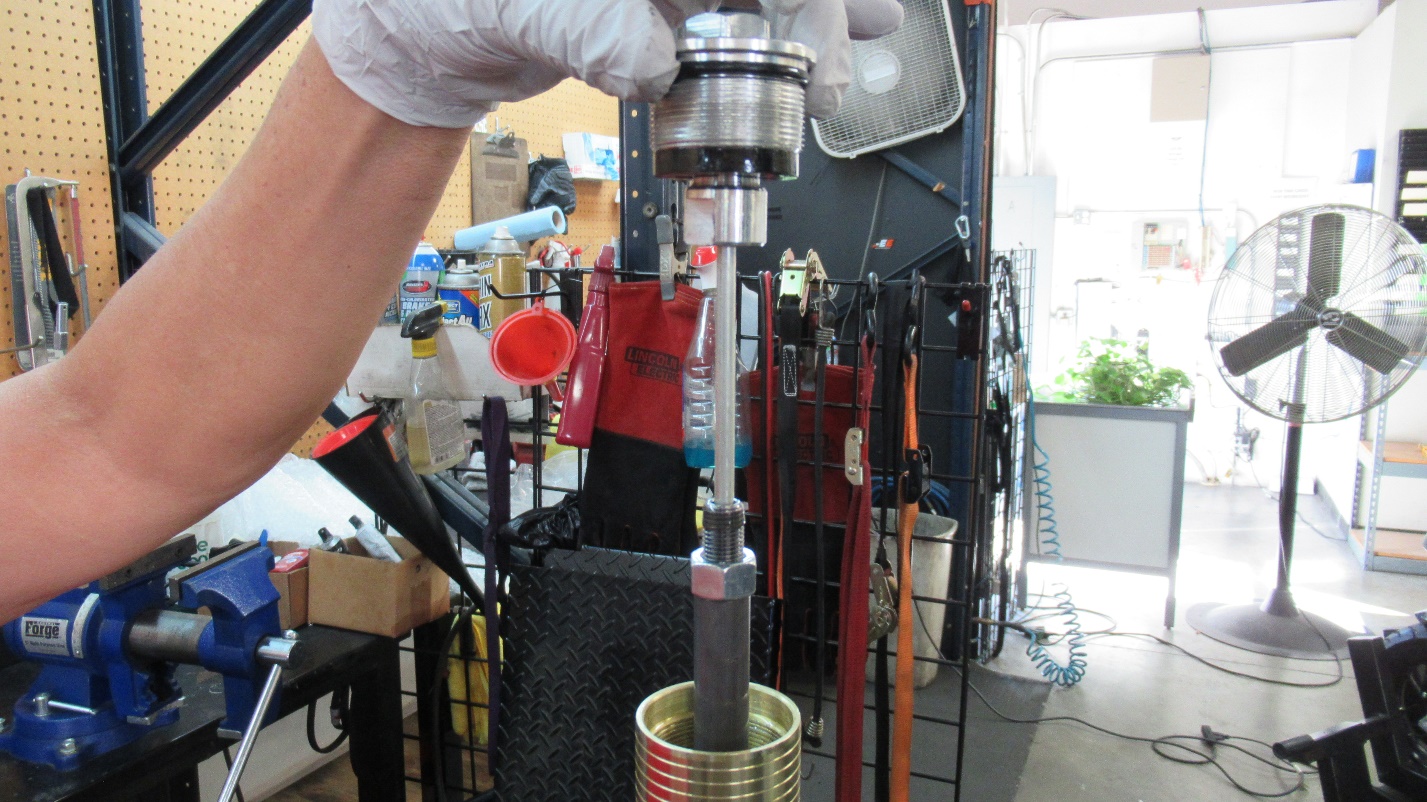
The cap and needle can then be removed from the tube.
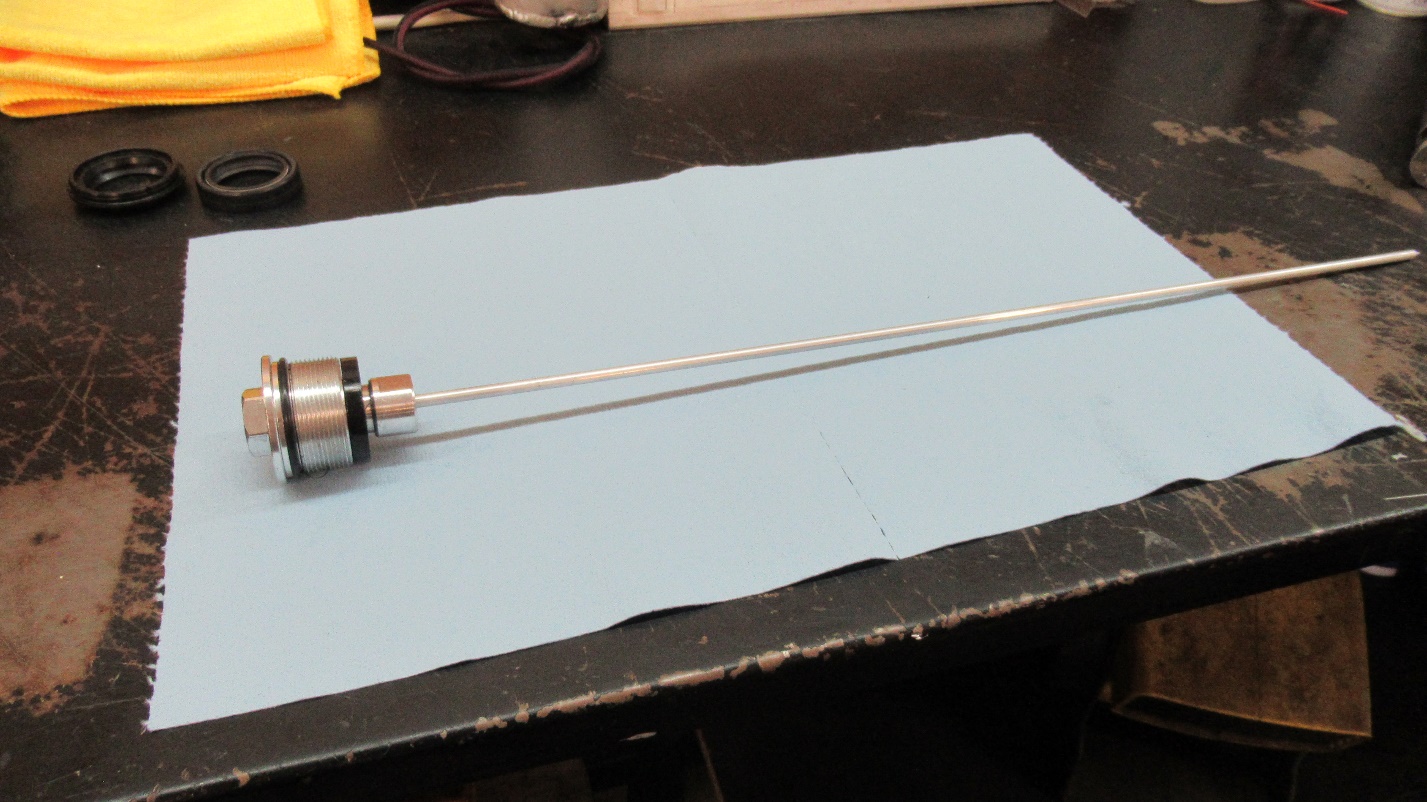
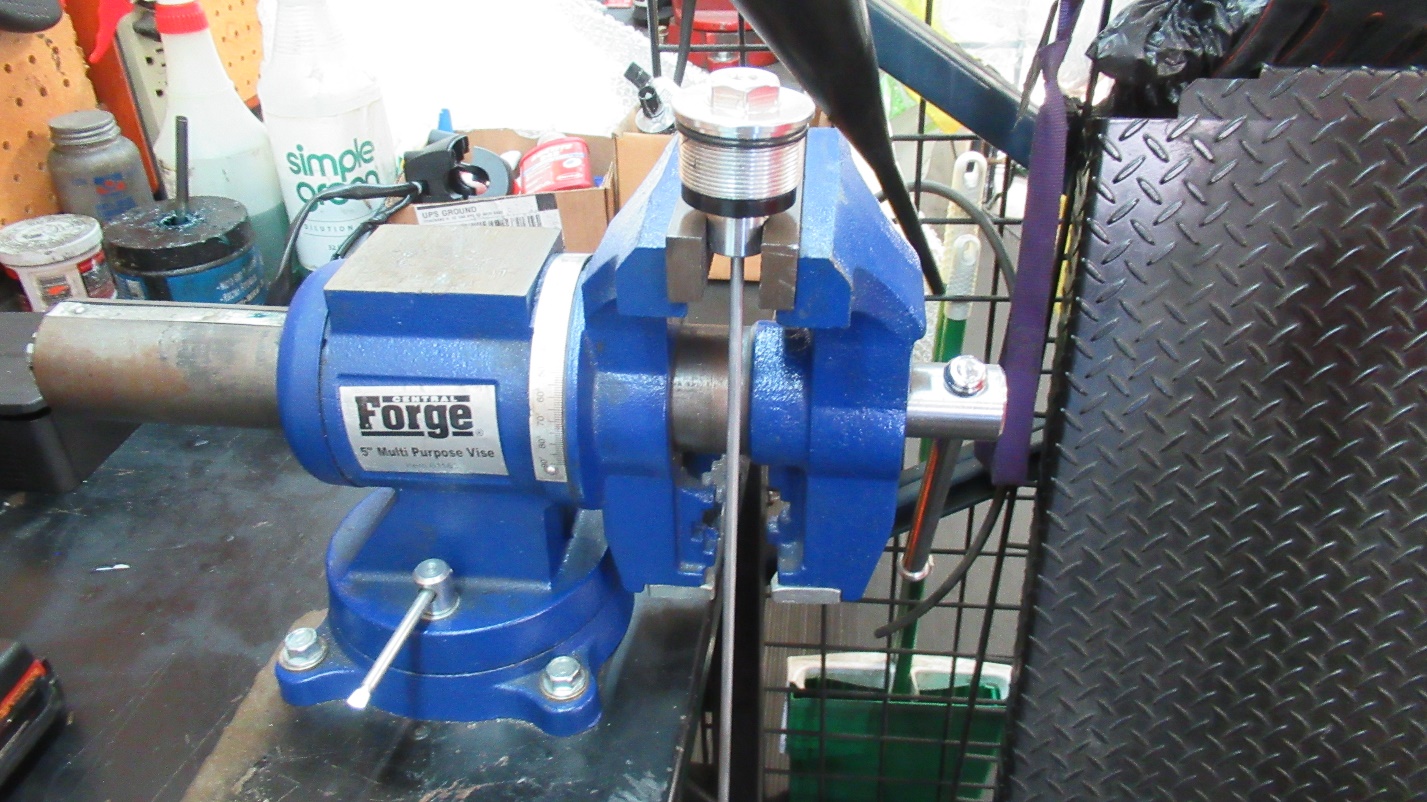
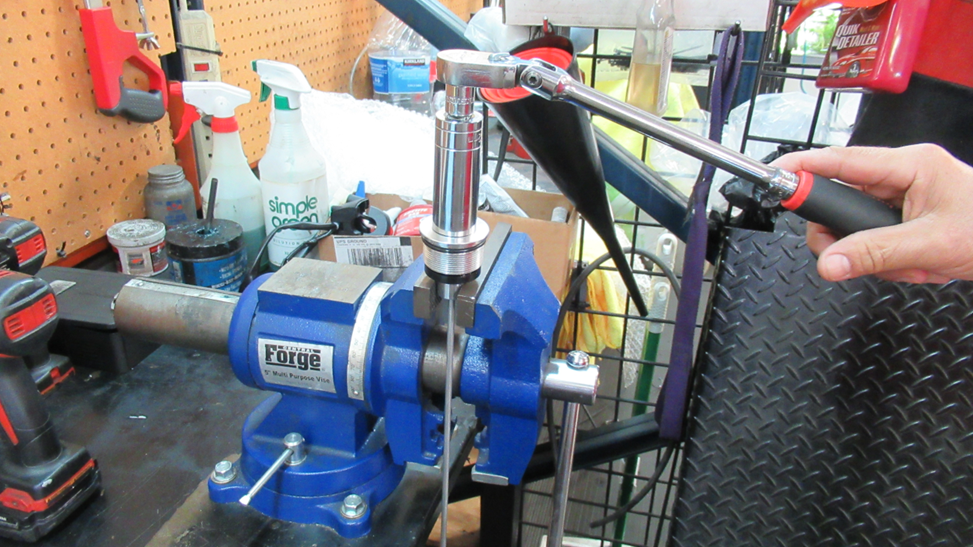
Using a vice and 22mm socket the cap can be removed from the needle.
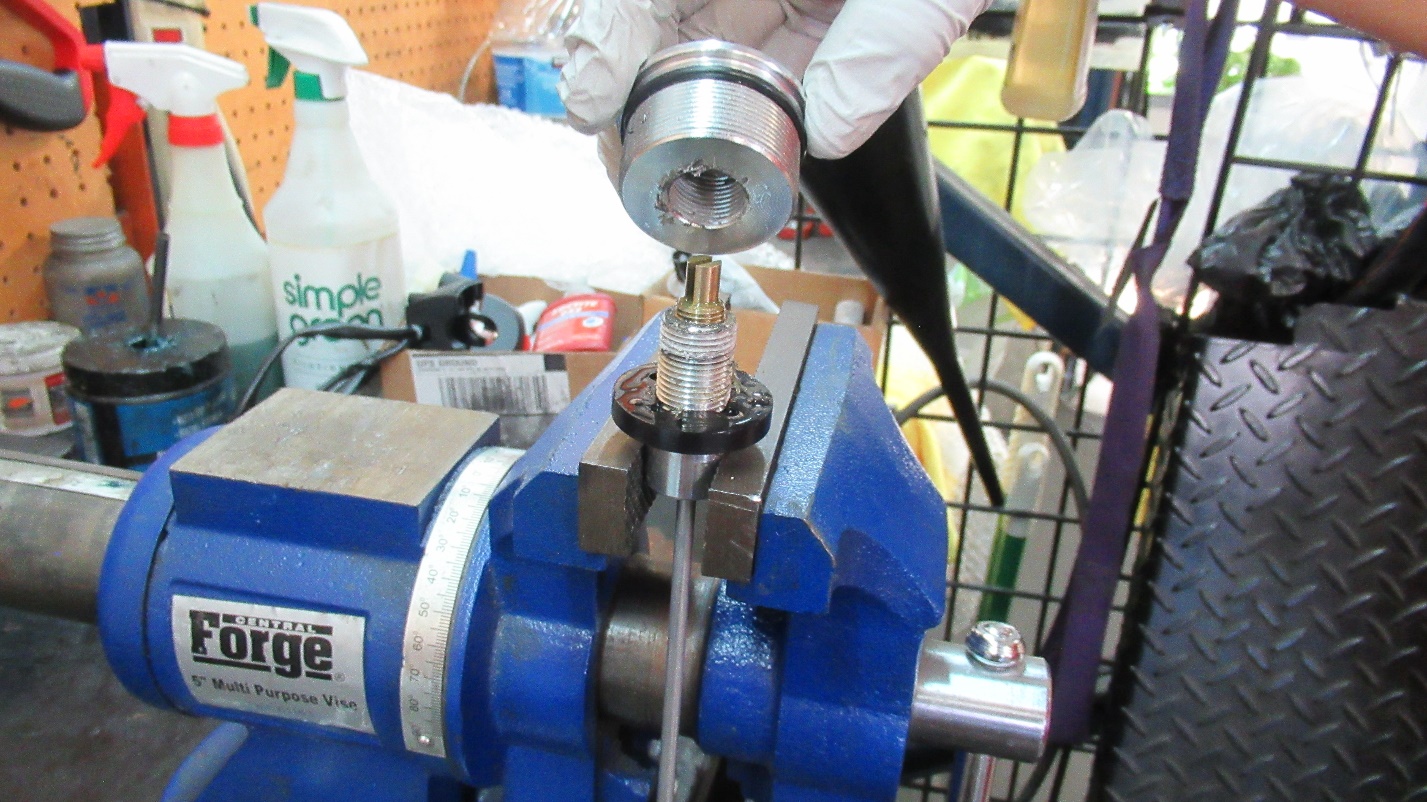
Use caution. Do not bend nor break the needle. The threads have Loctite and are difficult to remove.
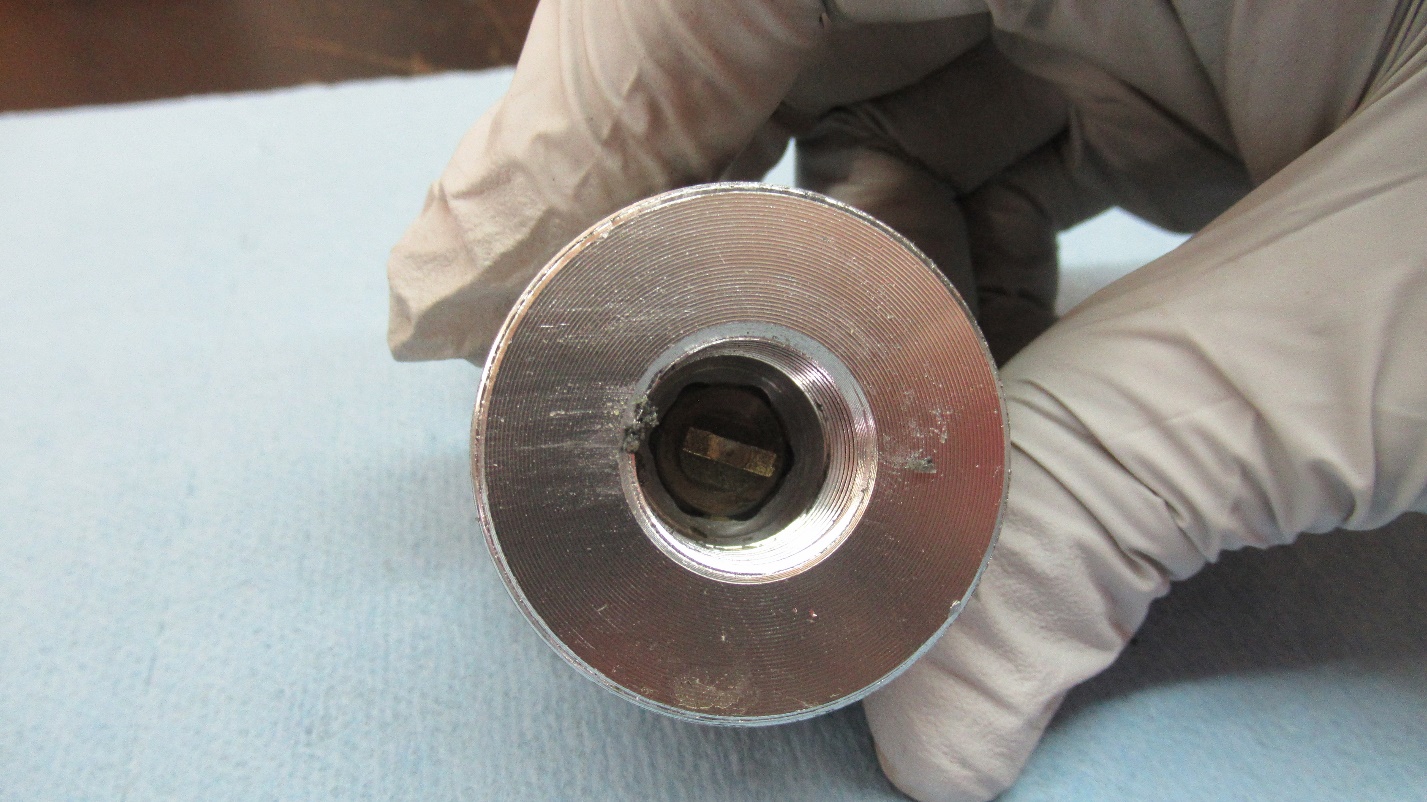
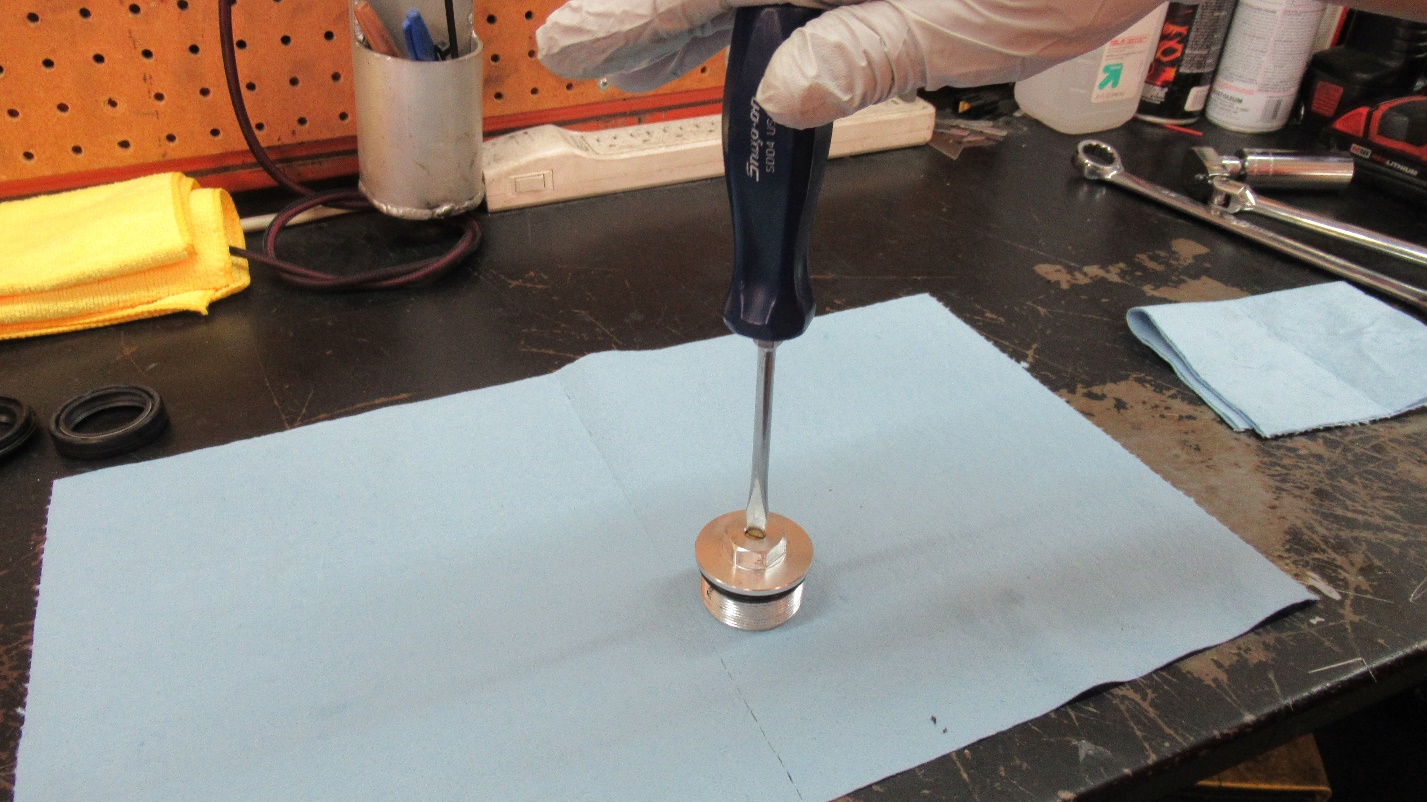
Use a flathead screwdriver to apply downward pressure to push out the adjusting screw.
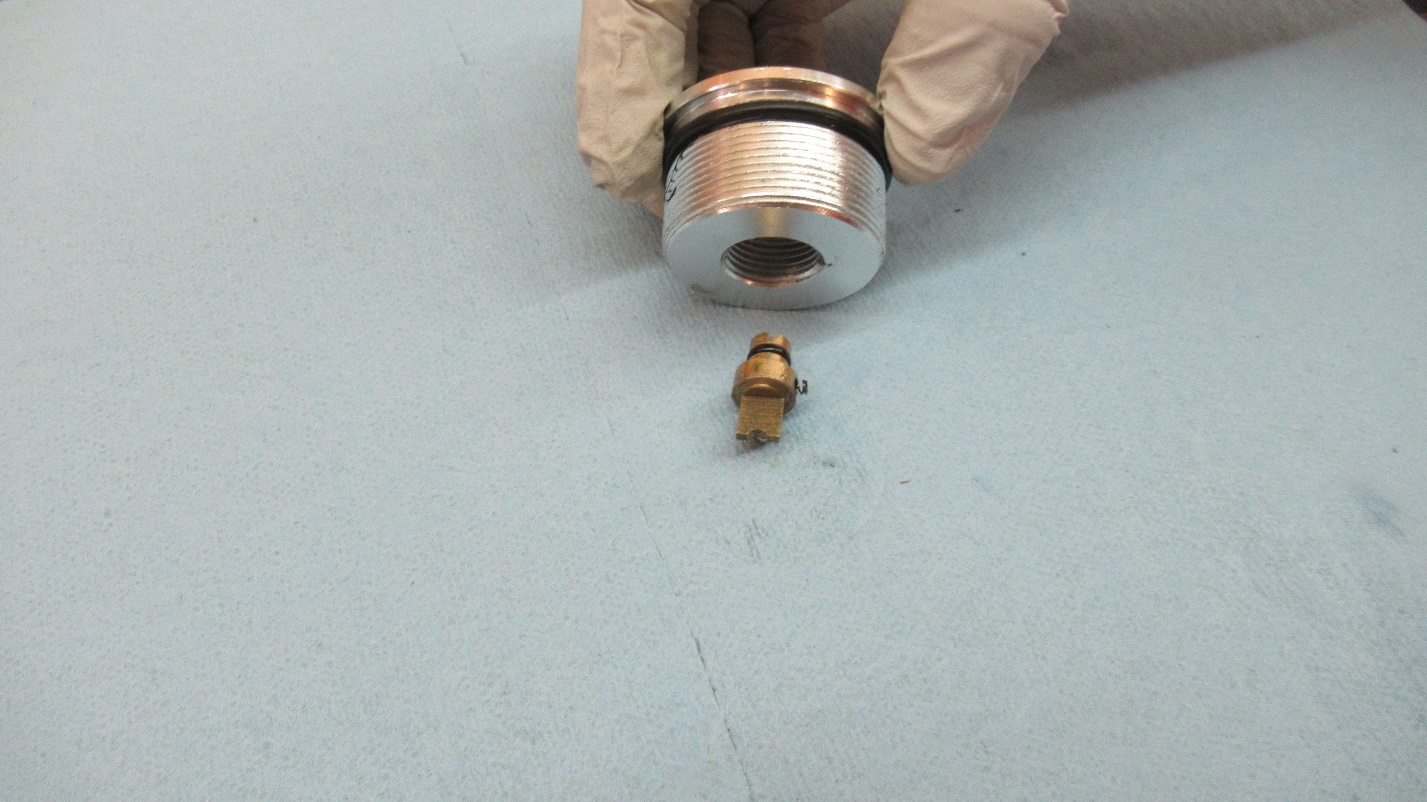
Use caution so the ball bearing spring are not lost.
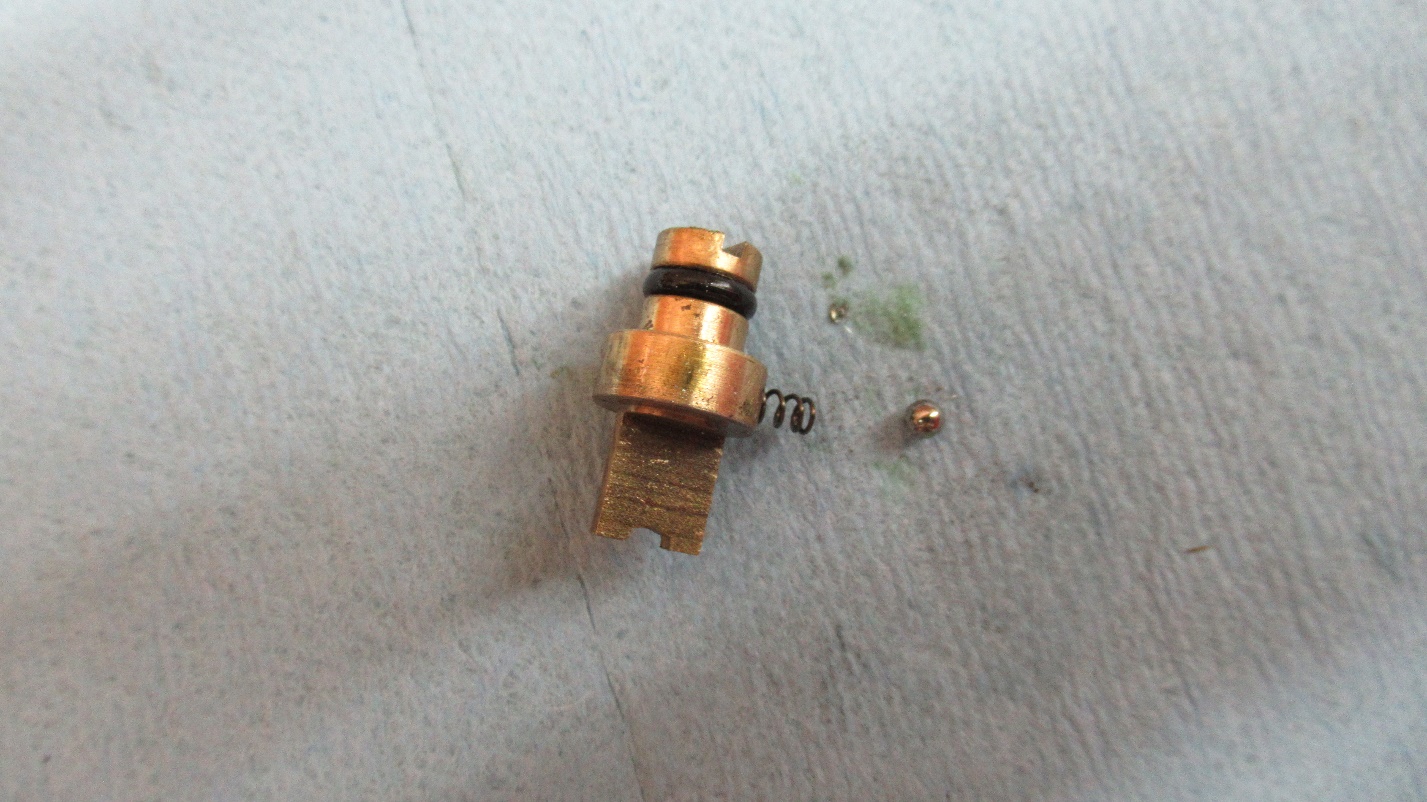
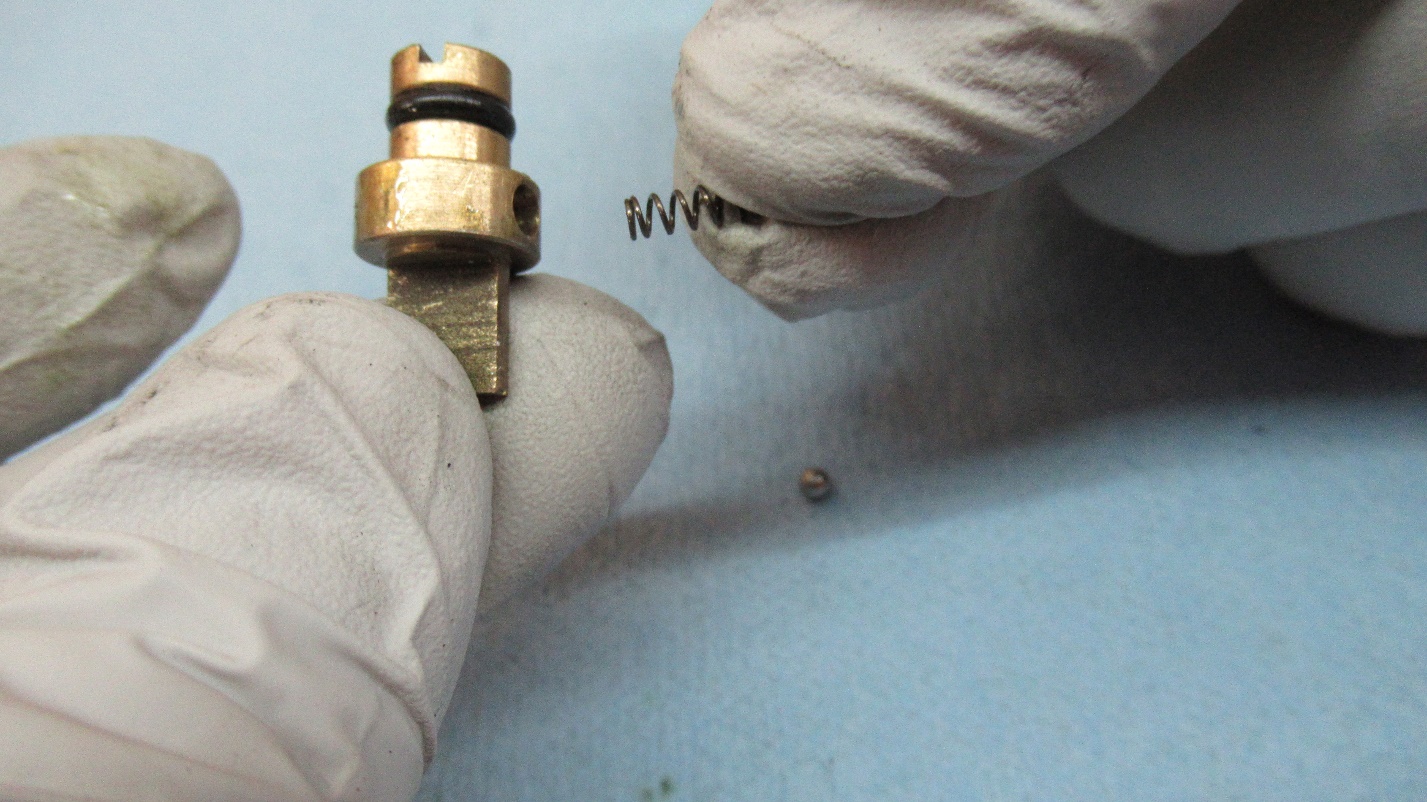
Remove the ball bearing and spring.
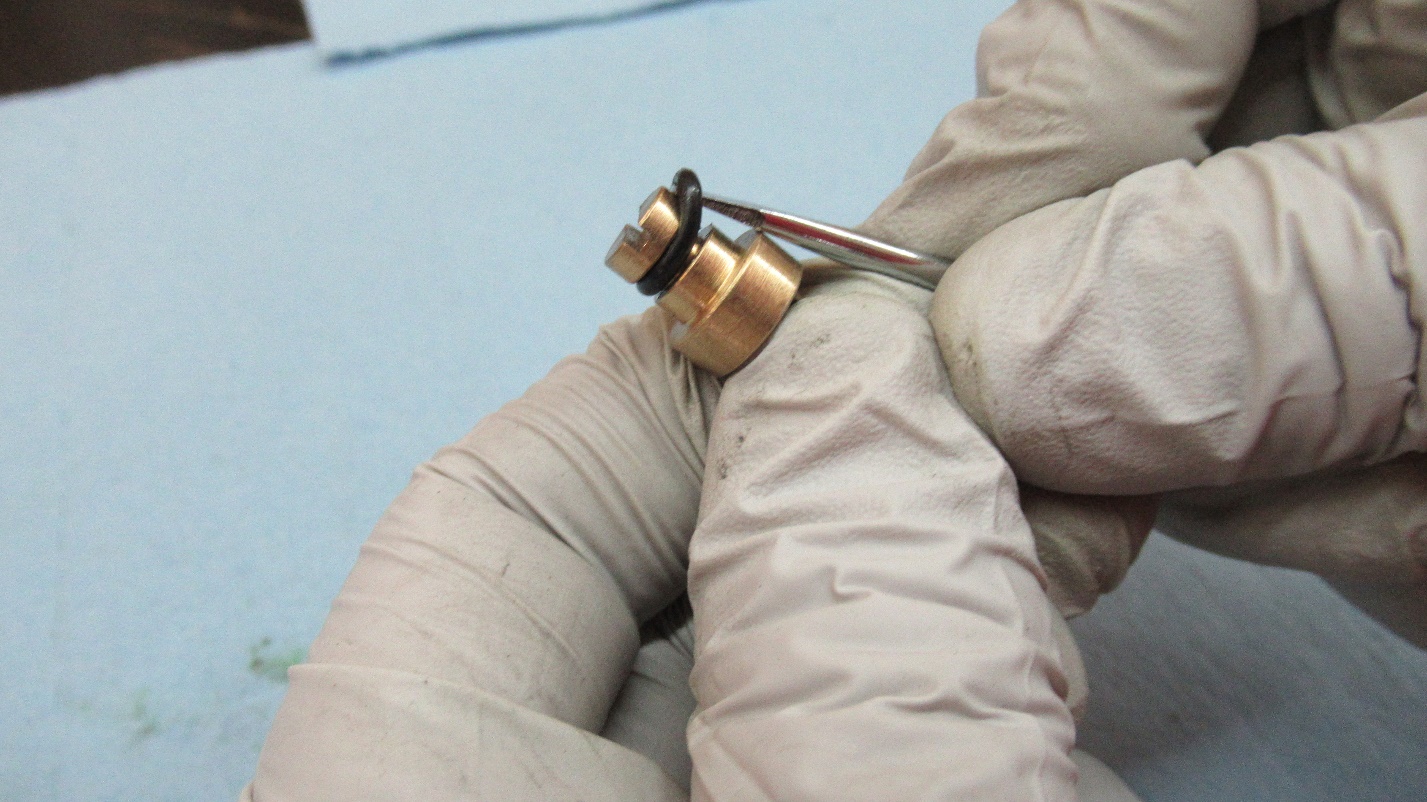
Remove the old O-ring.
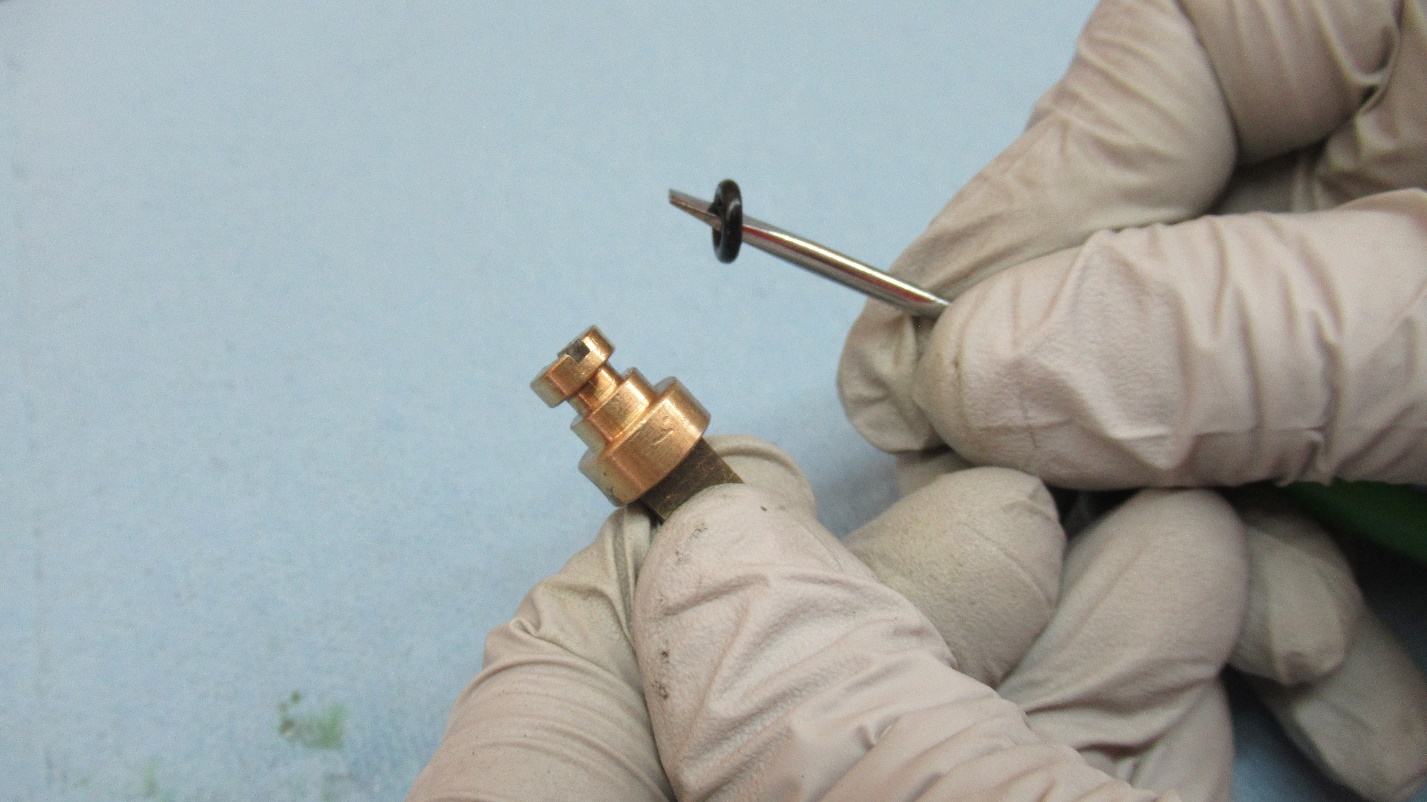
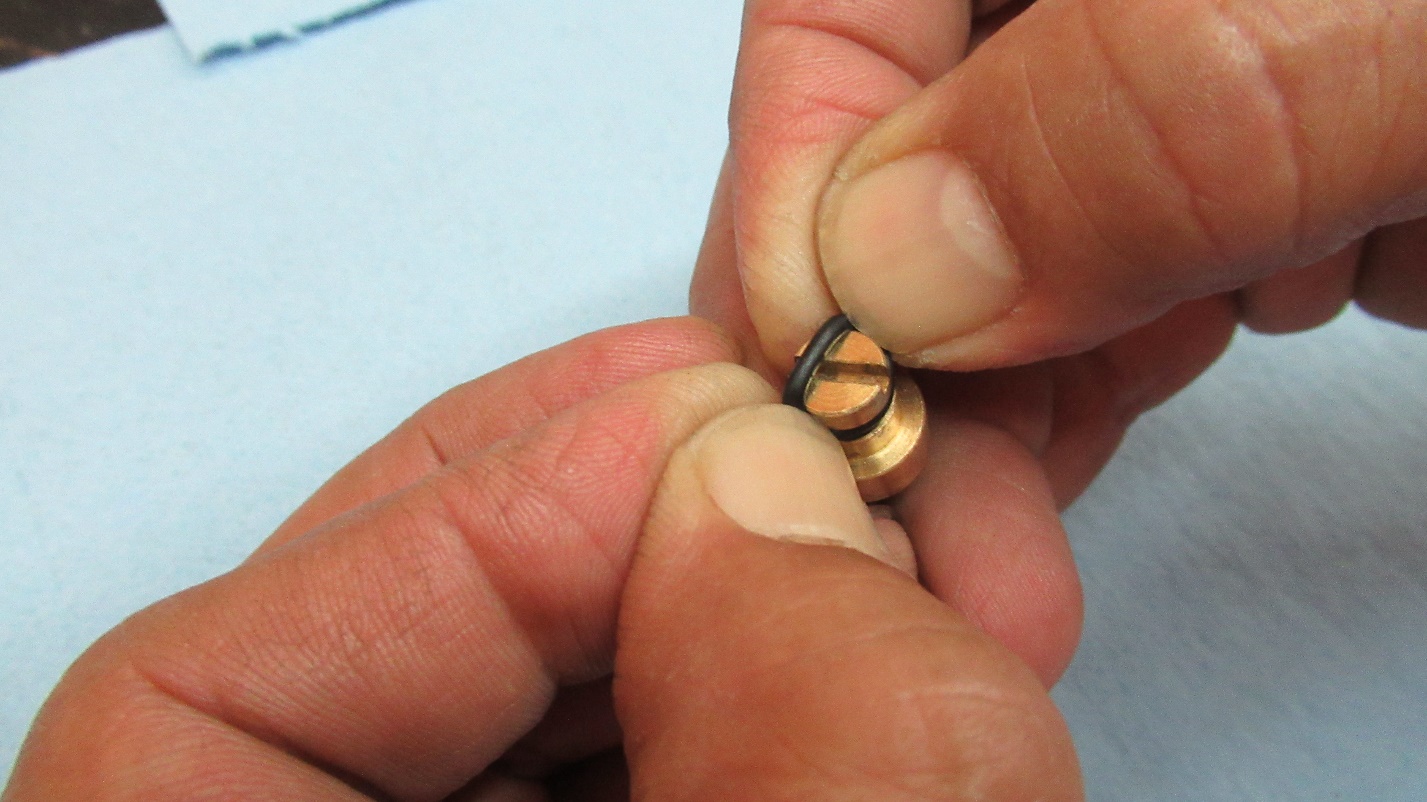
Lubricate the new O-ring with grease and install on the adjusting screw groove.
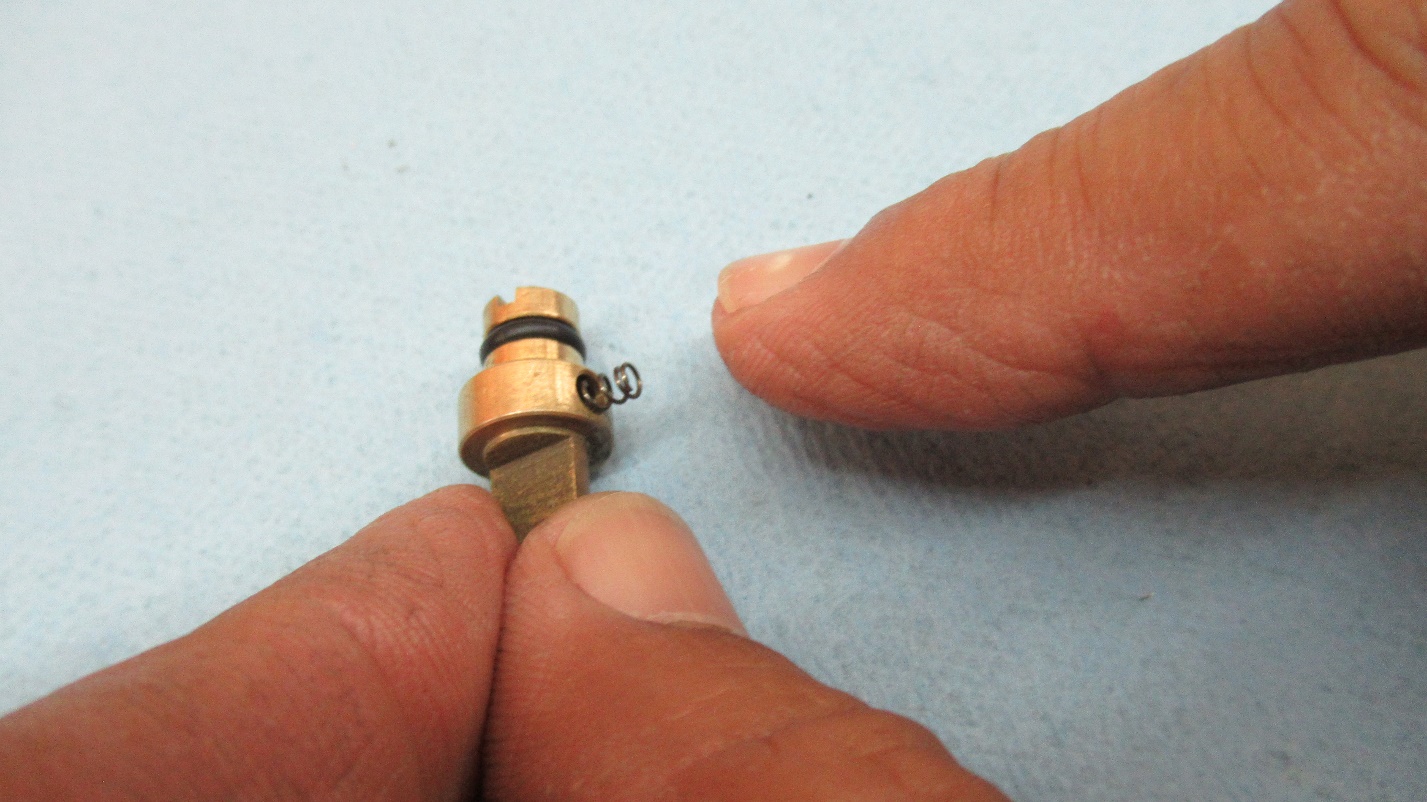
Insert the spring.
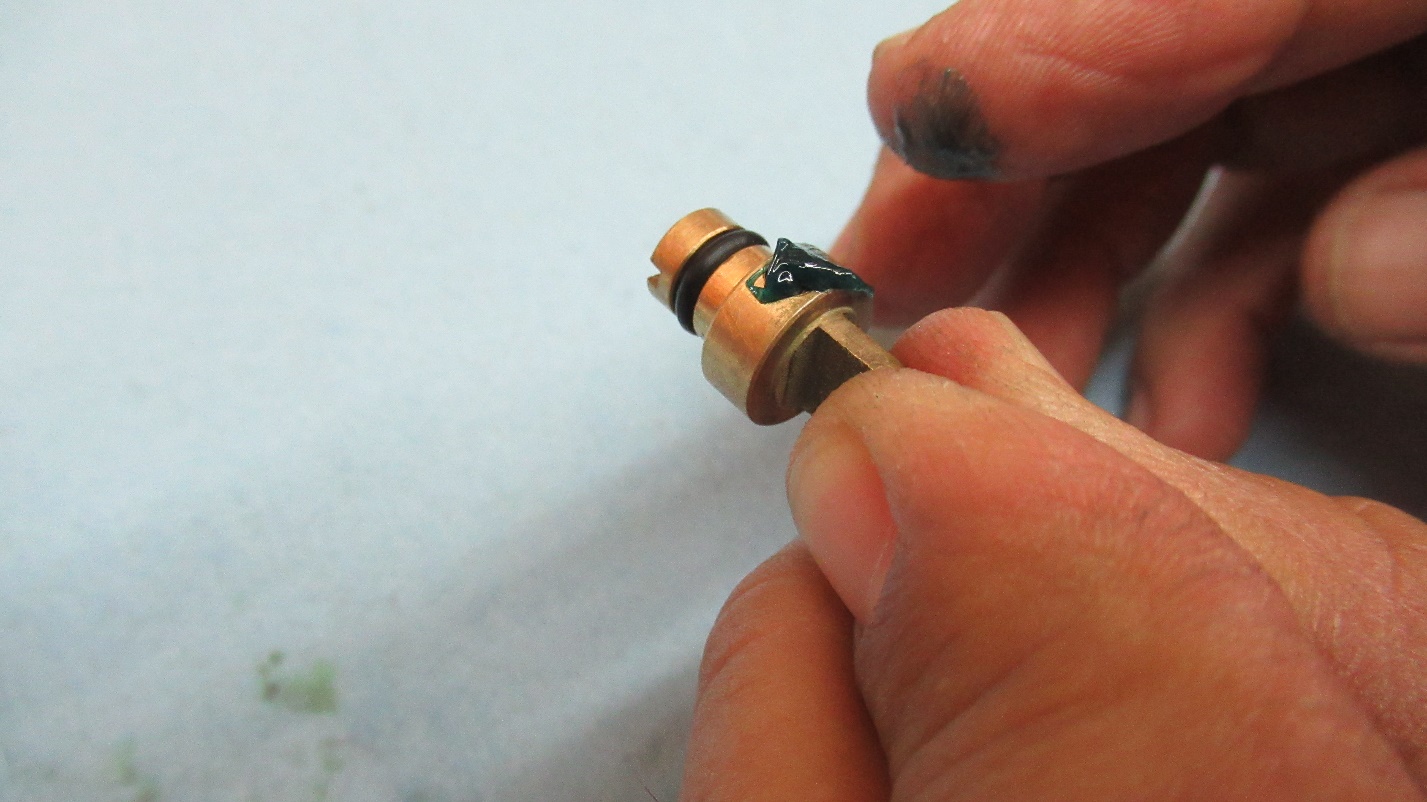
Apply some grease to the top of the spring to help hold the ball bearing.
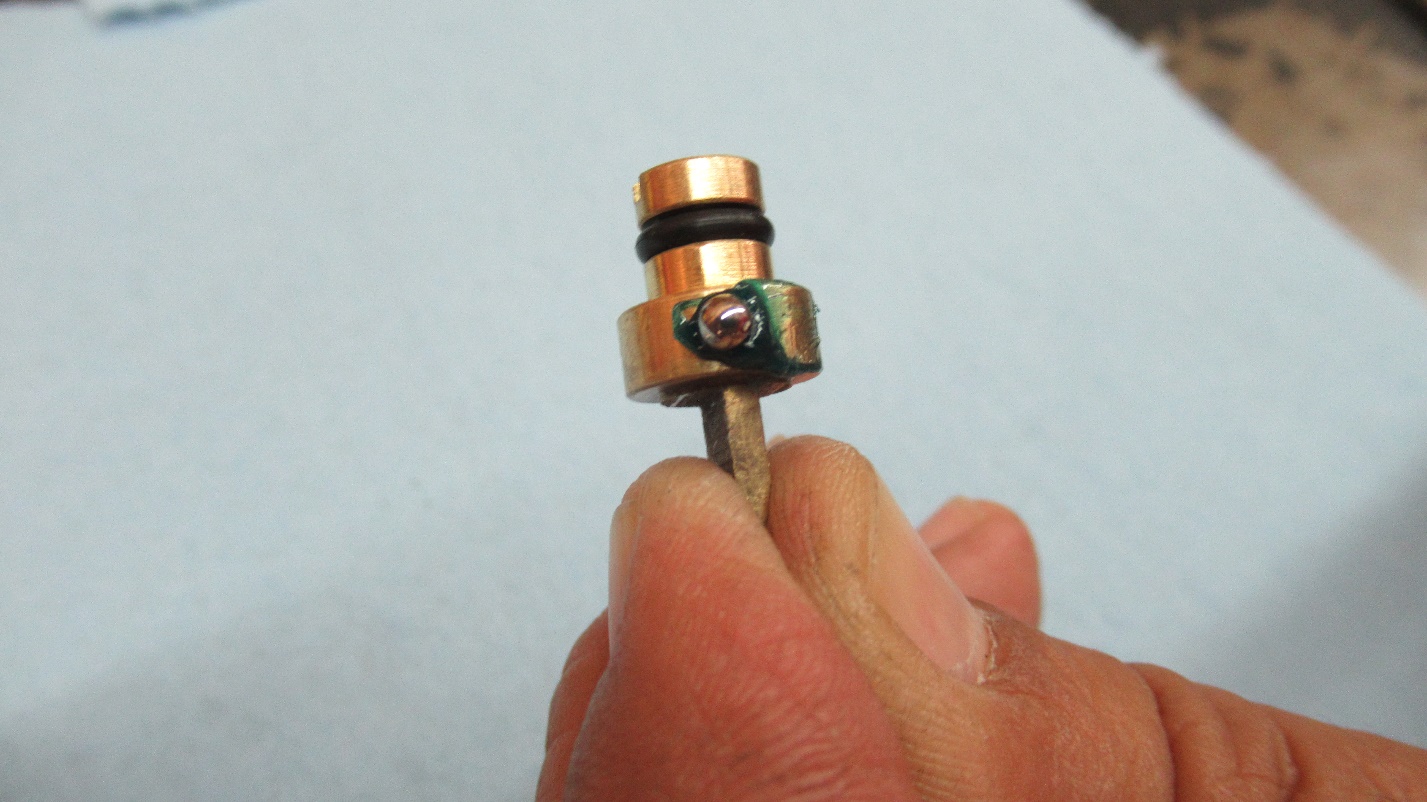
Place the ball bearing on top of the spring.
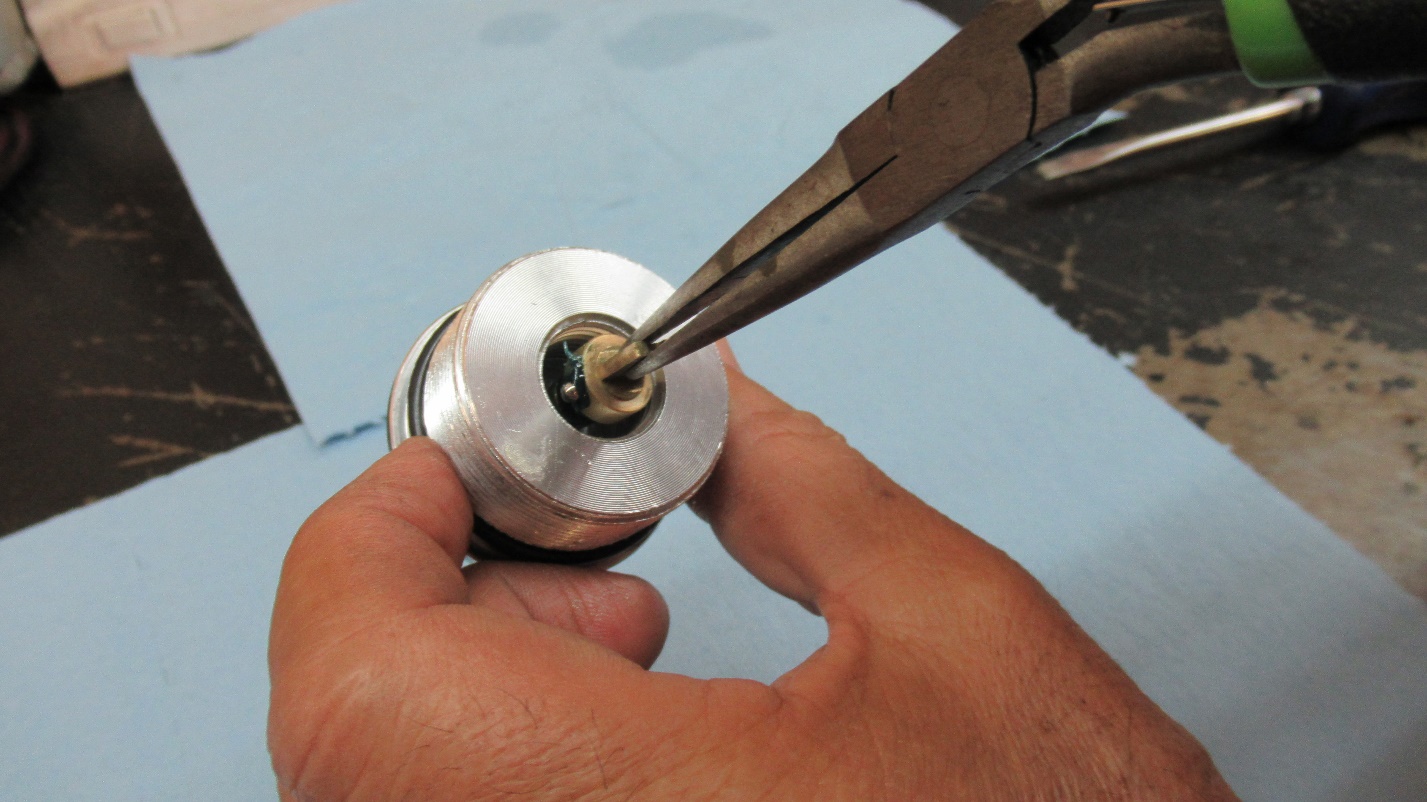
Use needle nose pliers to install the adjusting screw assembly into the cap.
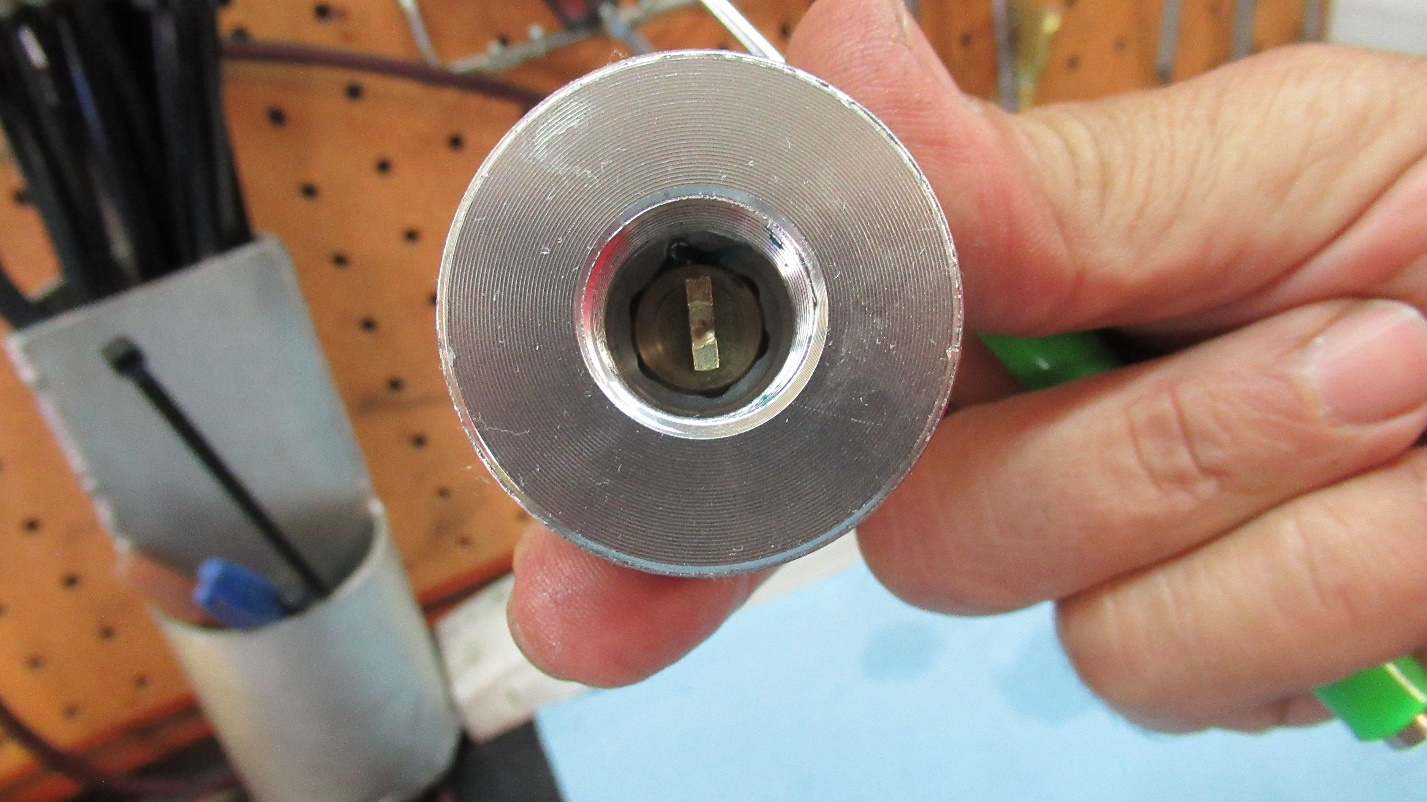
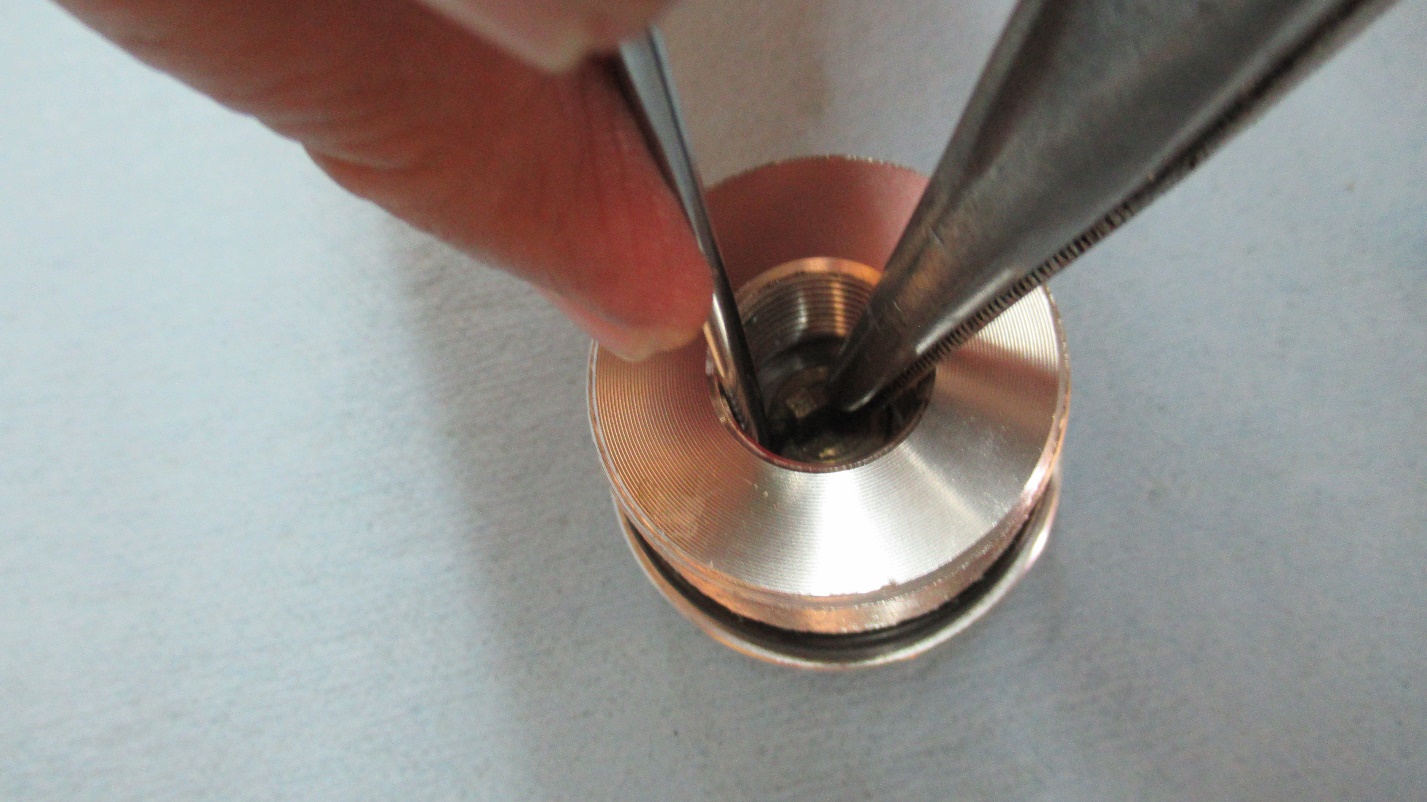
A small screwdriver or need may be needed to help set the ball bearing into place.
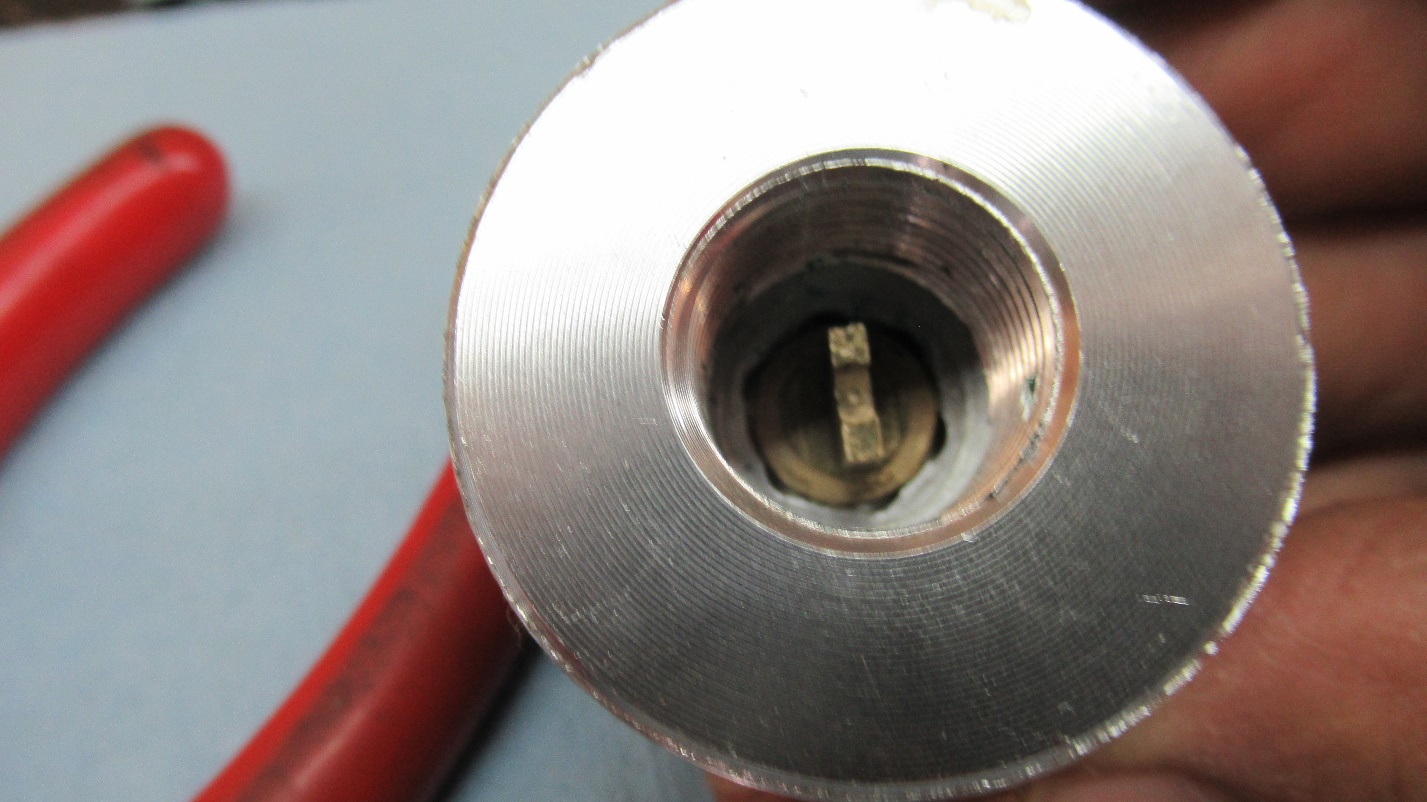
Place the cap on the needle.
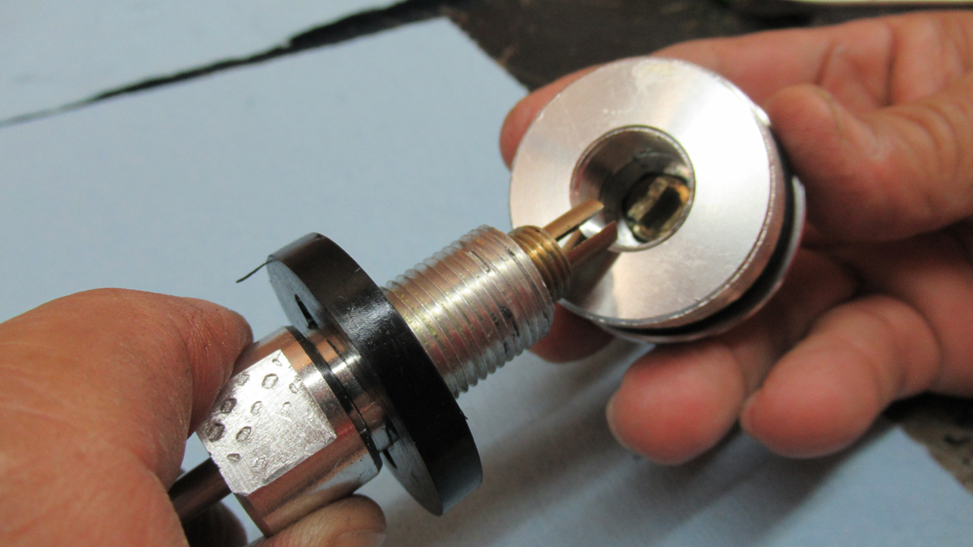
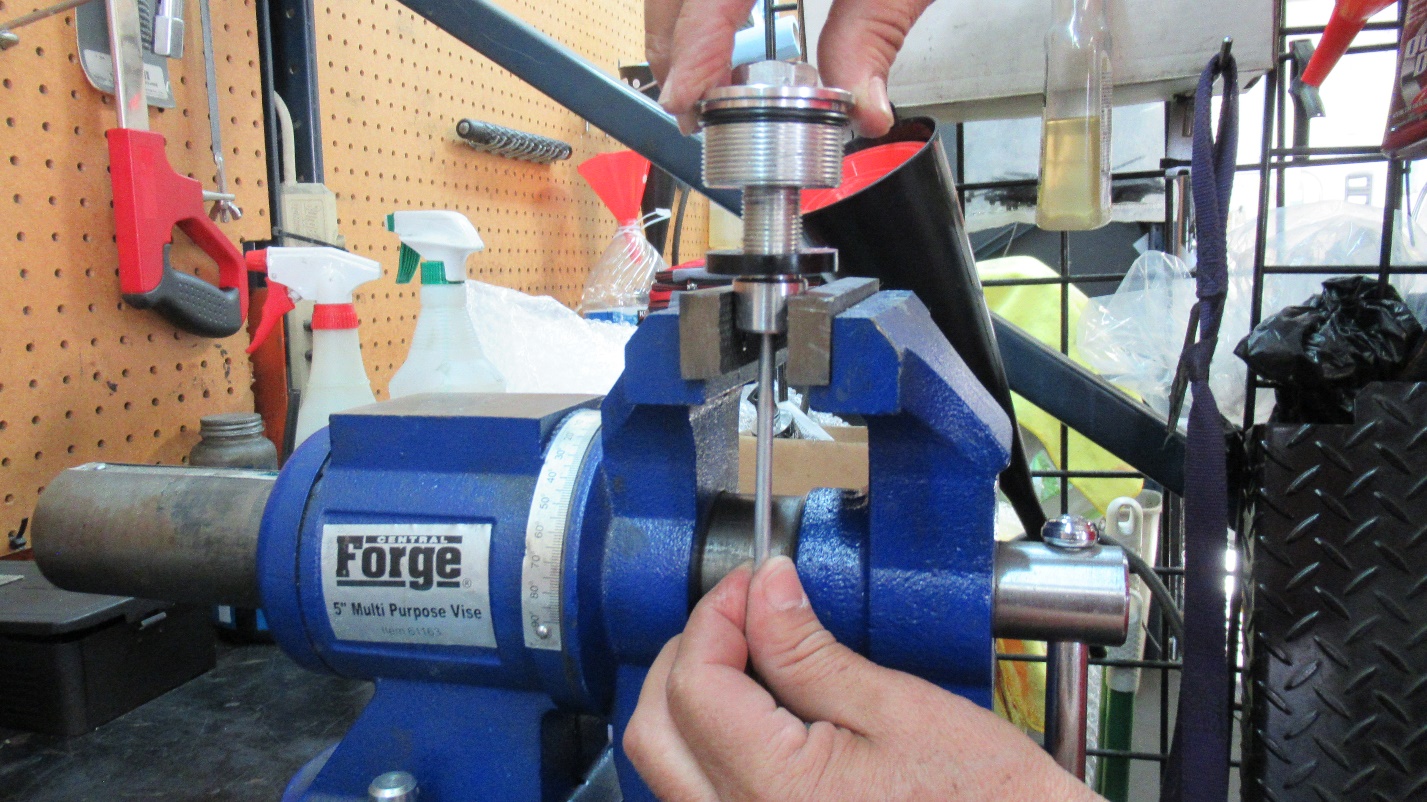
Begin screwing the cap to the needle assembly by hand.
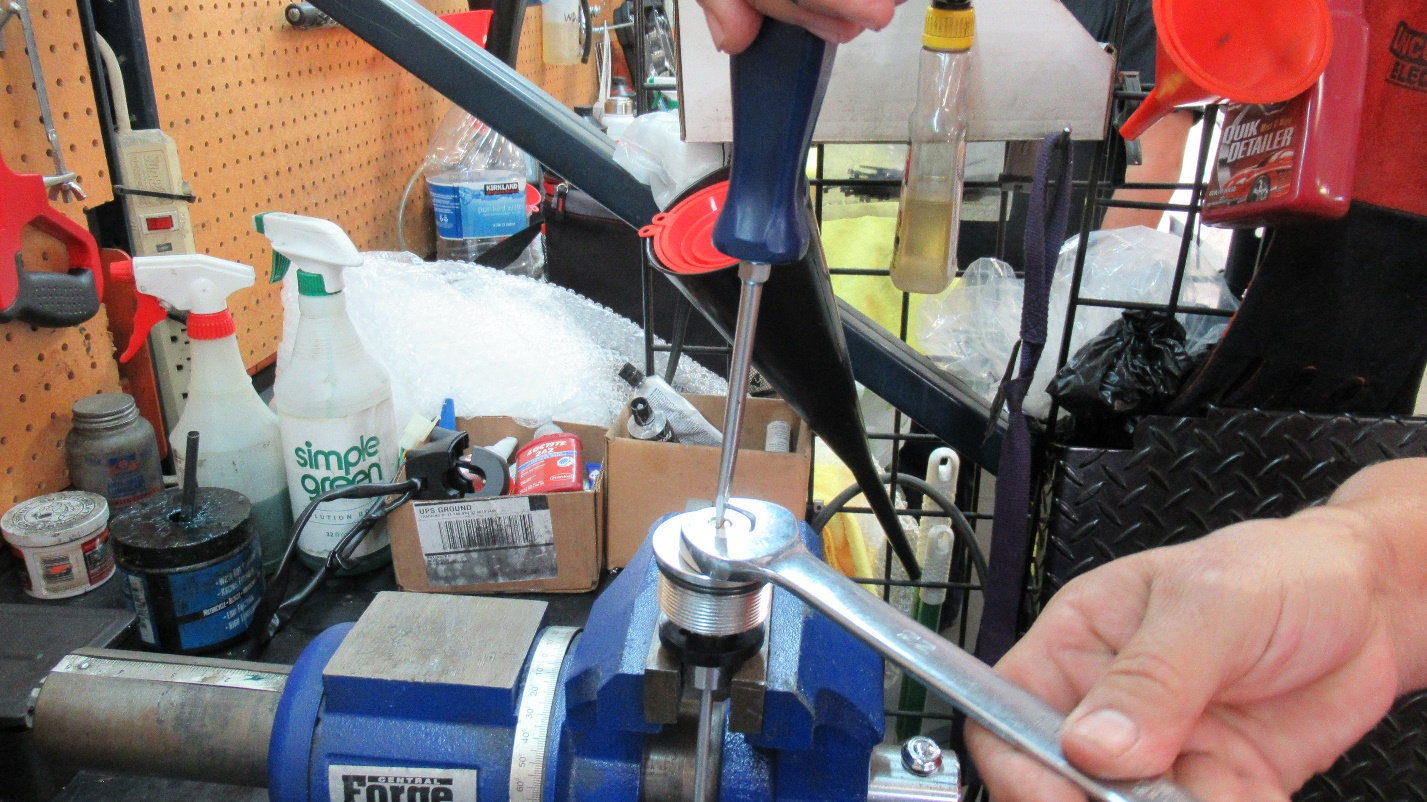
Gently turn both the cap (22mm) and the adjusting screw (flathead screwdriver) in a clockwise direction at the same time.
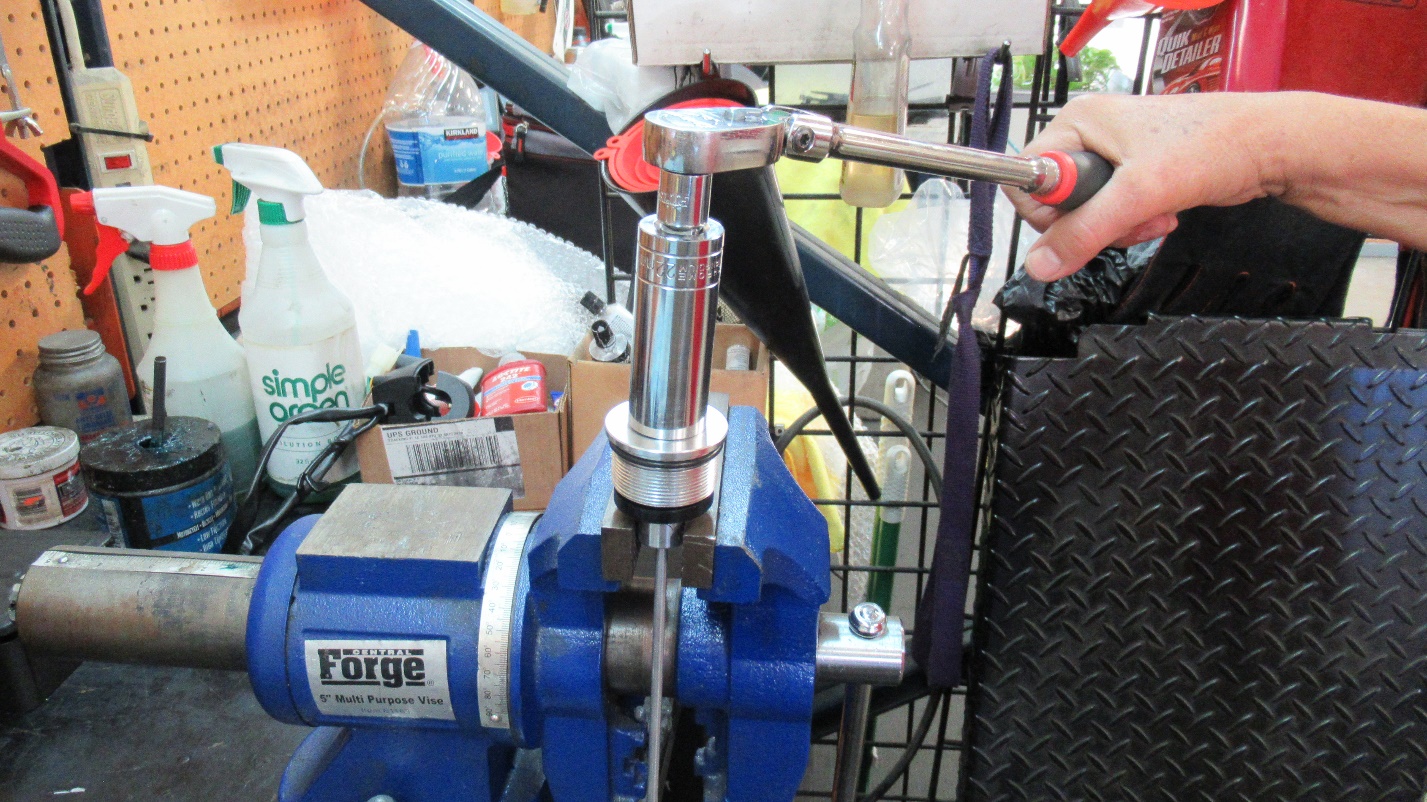
Use the 22mm to tighten the cap and needle.
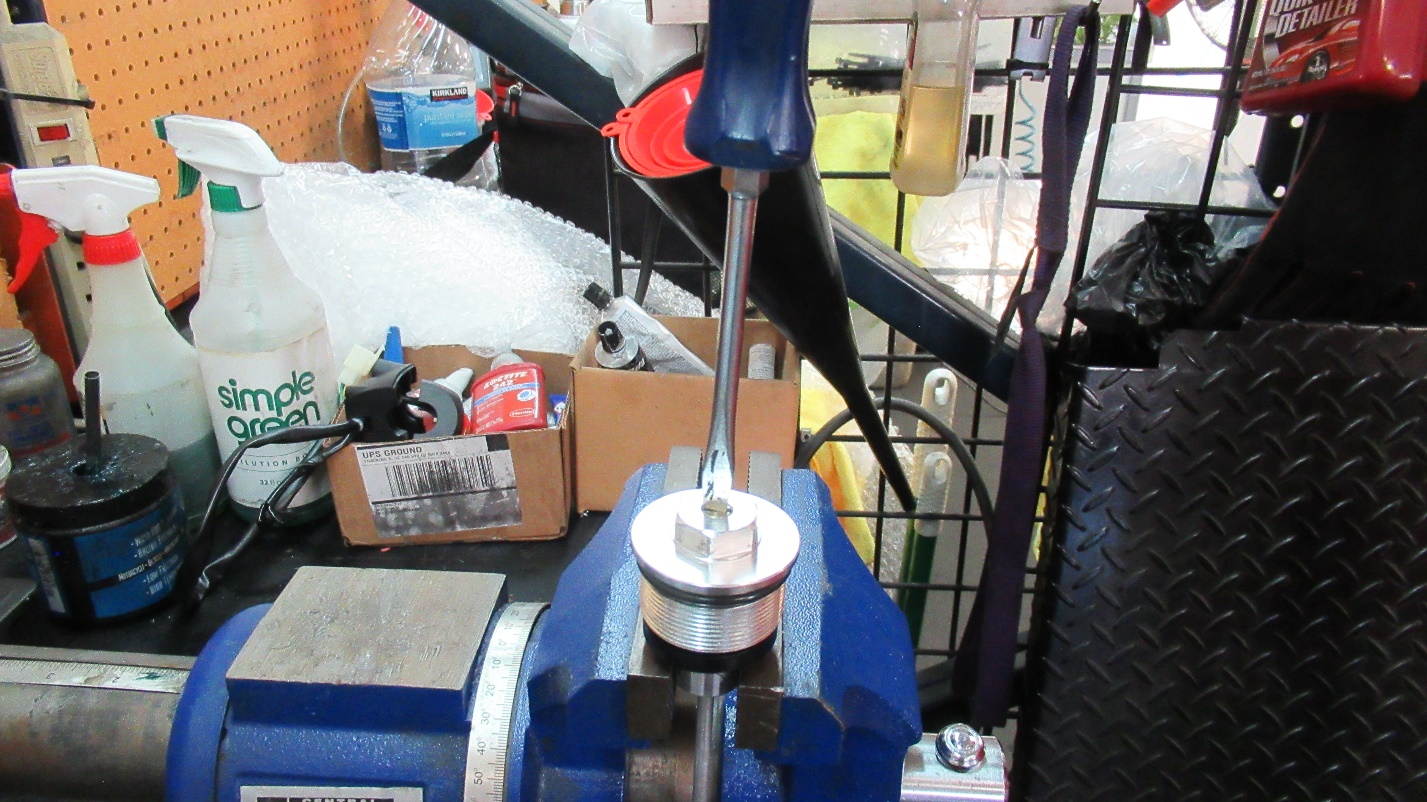
Verify that the screw can be adjusted.
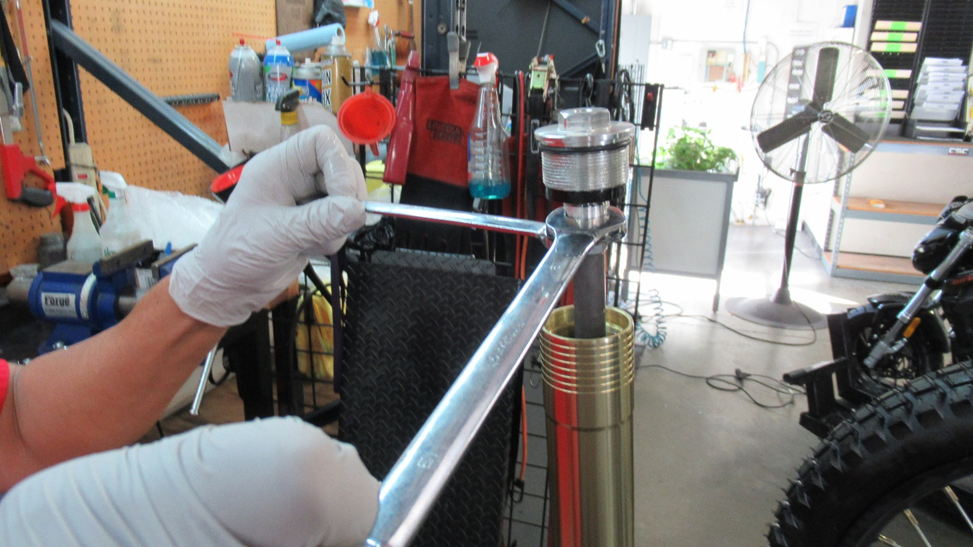
Use the 18mm and 19mm wrenches to secure the cap to the needle.
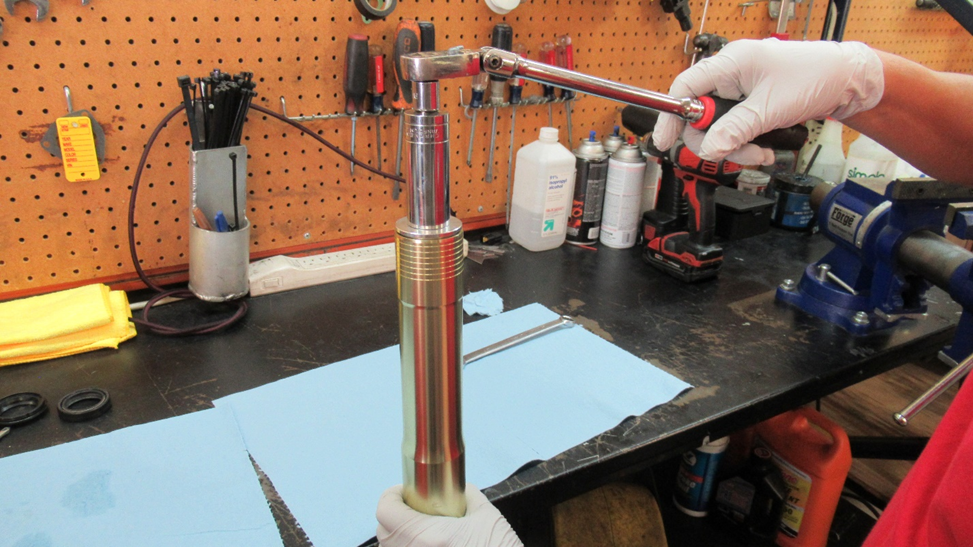
Use the 22mm socket to tighten the cap.
