SG250 Rear Wheel Removal
Rear Wheel Removal
Place the motorcycle on the centerstand.
Place the motorcycle on the centerstand.
| Remove the rear brake torque rod cotter pin and nut, and disconnect the rear brake torque rod from the rear brake. | 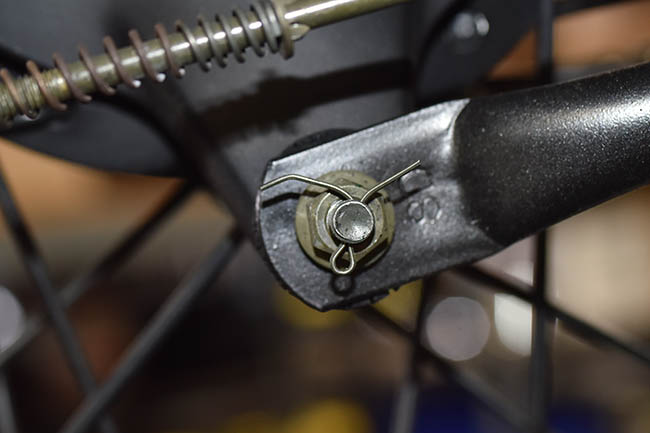 |
| Remove the rear brake actuation rod nut and rotate the brake actuator to disconnect the actuation rod from the rear brake. | 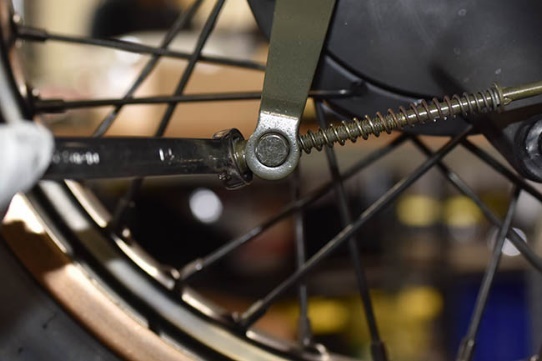 |
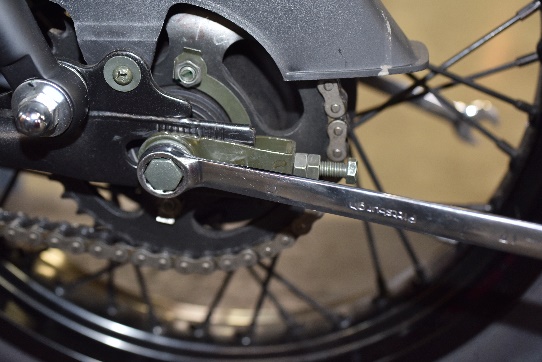
| Remove the rear axle nut on the right side of the motorcycle. | 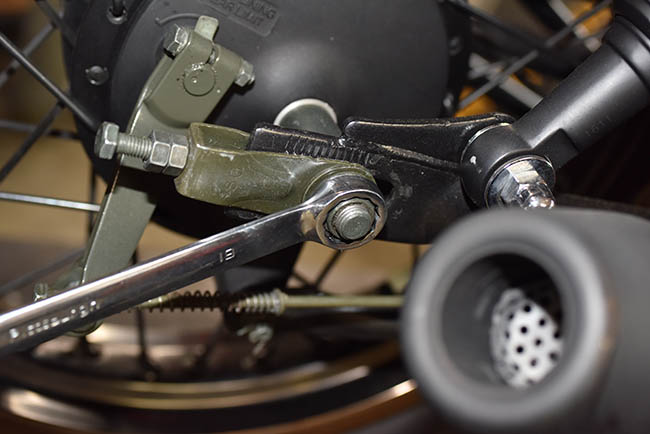 |
| While removing the rear axle nut on the right side of the motorcycle, you may have to hold the bolt head on the left side of the motorcycle with a wrench to prevent it from turning. After removing the axle nut, slide the axle out of the rear wheel. Caution! Support the rear wheel when removing the rear axle. |
 |
| Remove the bushing between the rear brake drum and the swingarm. | 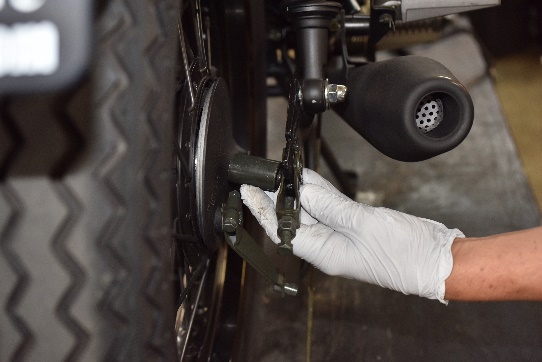 |
| Remove the left axle adjustor. Note that the axle adjustor has an integral washer on one side. It faces out, away from the wheel. | 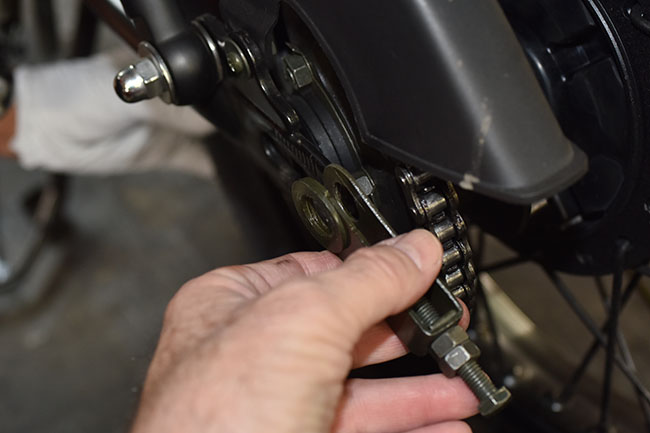 |
| Remove the right axle adjustor. Note that the axle adjustor has an integral washer on one side. It faces out, away from the wheel. | |
| Remove the sprocket from the rear wheel and position it and the chain out of the way such that it does not obstruct removal of the rear wheel. | 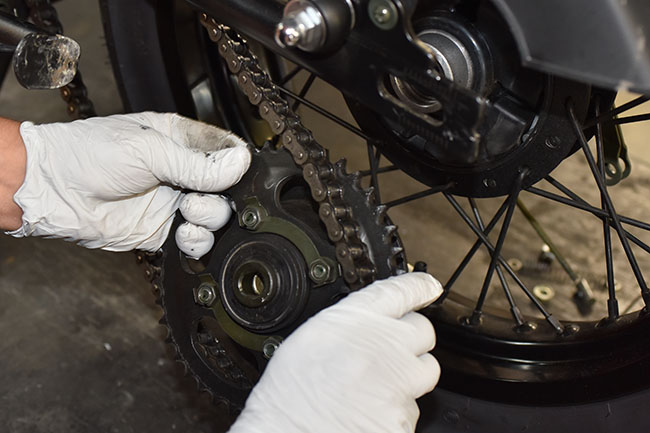 |
| Note the sprocket has a bushing that fits between it and the swingarm. | 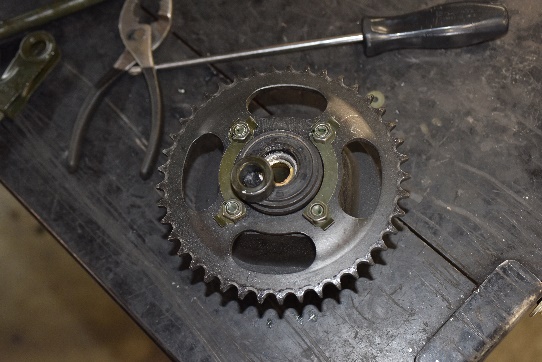 |
| Slide the rear wheel out of the swingarm. | 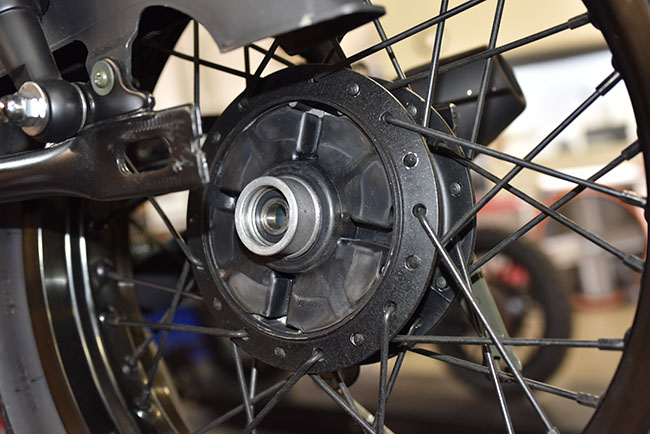 |
| Rear wheel installation is the reverse of removal. The rear axle nut should be torqued to 35 ft-lbs. When the rear wheel is installed, the chain should be adjusted and the rear wheel should be aligned. These maintenance activities are addressed in the chain adjustment and wheel alignment section of this manual. |
|