Quick Oil Change Kit Installation
This is a quick maintenance tutorial, folks, on our new quick change oil kit. This tutorial covers installation of our new Cap Systems quick change oil drain plug kit. This new accessory includes three components: The oil drain plug, the hose, and the drain plug cap (as shown below).
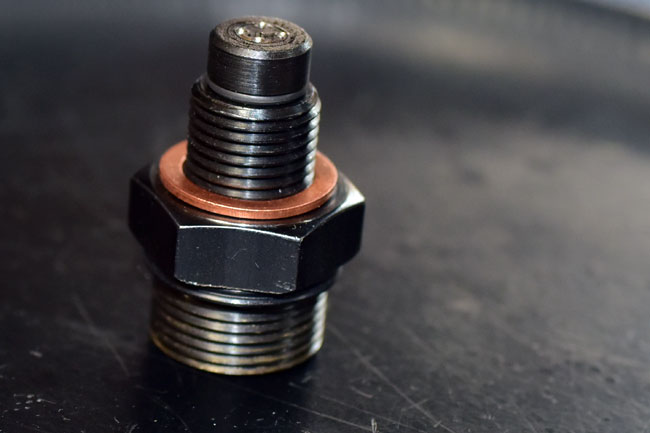
This is the new drain plug with copper washer.
-
Here’s the drain hose.
-
And this is the drain plug cap.

-
Installation is simple. First, put a pan under the bike and drain the oil by removing the stock drain plug.

-
Install the new Cap Systems drain plug. It will take a 1-inch (or 26mm) socket. Tighten it to 30 ft-lbs. Install the drain plug cap and hand tighten it.

-
When you are ready to drain the oil at your next oil change, remove the brass drain plug cap and thread the hose fitting onto the drain plug.

-
As you tighten the hose fitting on to the drain plug, it will push the valve in the drain plug open. When that happens, the oil will drain out through the hose. You don’t need to remove the drain plug (it stays installed on the engine). The photo below shows what happens when the hose is threaded on to the drain plug. It pushes the valve open so the oil can drain.

-
After the oil has drained through the hose, remove the hose by unscrewing it from the drain plug (this will close the drain plug valve). Reinstall the brass cap, and replace the engine oil.

Here’s a short video of Gerry using the new system…
Folks, that’s it! If you’d like more information on this system or you would like to order it, please check our website or give us a call at (800) 884-4173.