
RX3 Adventure LED Headlight Replacement
This tutorial details the replacement of the stock halogen headlight bulb with the Pathfinder High Performance H4 LED Bulb with Fanless Heatsink, available from CSC Motorcycles.

This LED lamp is a direct replacement for the stock halogen light bulb, with some minor modifications:
First, as shown in the photo above, the LED includes a gray plastic collar. This collar is attached via two pins on the throat of the LED lamp. Remove this collar by turning counterclockwise, and then pulling it off. Save this gray ring to install the new lamp into the stock bulb housing.
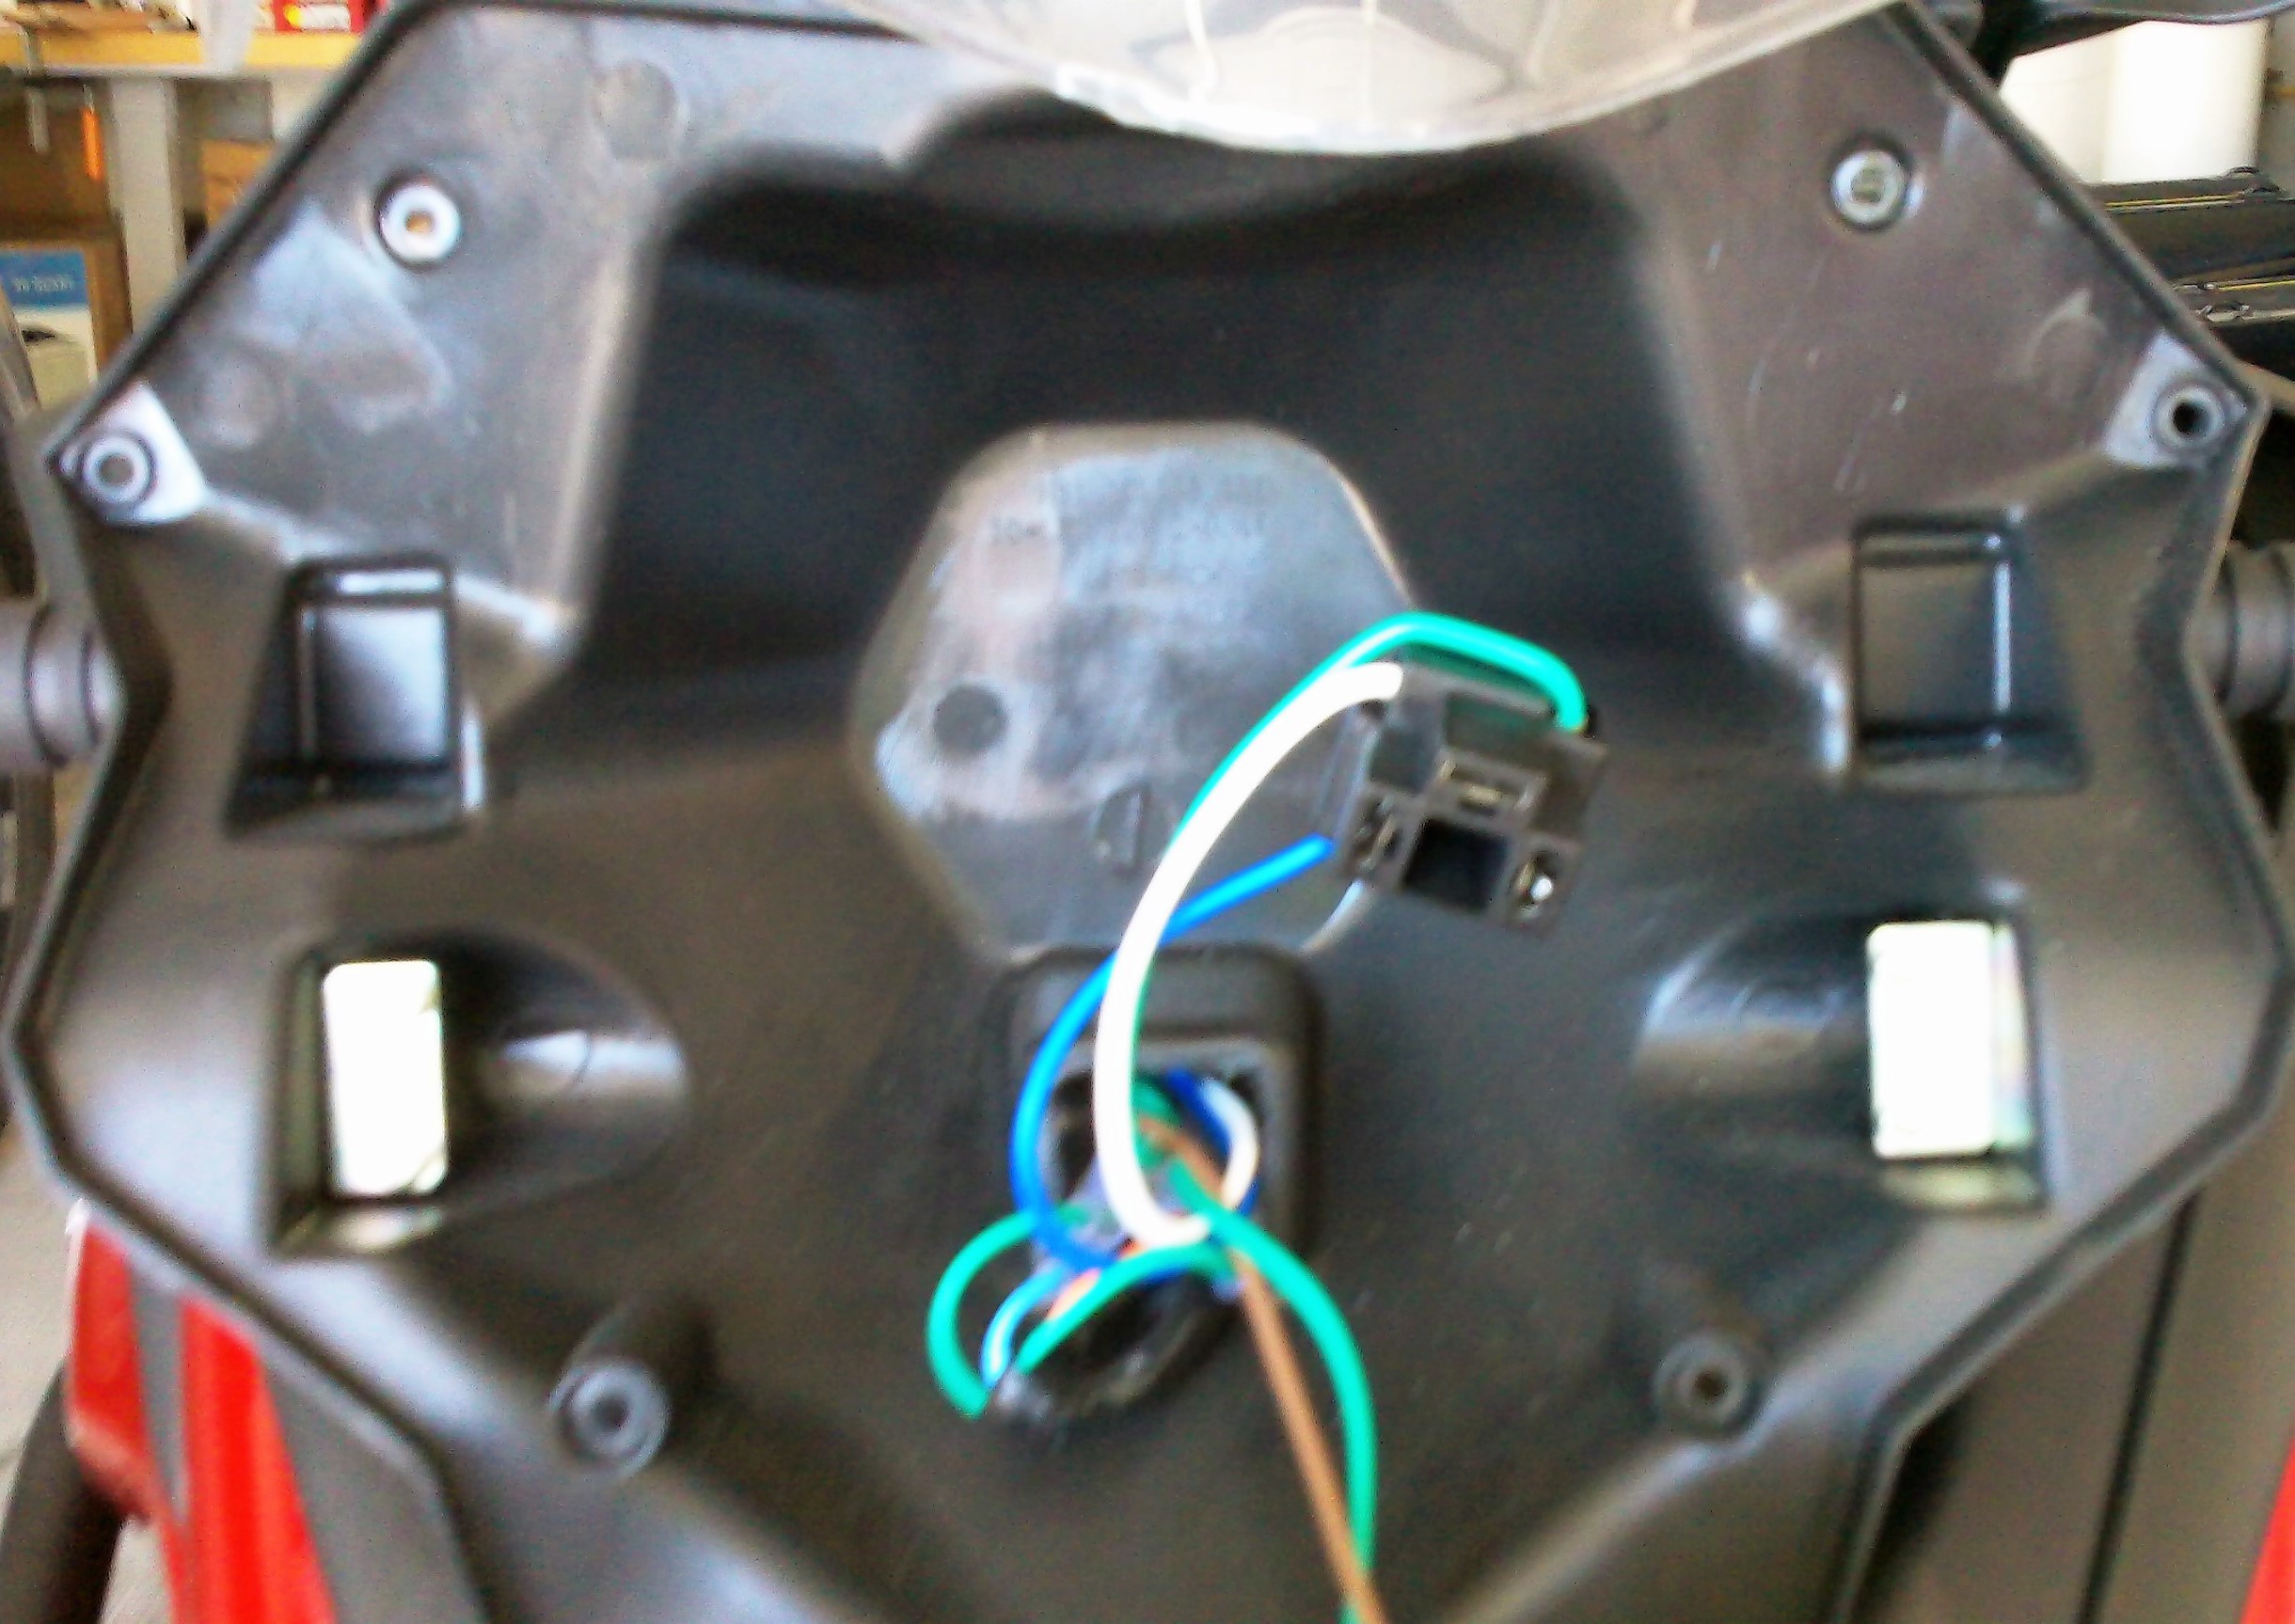
Second, remove the stock headlight assembly. Remove the two 6mm hex mounting bolts at the side of the headlight assembly, then tilt the assembly forward of the windshield. Next remove the five Phillips screws holding the lamp bezel in place. Then remove the four screws holding the clear lens to the housing.

Third, remove the stock bulb. Unplug the wiring harness from the bulb and then remove the rubber boot covering the bulb. Next, depress the two locking tabs on the white ring surrounding the bulb and lift it from the lens. Note: save this bulb for a spare in your travel tool kit. All of the LED installation steps can be reversed in case the stock bulb needs to be reused.
Fourth, the LED lamp needs to be installed into the gray ring that was included with the new lamp. This gray ring fits into the headlight lens and there are three tabs that position it correctly. Note: the LED is designed to be installed with the clear section facing UP.

Temporarily reattach the gray ring to the LED and place this assembly in the lens hole. The tabs on the gray ring must match the slots in the housing AND the lamp must be positioned with the clear side up.

You have three possible positions – but once you have the gray ring in place correctly, use the white locking ring from the original bulb to lock it in place in the two side tabs.

You might need to first file down the two tabs that protrude from the top of the white locking ring. Because of the large heat sink on the back of the LED lamp, these tabs prevent the lamp from seating correctly.
File about 1/4-inch off each tab to allow the pins on the LED lamp to engage in the slots in the gray mounting ring.

Now there is enough clearance to press the LED lamp in place, and turn clockwise to lock in the gray ring.
Optional step: you may reuse the rubber boot by cutting a hole large enough to surround the heat sink on the LED. With a razor knife, cut a hole that prevents the boot from coming into contact with the hot lamp. Press the boot in place in the lens

Finally, it is recommended that you drill ventilation holes in the back of the lens housing. This surface is directly behind the heat sink and the holes will let air circulate to prevent melting the plastic. This back surface is almost vertical when the headlight is installed and is positioned well under the dash cluster. Little if any moisture should enter these holes while riding in the rain or normal washing of the bike.
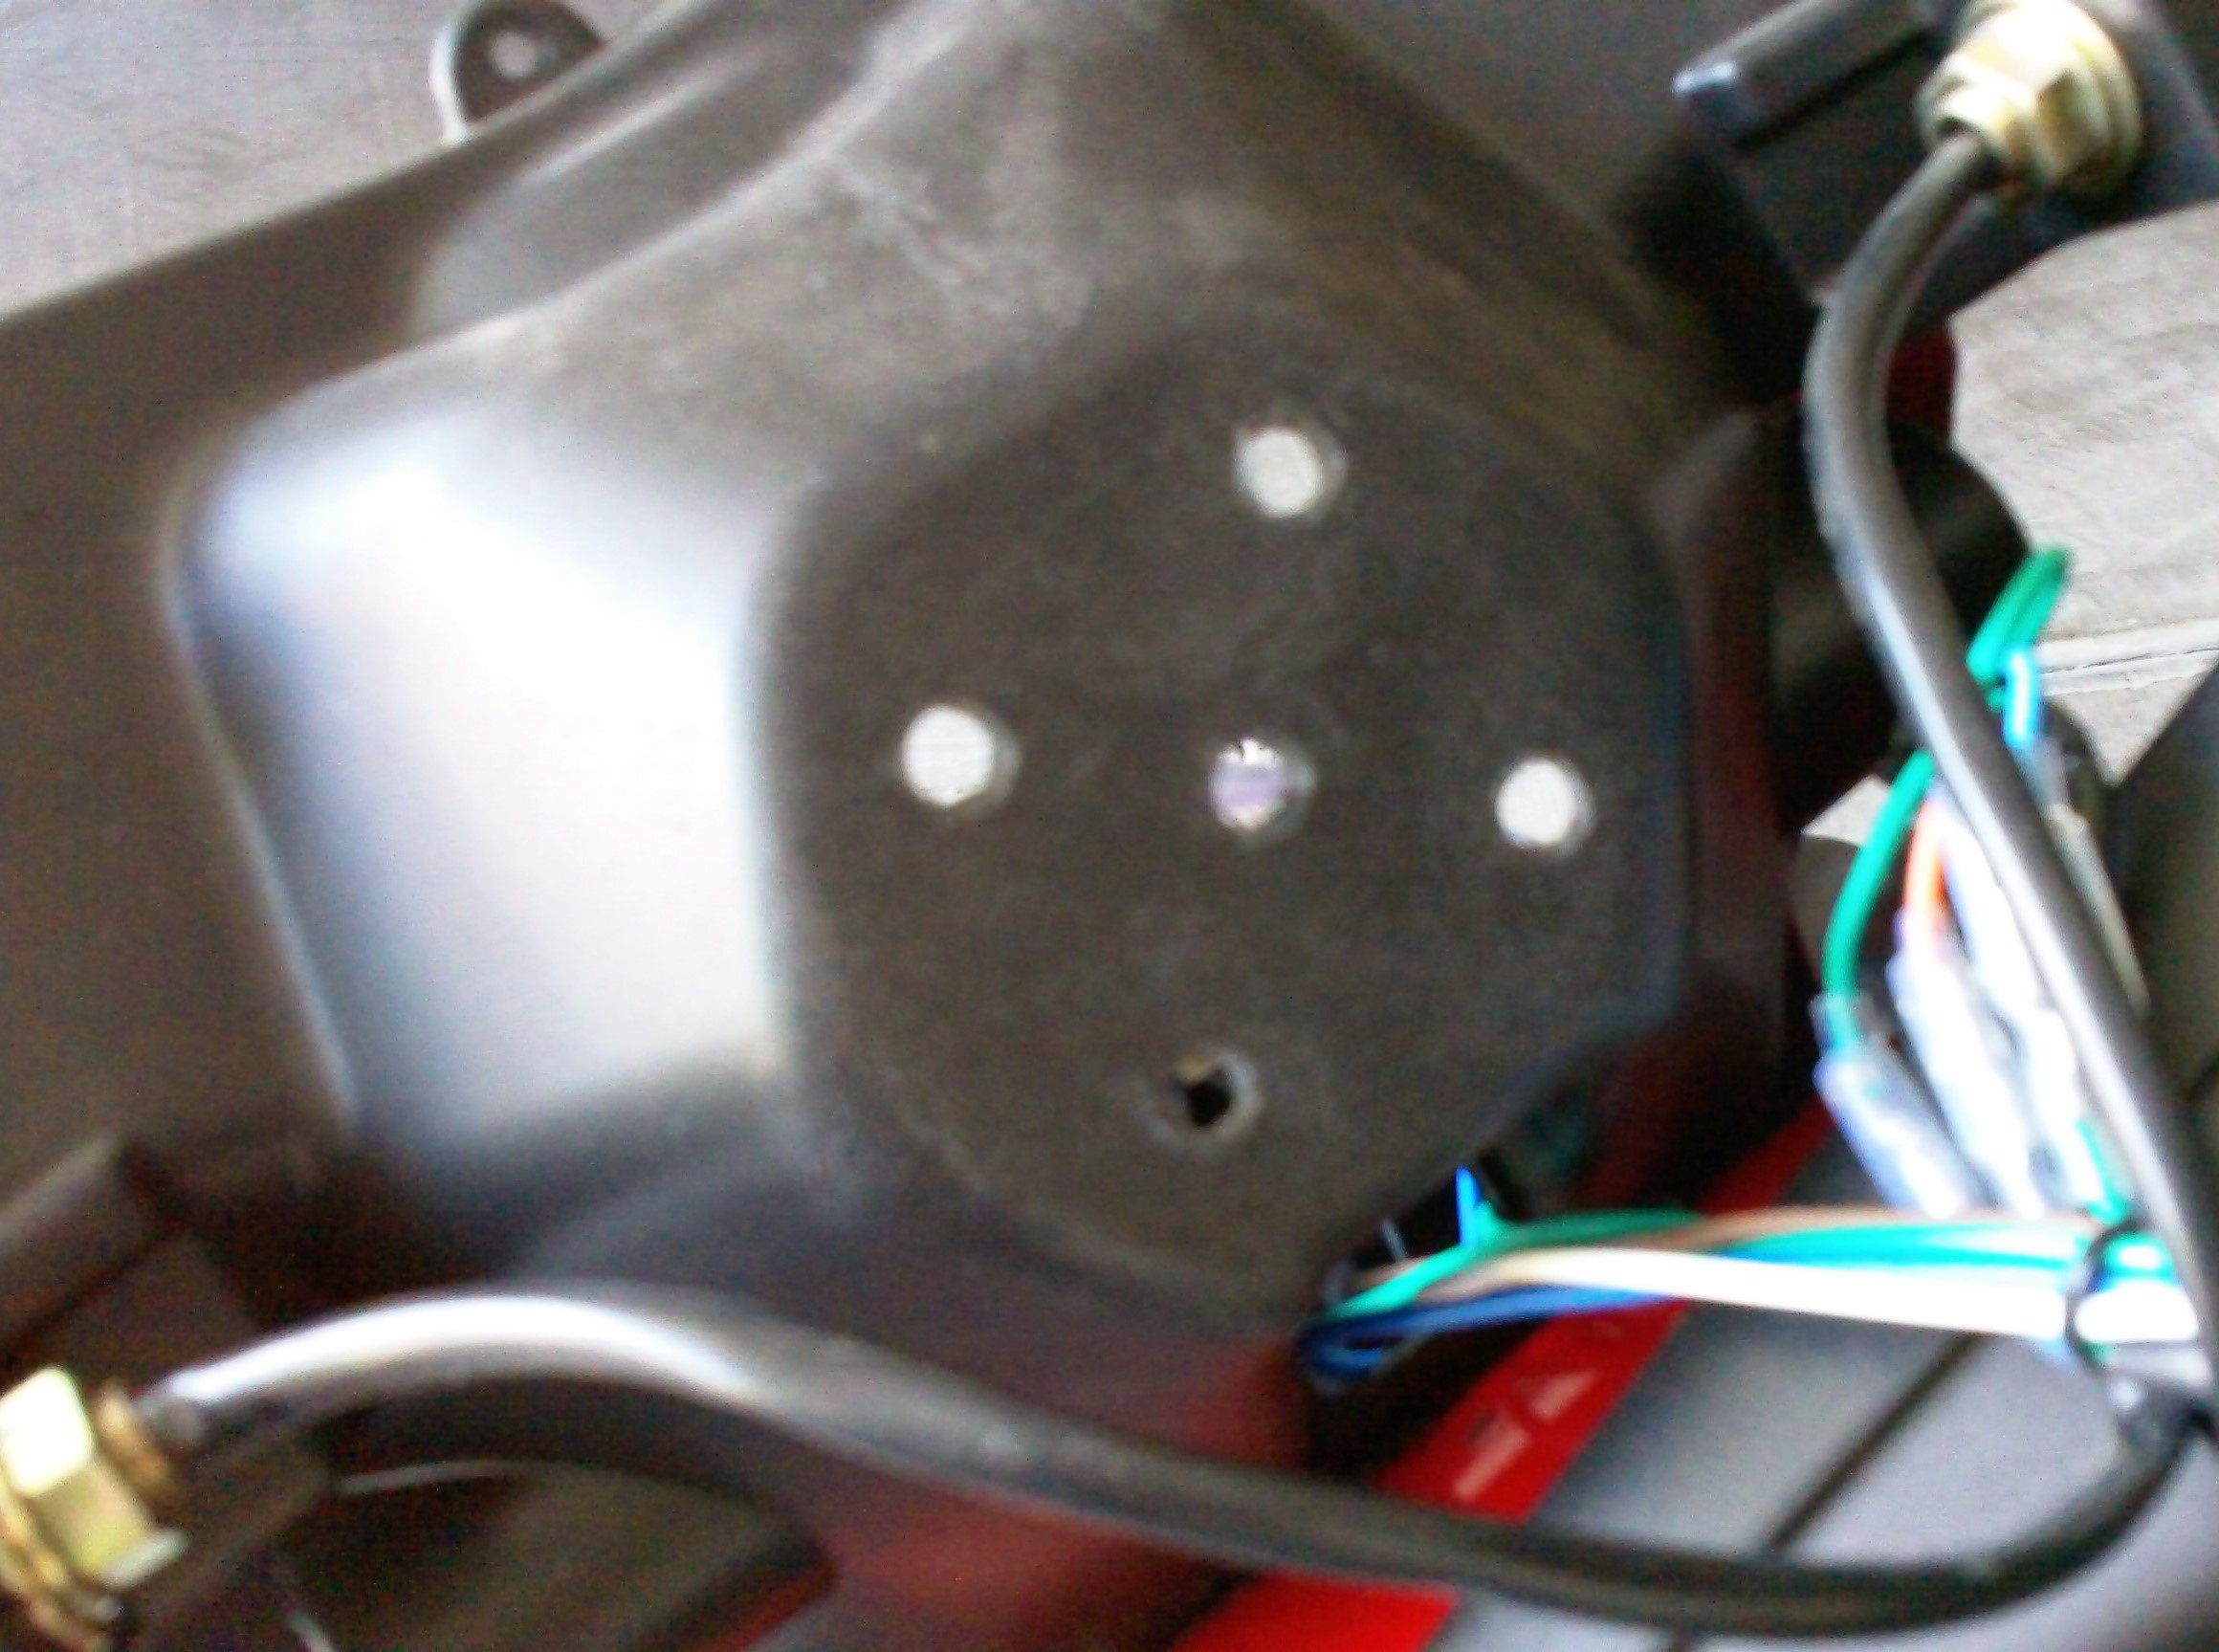
I drilled five ¼-inch holes, using a brad-point bit. Once complete, plug the LED lamp pigtail into the wiring harness. Carefully reassemble the lens to the lamp housing, and then the bezel to the lamp with the nine screws. Finally, test the light high and low beams.

The new LED headlight is considerably brighter than the stock bulb. In addition, the LED lamp should last many times longer.
This LED lamp is a direct replacement for the stock halogen light bulb, with some minor modifications:
First, as shown in the photo above, the LED includes a gray plastic collar. This collar is attached via two pins on the throat of the LED lamp. Remove this collar by turning counterclockwise, and then pulling it off. Save this gray ring to install the new lamp into the stock bulb housing.
Second, remove the stock headlight assembly. Remove the two 6mm hex mounting bolts at the side of the headlight assembly, then tilt the assembly forward of the windshield. Next remove the five Phillips screws holding the lamp bezel in place. Then remove the four screws holding the clear lens to the housing.
Third, remove the stock bulb. Unplug the wiring harness from the bulb and then remove the rubber boot covering the bulb. Next, depress the two locking tabs on the white ring surrounding the bulb and lift it from the lens. Note: save this bulb for a spare in your travel tool kit. All of the LED installation steps can be reversed in case the stock bulb needs to be reused.
Fourth, the LED lamp needs to be installed into the gray ring that was included with the new lamp. This gray ring fits into the headlight lens and there are three tabs that position it correctly. Note: the LED is designed to be installed with the clear section facing UP.
Temporarily reattach the gray ring to the LED and place this assembly in the lens hole. The tabs on the gray ring must match the slots in the housing AND the lamp must be positioned with the clear side up.
You have three possible positions – but once you have the gray ring in place correctly, use the white locking ring from the original bulb to lock it in place in the two side tabs.
You might need to first file down the two tabs that protrude from the top of the white locking ring. Because of the large heat sink on the back of the LED lamp, these tabs prevent the lamp from seating correctly.
File about 1/4-inch off each tab to allow the pins on the LED lamp to engage in the slots in the gray mounting ring.
Now there is enough clearance to press the LED lamp in place, and turn clockwise to lock in the gray ring.
Optional step: you may reuse the rubber boot by cutting a hole large enough to surround the heat sink on the LED. With a razor knife, cut a hole that prevents the boot from coming into contact with the hot lamp. Press the boot in place in the lens
Finally, it is recommended that you drill ventilation holes in the back of the lens housing. This surface is directly behind the heat sink and the holes will let air circulate to prevent melting the plastic. This back surface is almost vertical when the headlight is installed and is positioned well under the dash cluster. Little if any moisture should enter these holes while riding in the rain or normal washing of the bike.
I drilled five ¼-inch holes, using a brad-point bit. Once complete, plug the LED lamp pigtail into the wiring harness. Carefully reassemble the lens to the lamp housing, and then the bezel to the lamp with the nine screws. Finally, test the light high and low beams.
The new LED headlight is considerably brighter than the stock bulb. In addition, the LED lamp should last many times longer.