FT750 Rear Wheel Removal Tutorial
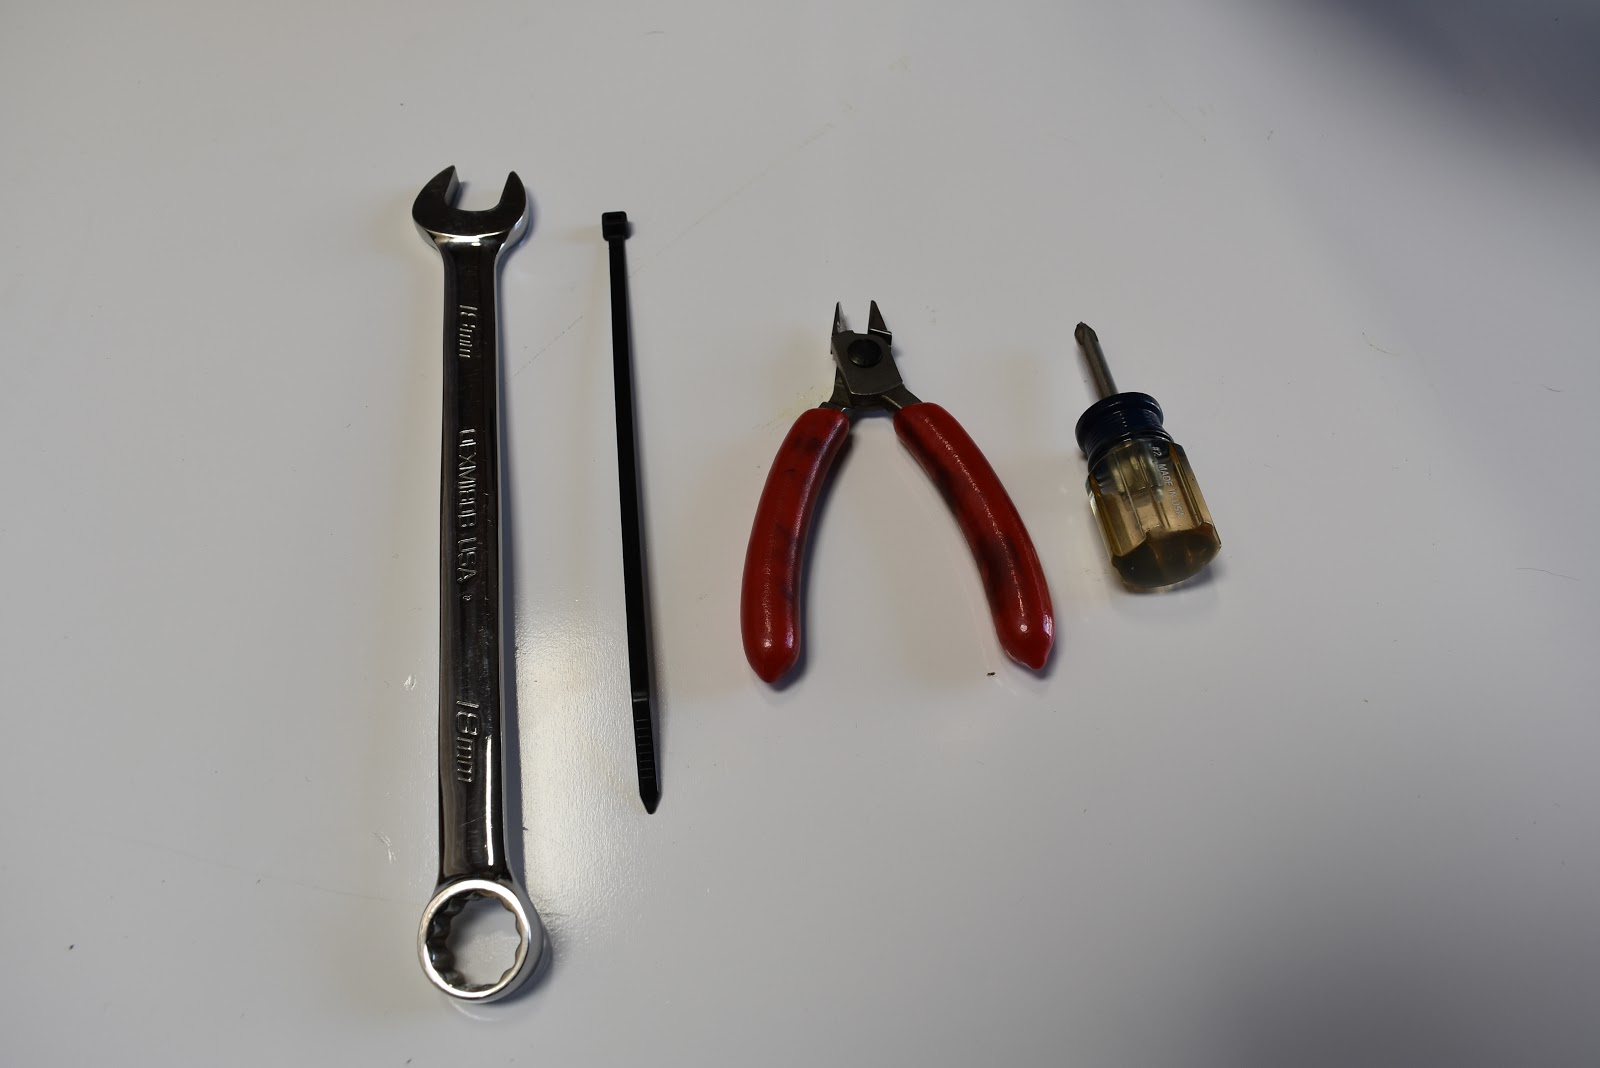
Tools List
· 18mm wrench
· Side cutters
· Small zip tie
· Stubby Phillips screwdriver (optional)
Steps
1. Place derailleur in the highest gear (i.e. the smallest sprocket).
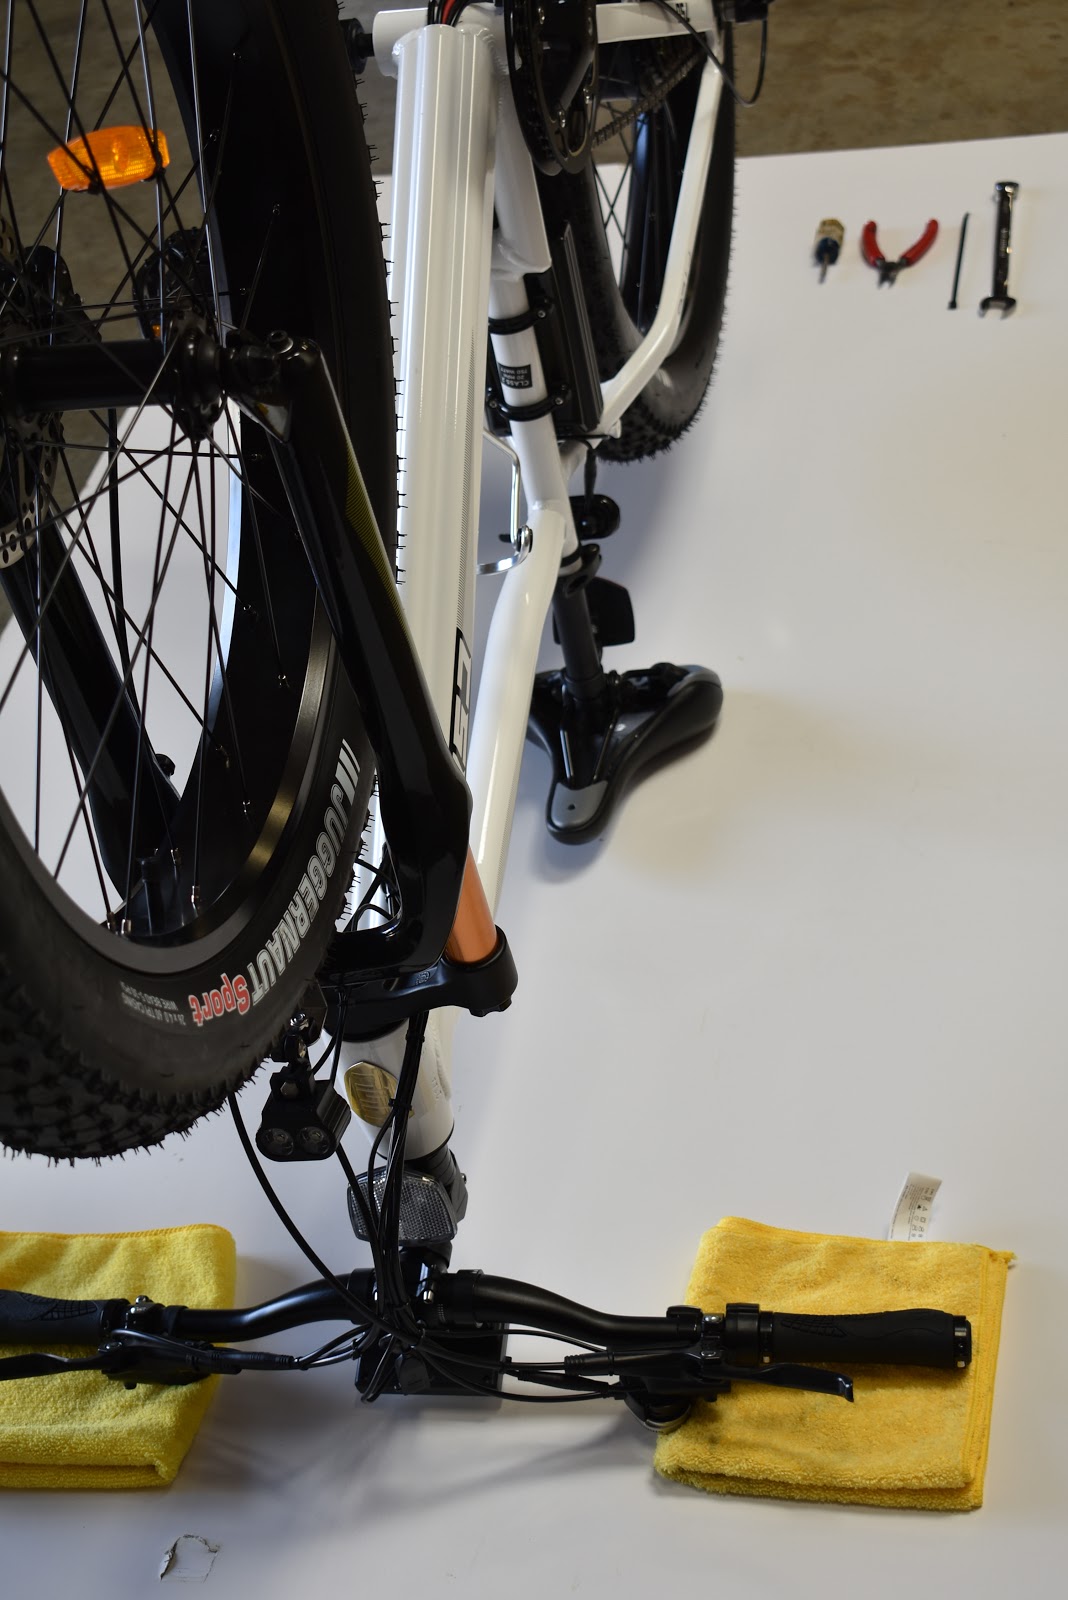
2. Flip bike upside down. Place padding under the handlebar controls to prevent damage.

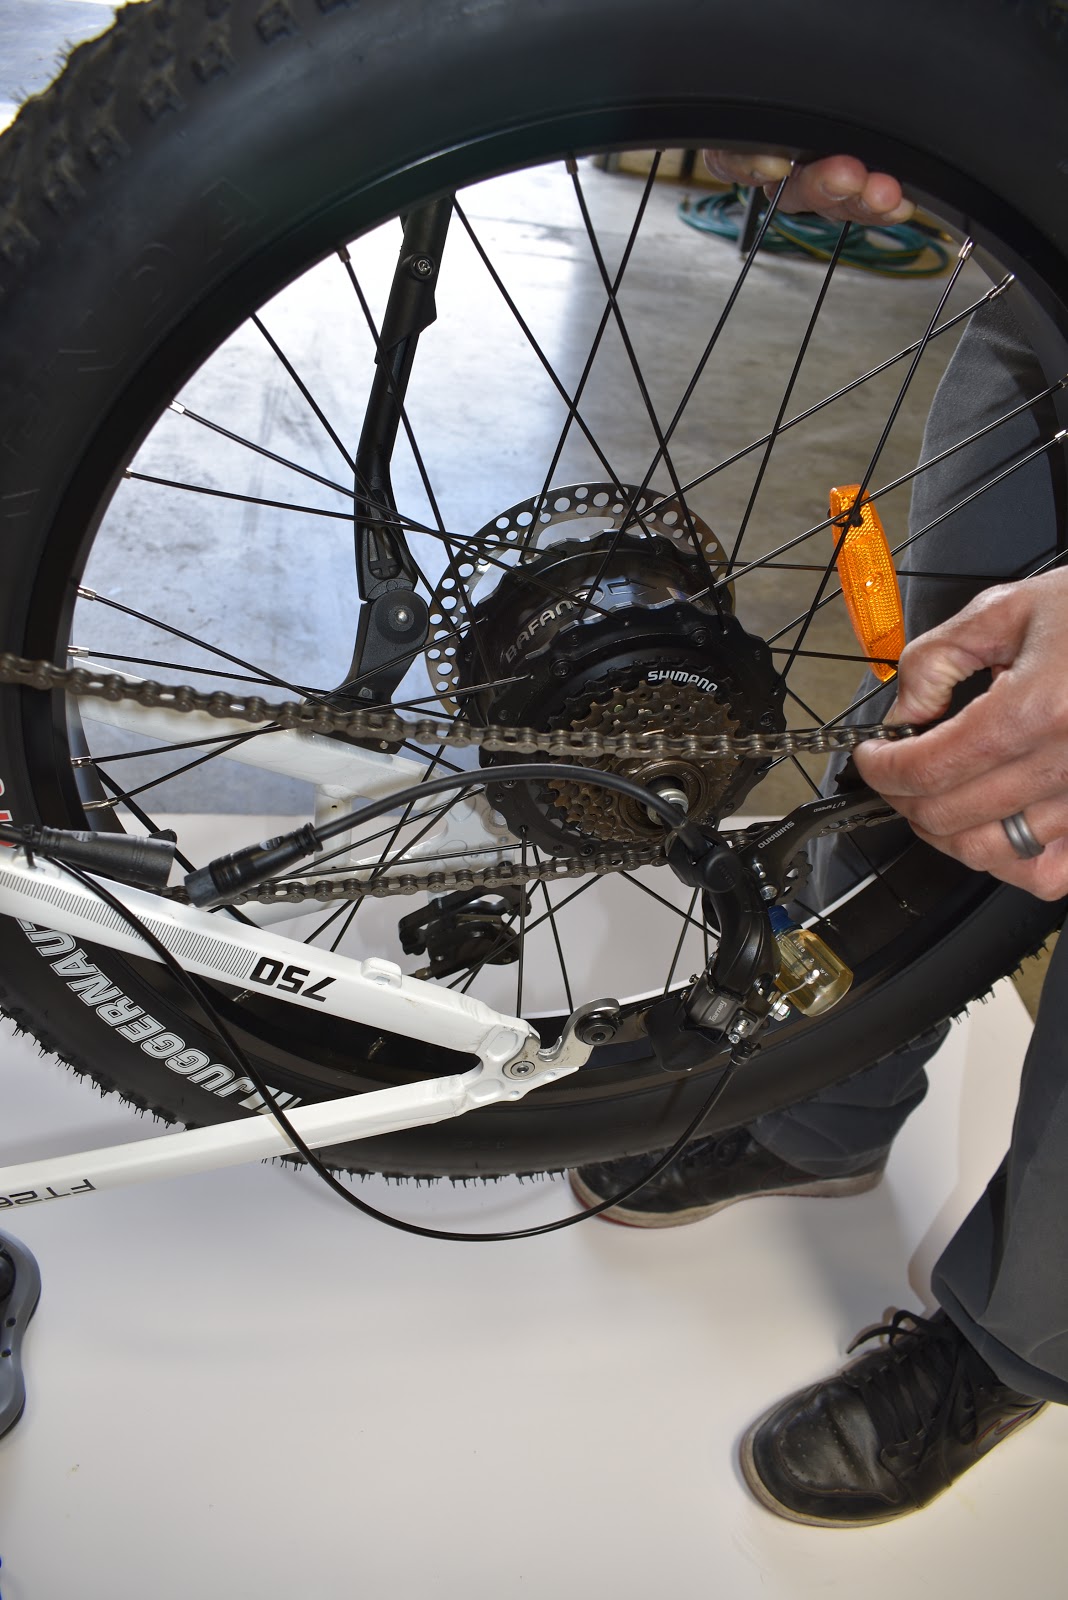
3. Unplug the electrical quick connector for the hub motor located on the bottom of the right chainstay. Make note of the index marks on the connector for proper reassembly.
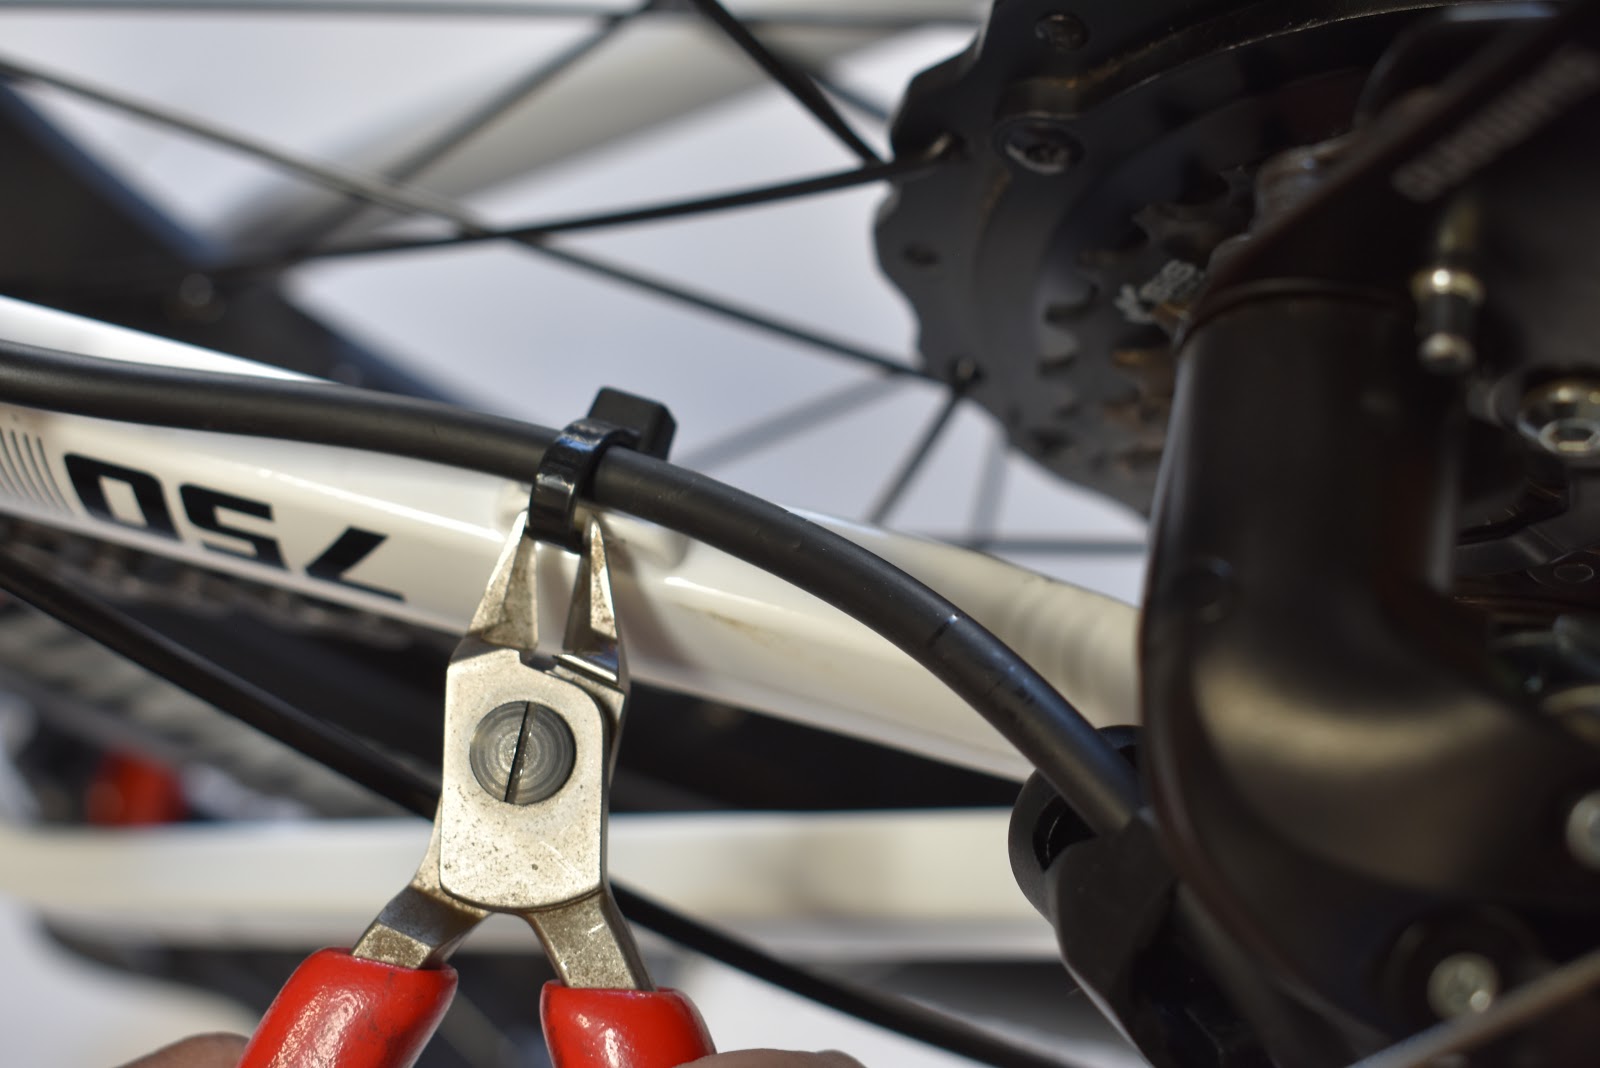
4. Cut off the rear zip tie on chainstay.
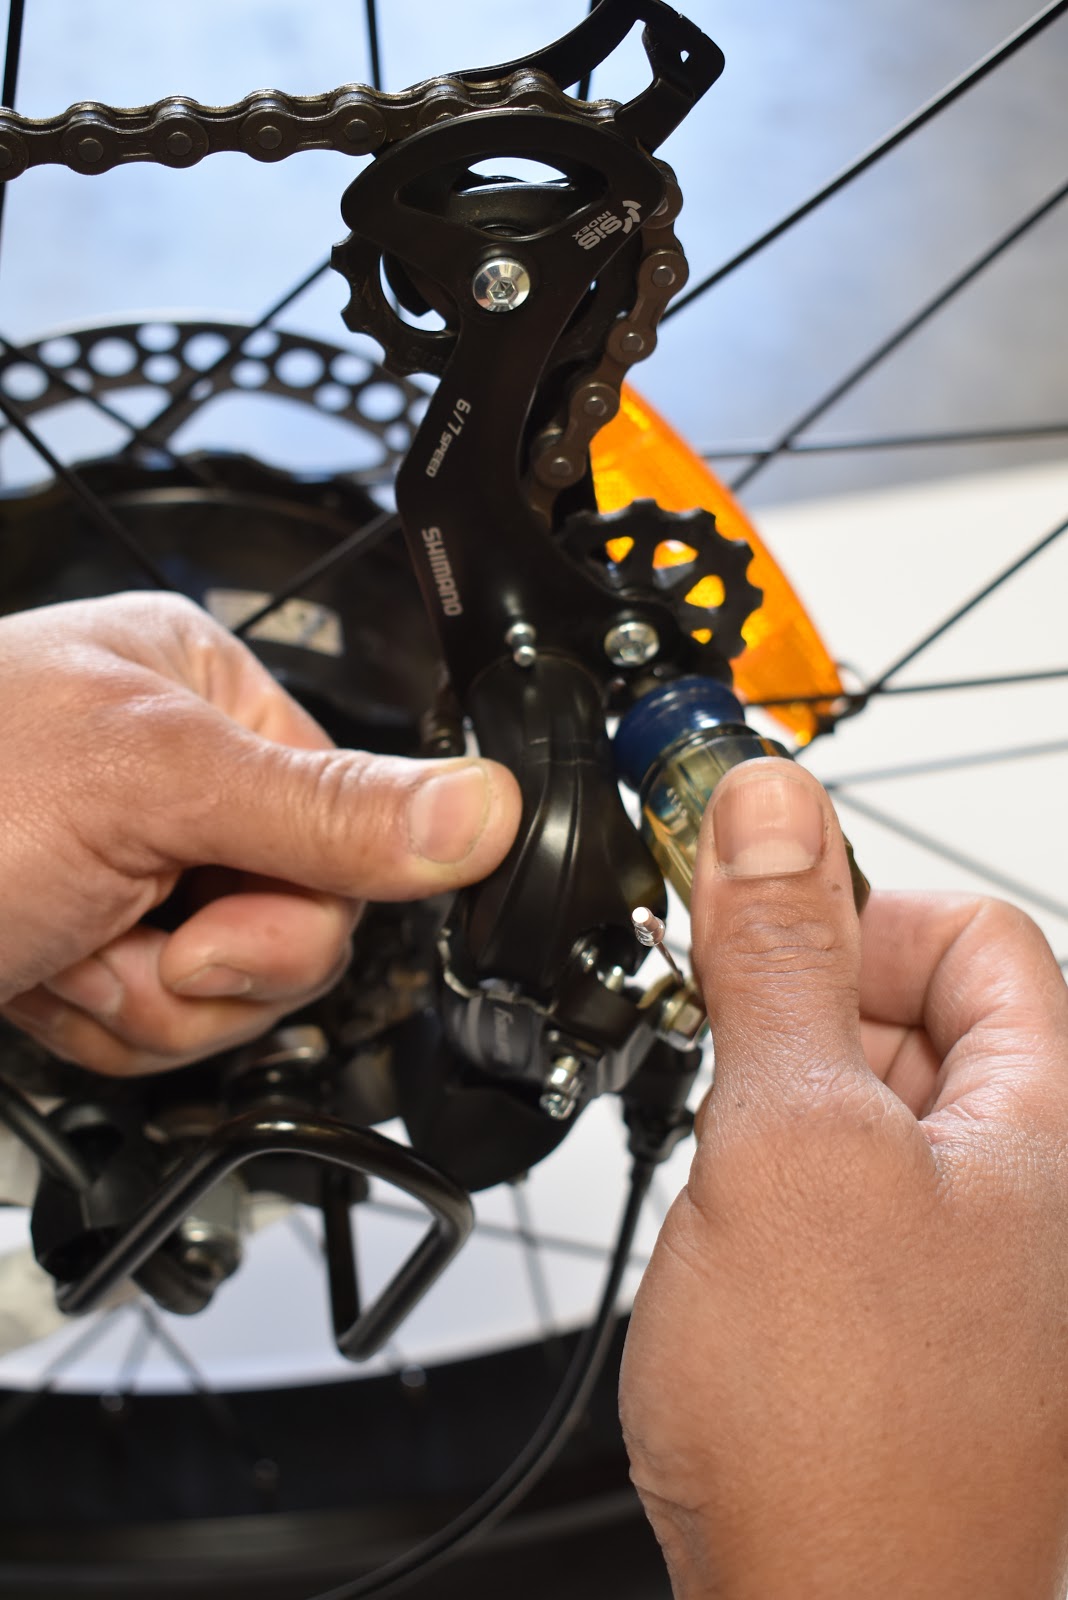
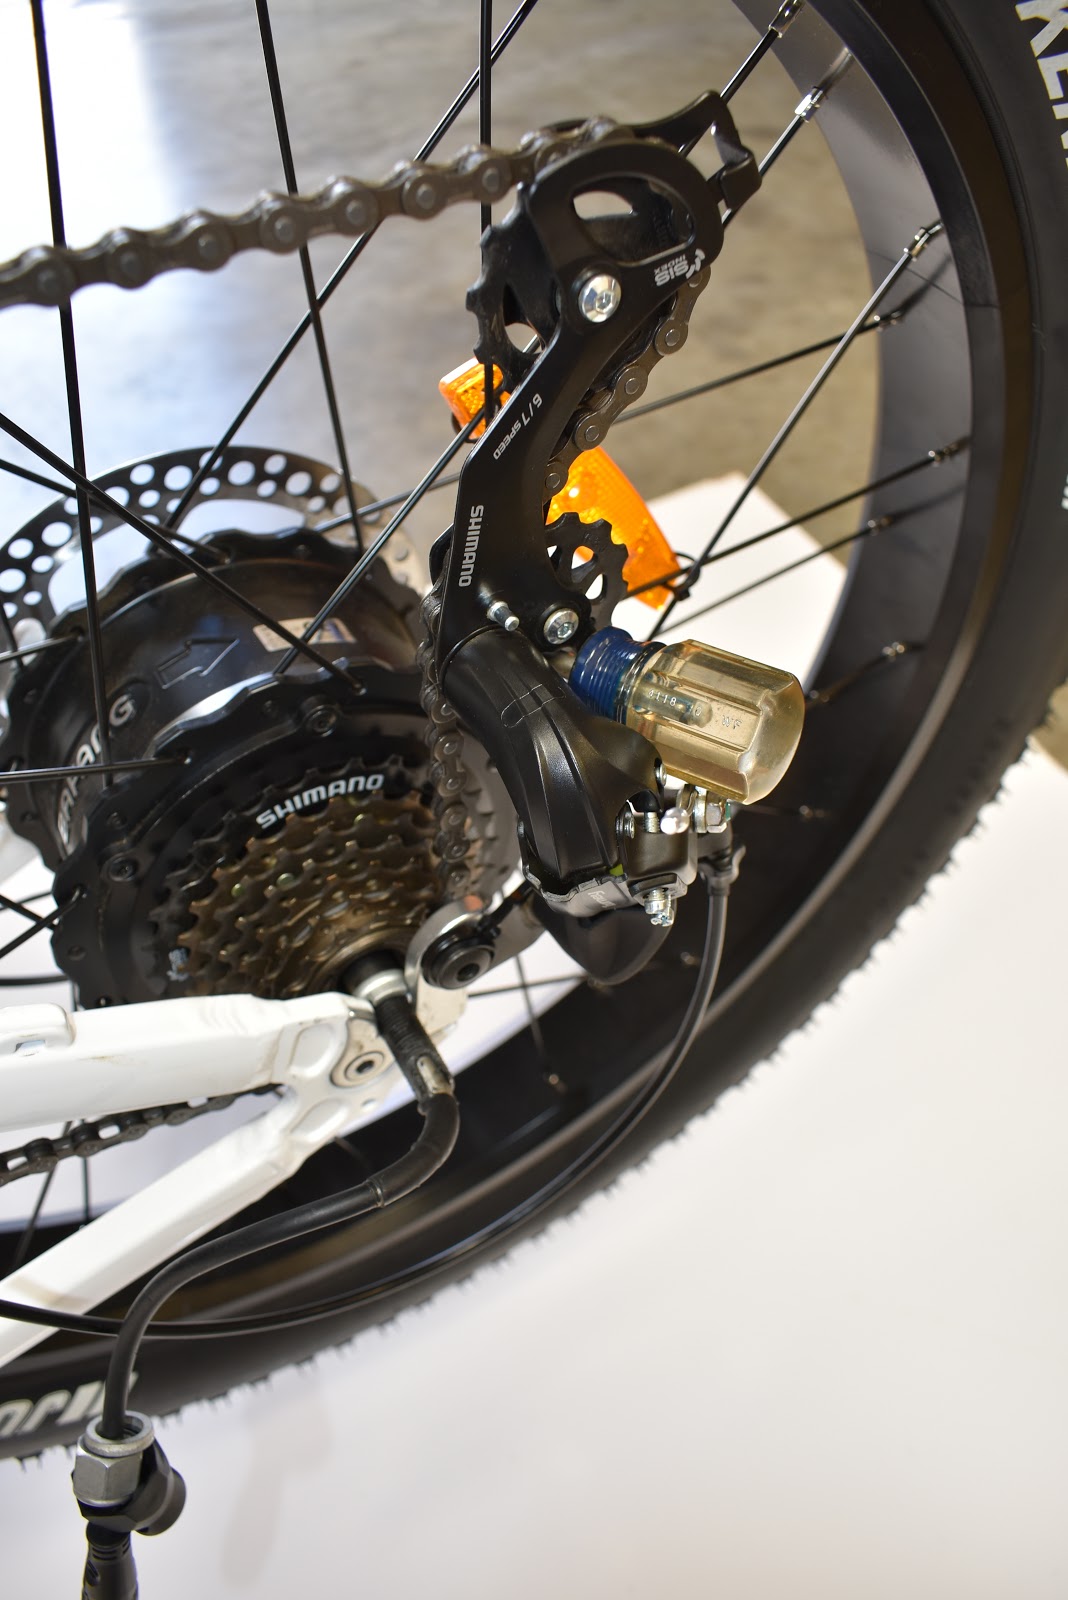
5. Pro tip: Having the derailleur extended will ease the removal and installation of the wheel. Completely extend the derailleur by turning the body clockwise and insert a stubby screwdriver through the opening of the derailleur cage and the upper jockey wheel.
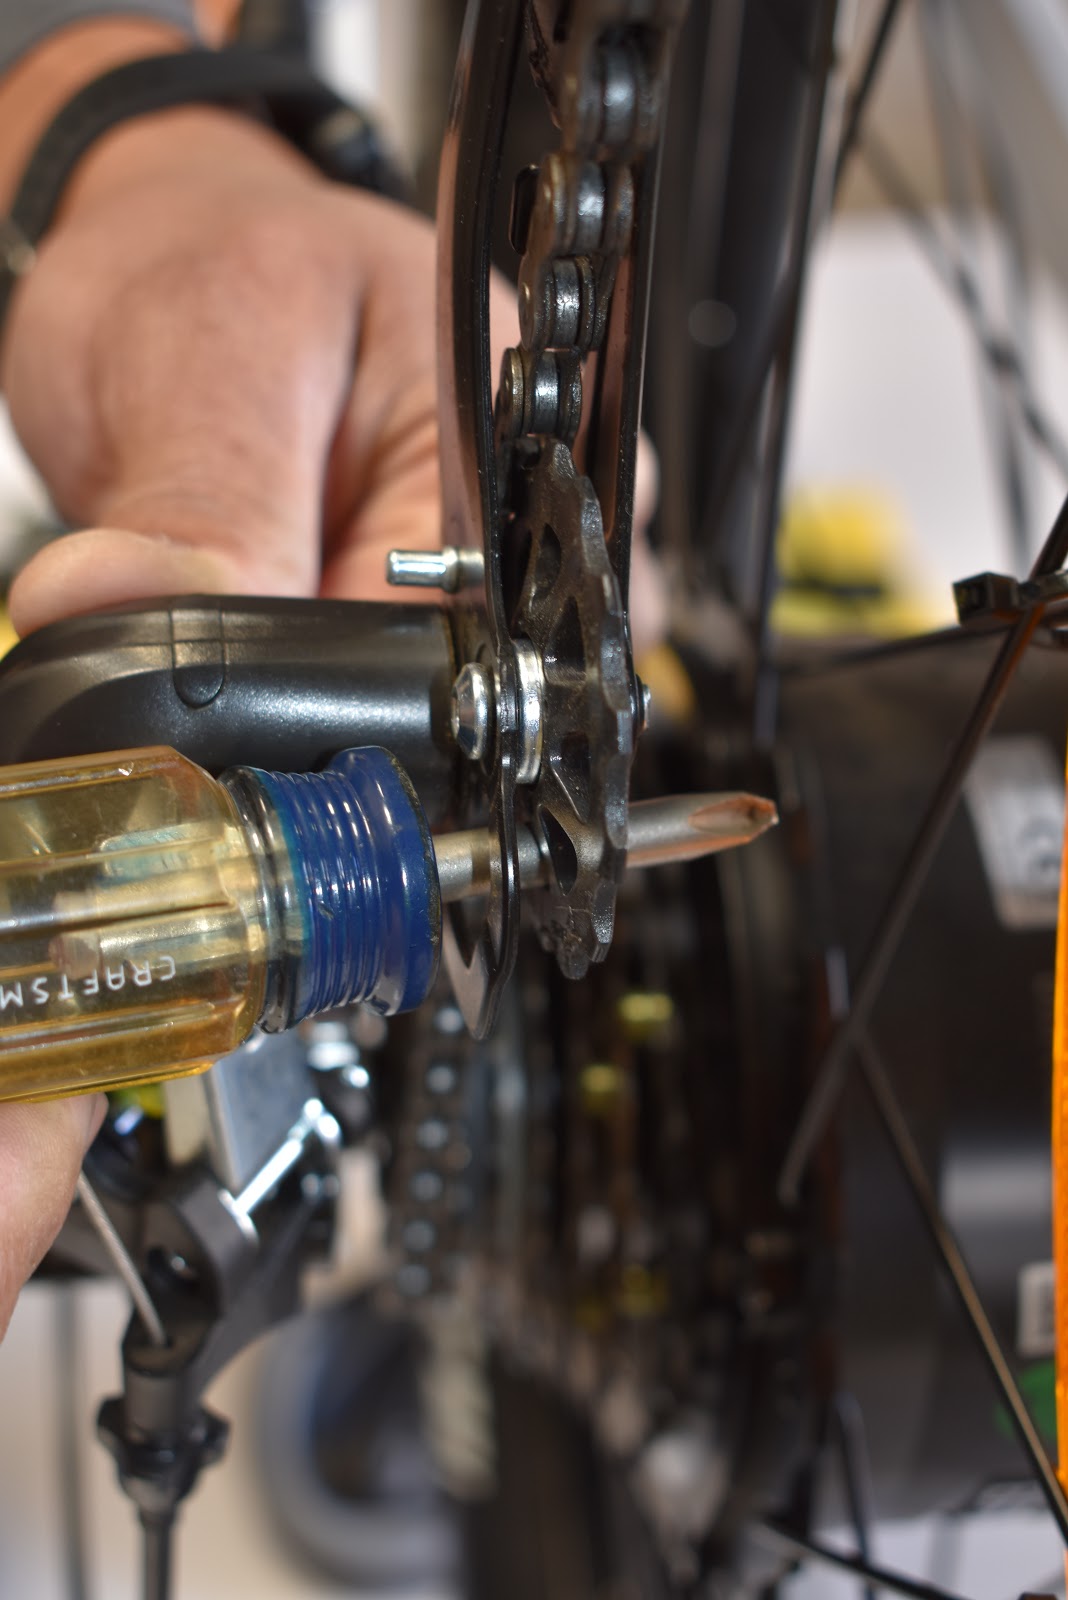
Spring tension from the derailleur will keep the screwdriver wedged in place.
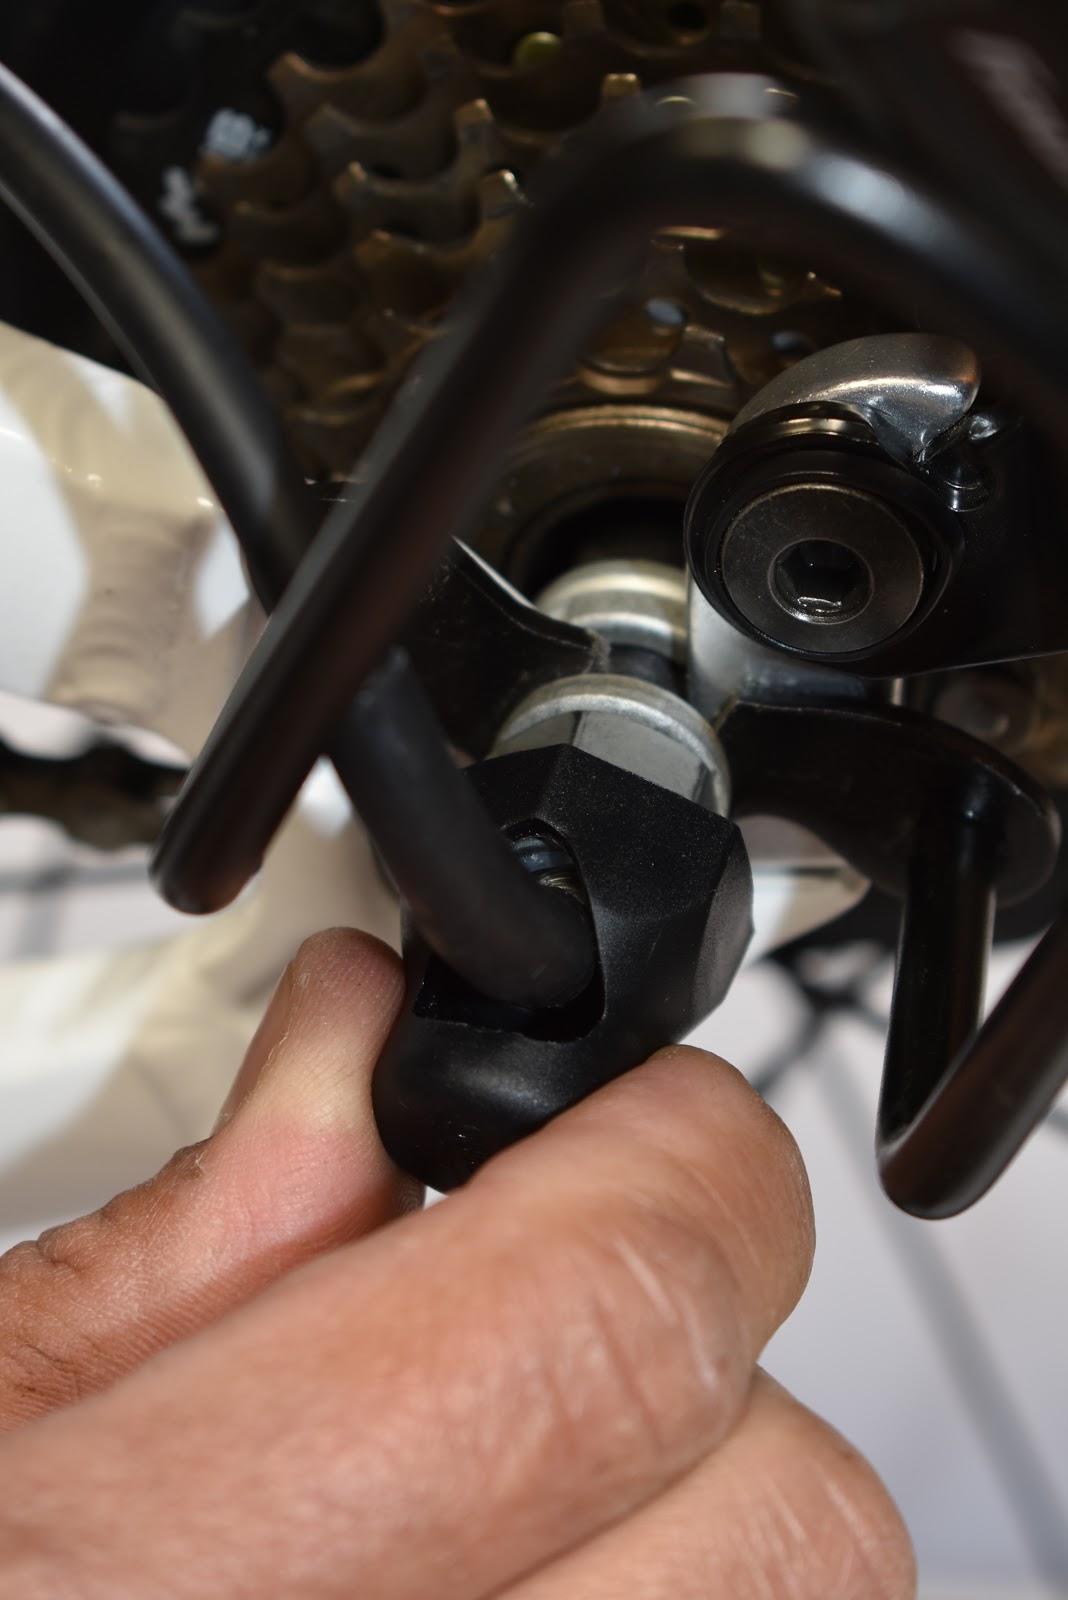
6. Pull off the plastic cover for the axle bolt.
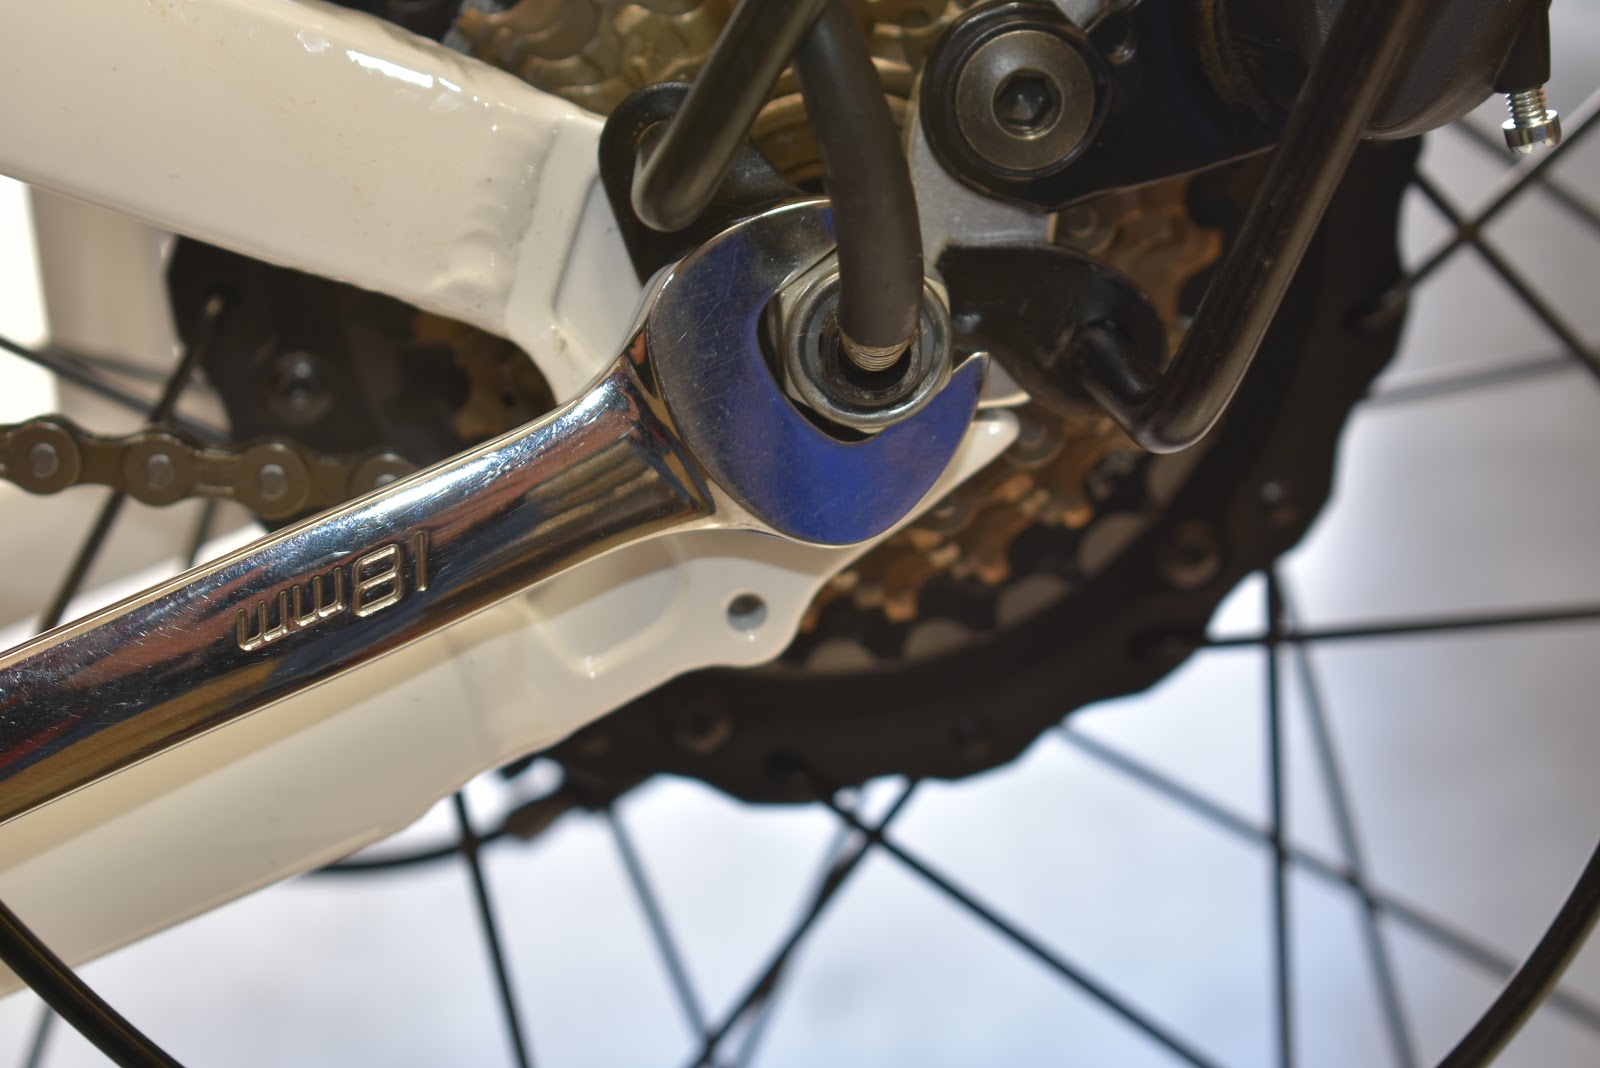
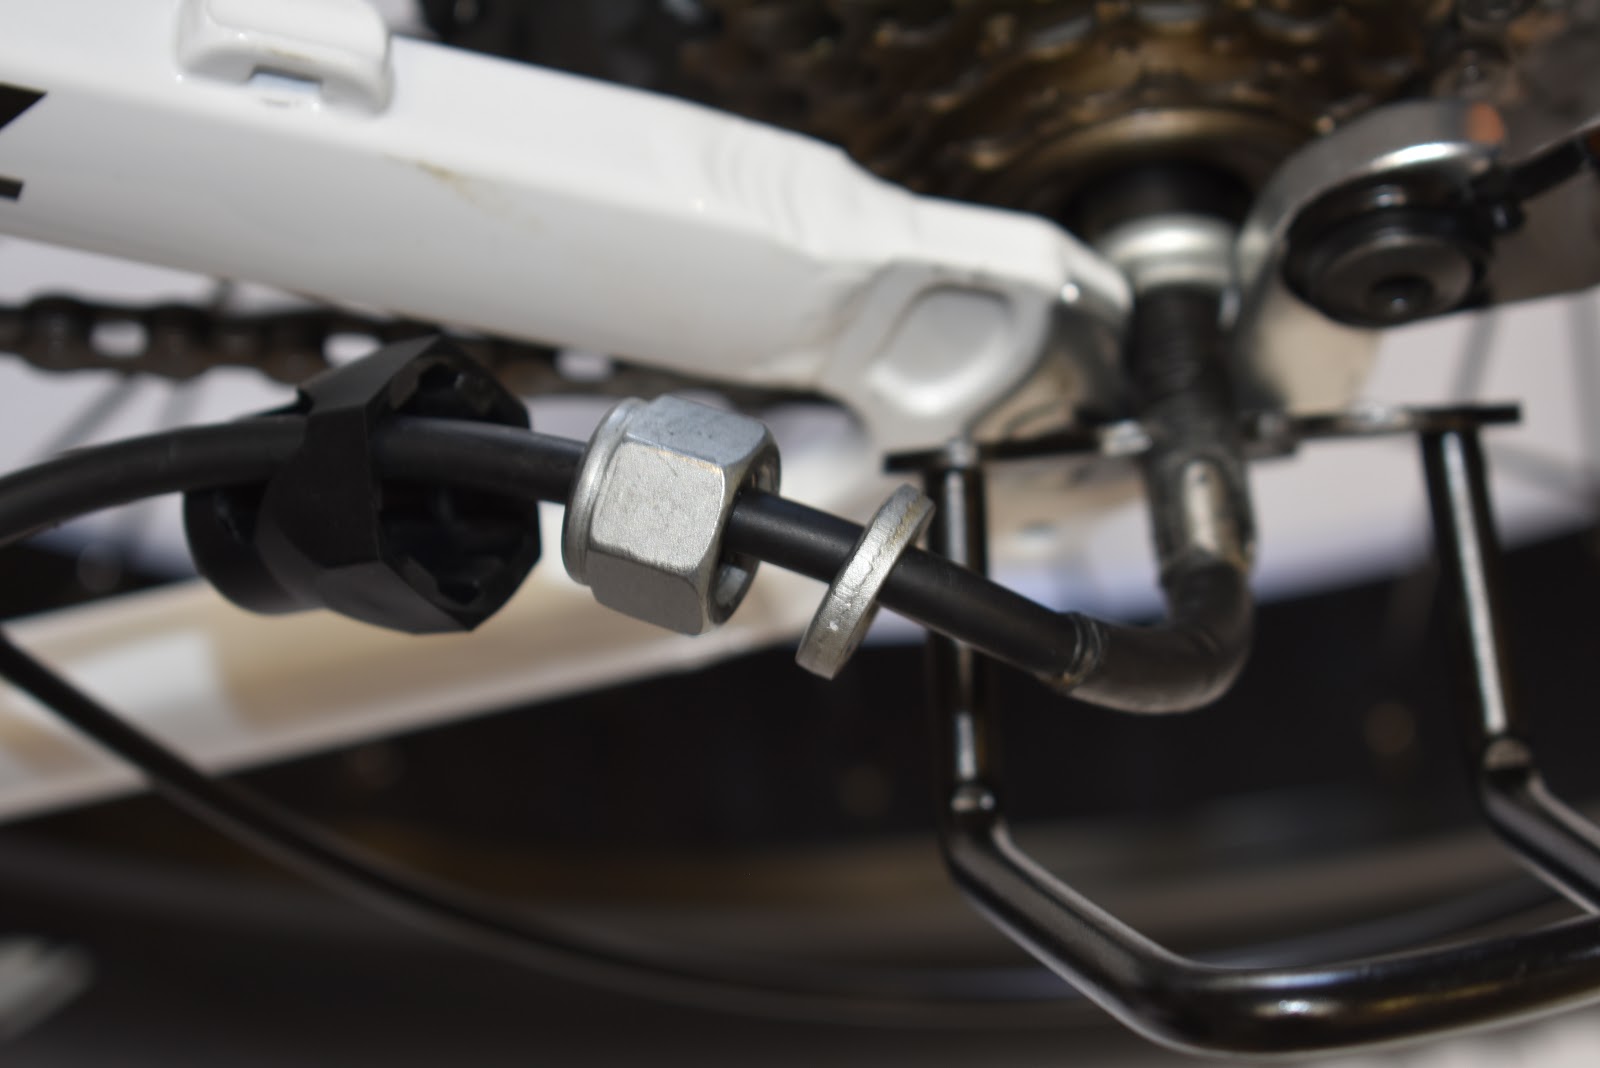
7. On the chain side of the e-bike, completely unscrew the 18mm rear axle nut and washer.
8.Slide down the nut and washer, taking care not to damage the hub drive cable coming out of the center of the axle. Remove derailleur guard.
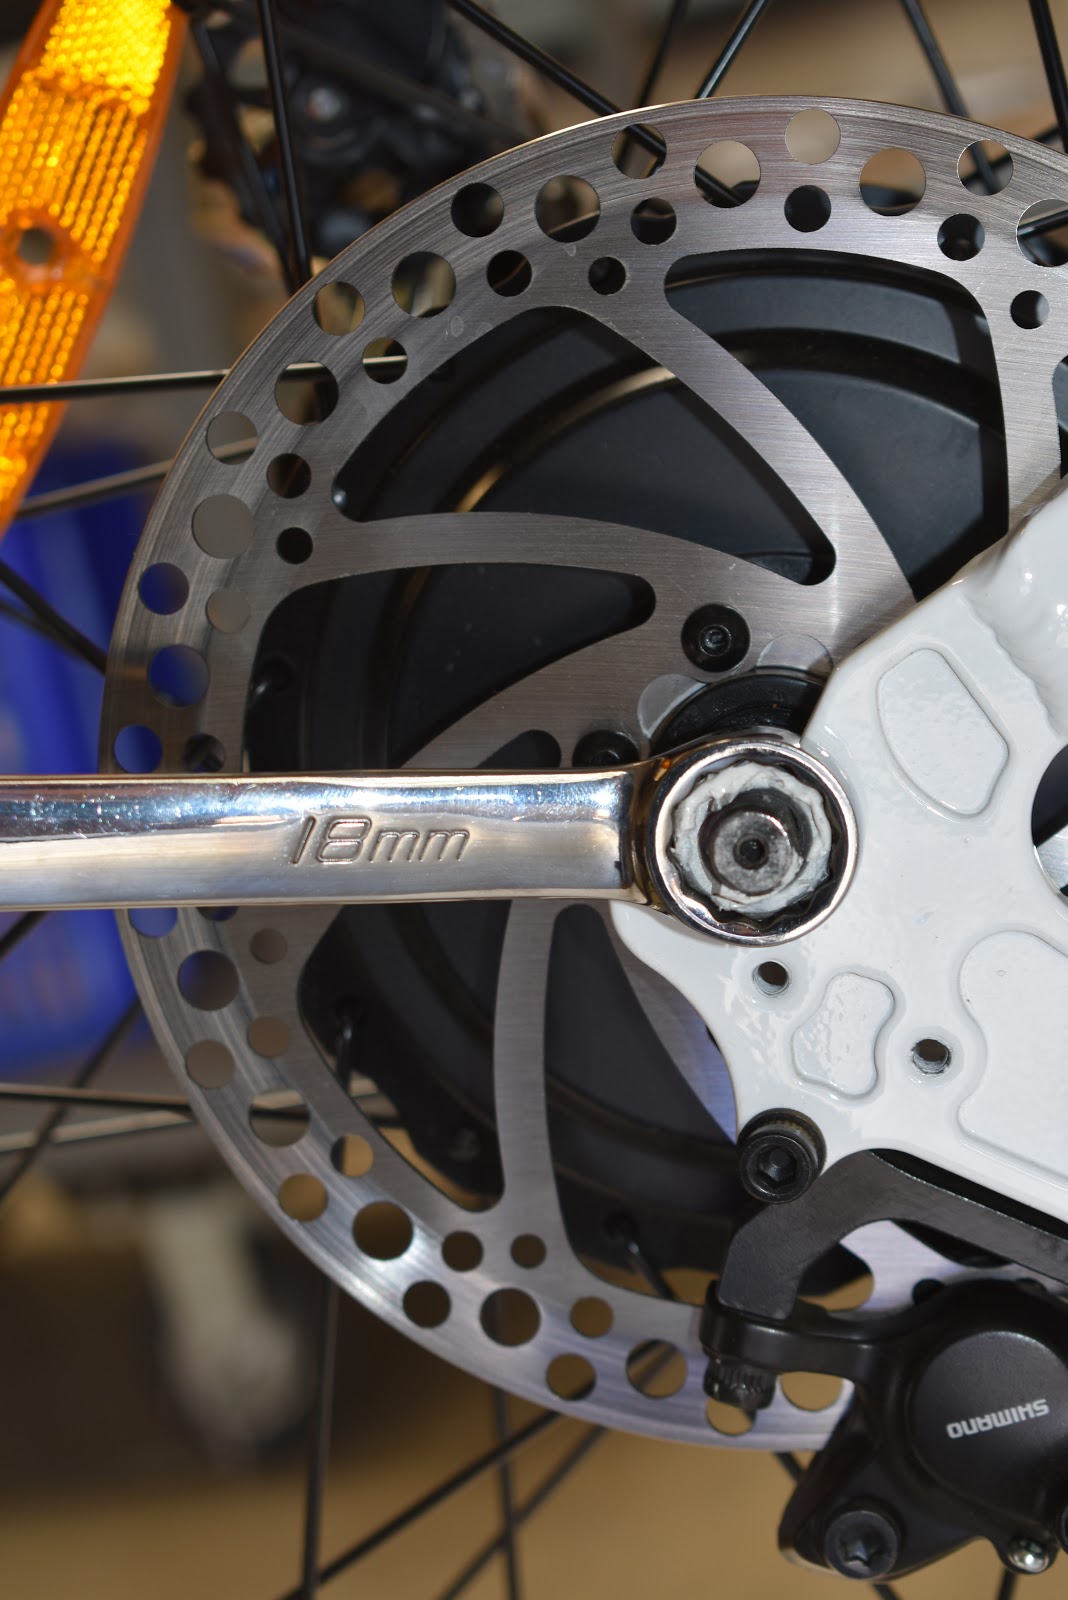
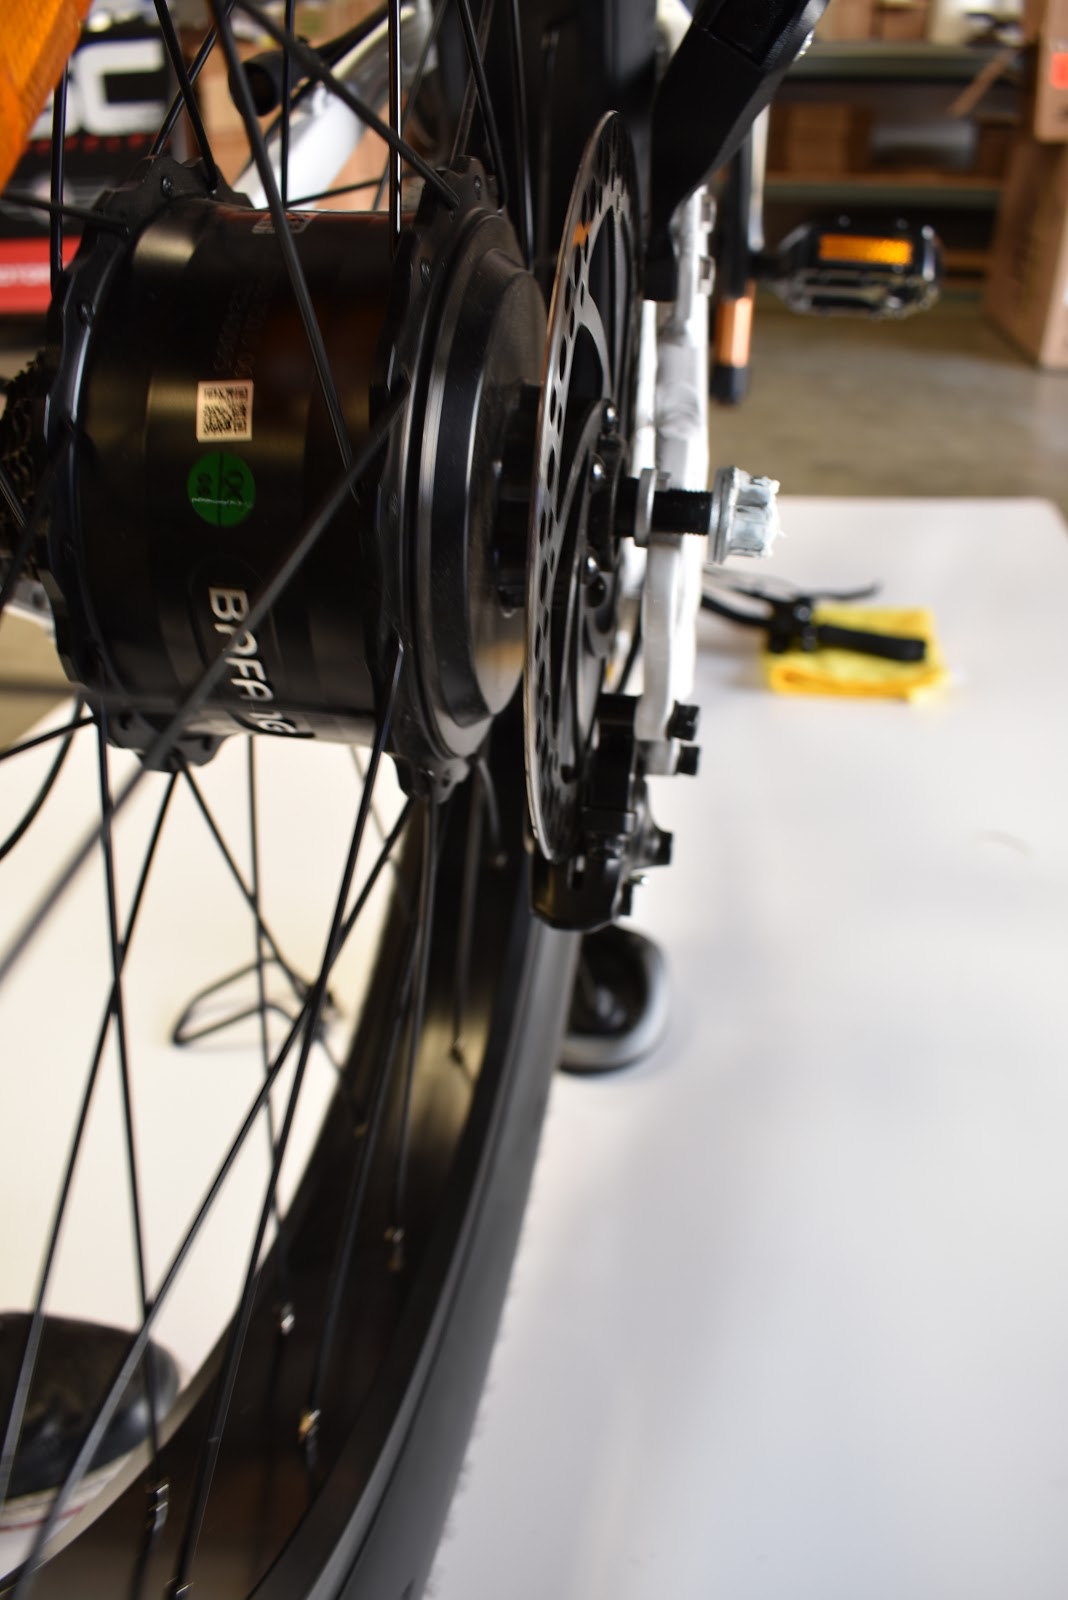
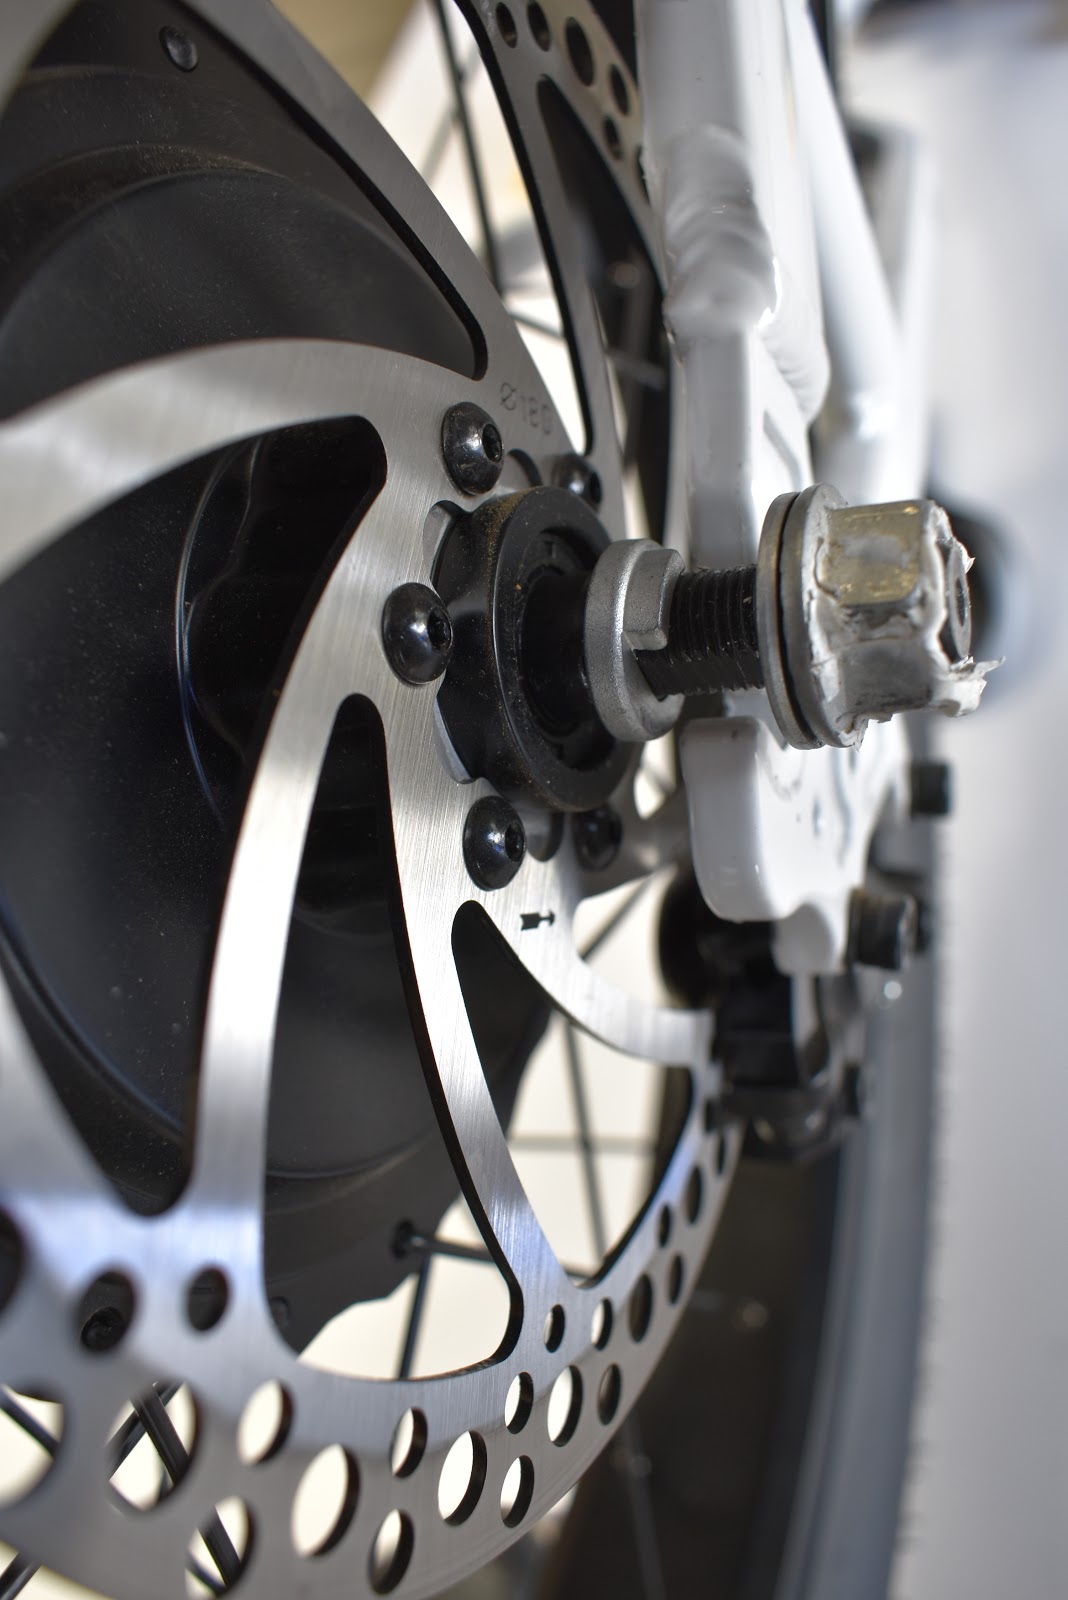
9.On the brake side of the bike, remove the glued-on black rear axle cover and loosen the 18mm axle nut. Completely removing is not necessary.
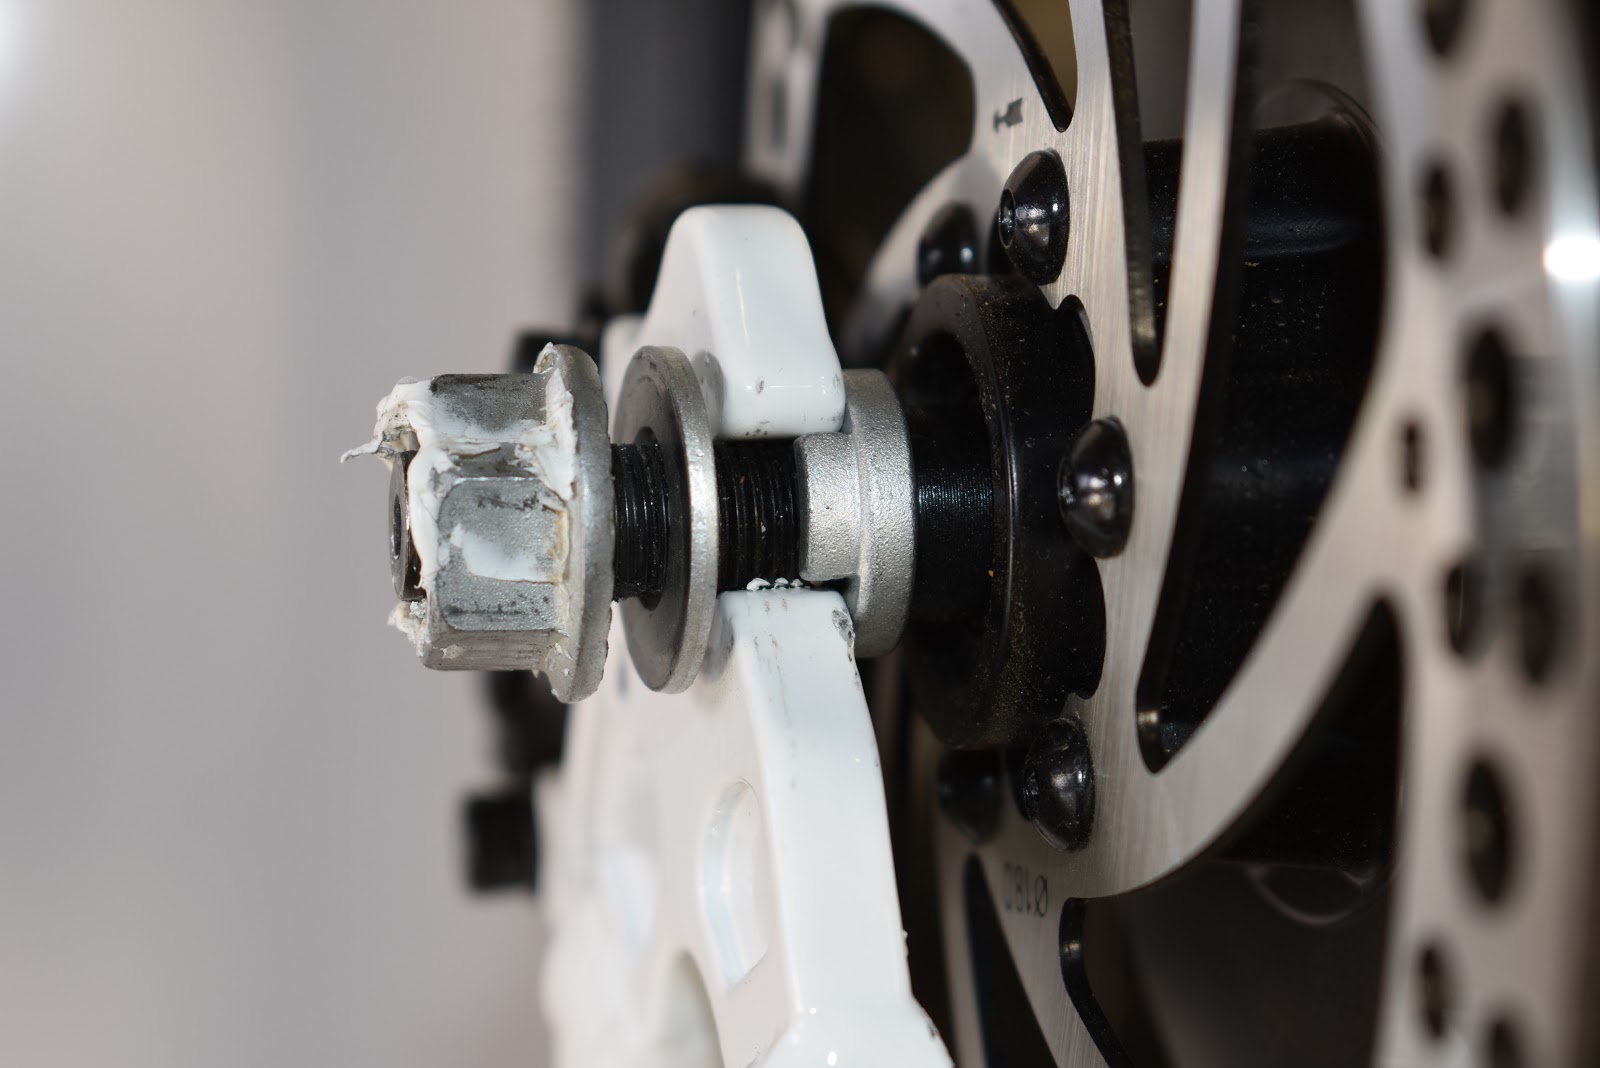
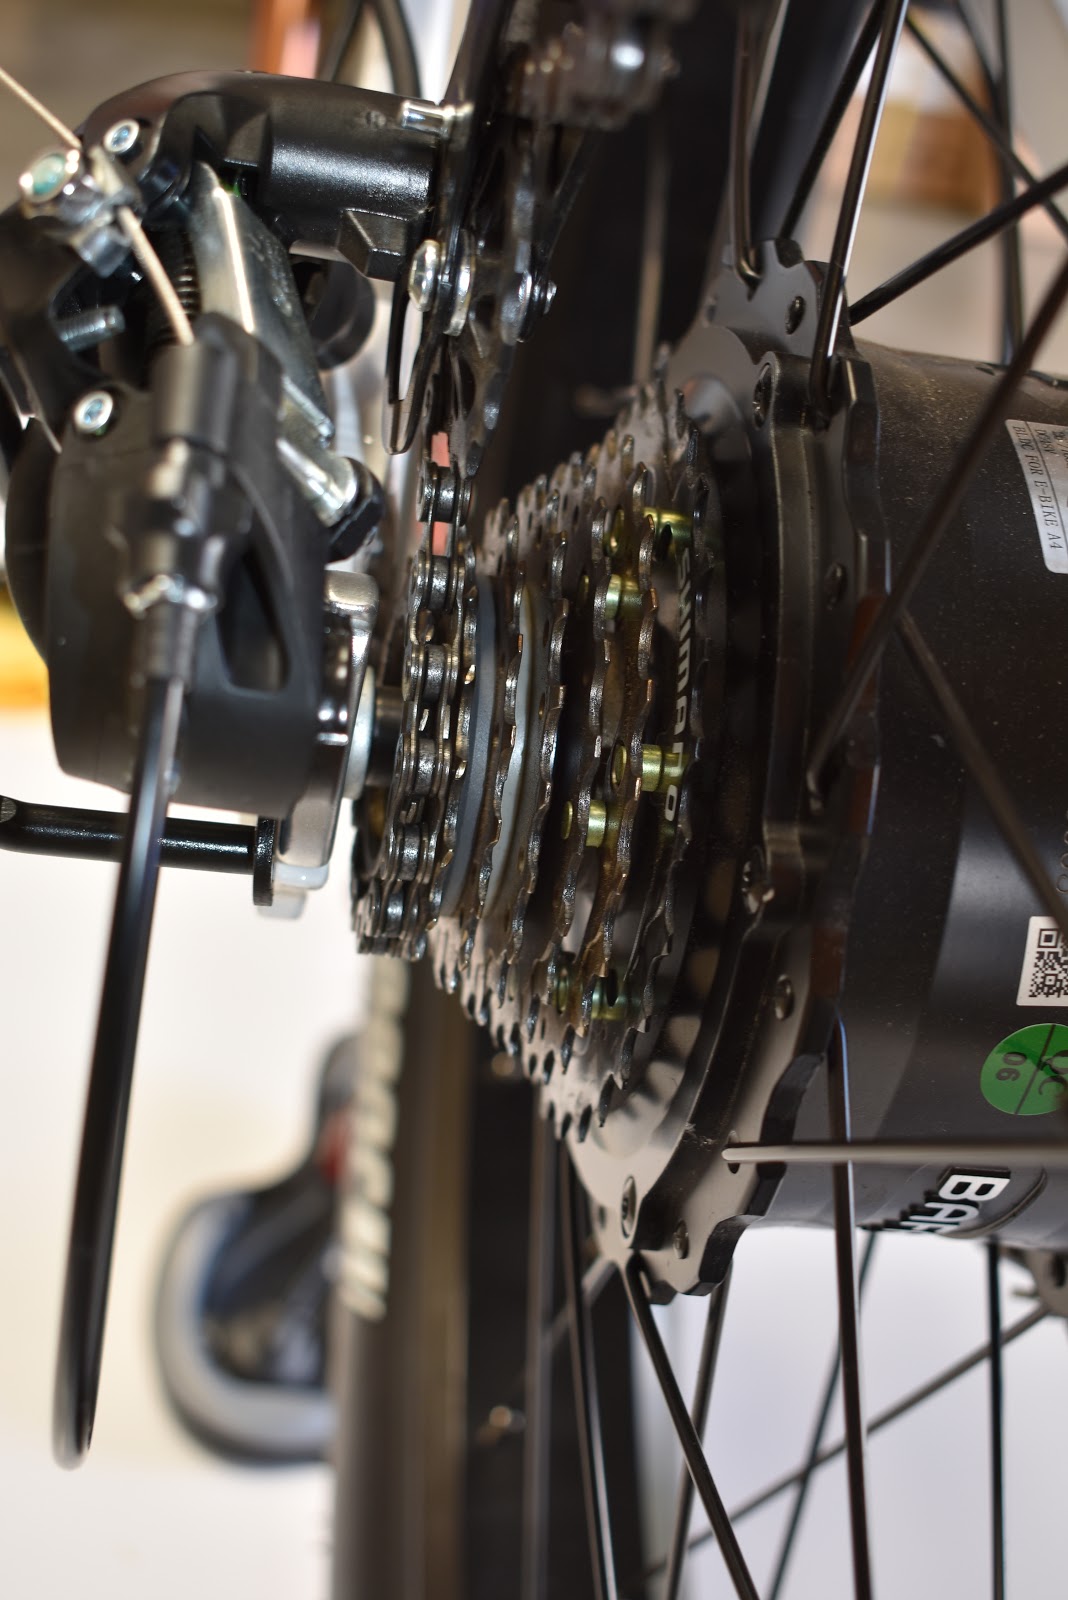
10. Make note of the order and position of the nut, flat washer and index washer.
11. Make note of the orientation and routing of the chain
12. Remove the rear wheel by carefully sliding the rear axle out of the dropouts. Unwrap the chain from the cassette and carefully free the hub-drive cable.
13. Assembly is the reverse of disassembly. Key things to look out for:
· Brake rotor is centered between the brake pads
· Chain is properly routed.
· Ensure the hub cable is properly routed and not to damage it.
· Axle index washers are inboard of the frame and face toward the opening of the dropout.
· Adequate torque is applied to axle nuts (40 Nm or 29 lb-ft) to ensure the hub motor doesn’t rotate the axle and cause severe damage.
· Adhesive/glue is required to retain axle cover on the brake side.
13. Replace zip tie on chain stay.
14. Relieve spring tension and remove stubby screwdriver from derailleur.
15. Spin crank and verify derailleur shifts through all gears smoothly.
16. Place bike right side up and pump the rear brake lever to ensure pads are close to the brake rotor.
17. Power up and test ride to verify everything is functioning properly.
18. Ride safe and enjoy your CSC FT750!
Please contact CSC at https://cscmotorcycles.com/contact-us/ or (800) 884-4173 with any questions.