Changing the SG250 & TT250's oil...
UPDATE: We have created a 500-mile Oil Change Kit for your first oil change. You can order it here: 500 Mile Oil Change Kit for The TT250 Enduro (cscmotorcycles.com)
So, here we go…our first maintenance tutorial on the TT250! One of the most basic maintenance actions is changing your oil. This one was easy to do (easier than the RX3, even), partly because the TT250 only has one oil strainer/filter (the RX3 has three), and partly because the TT250’s engine is essentially a modification of our tried and true CSC-250 engine (and those things are bulletproof).
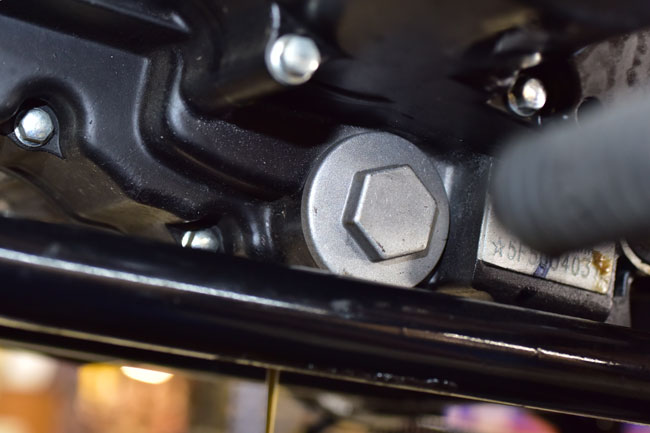
Let’s first consider the key parts of the TT250 and how we’ll use them when changing this motorcycle’s oil. These include the oil (we use a 10W40 oil designed for motorcycles, and we sell both non-synthetic and synthetic oil), the oil dipstick (on the right side of the crankcase), the oil viewing port (on the right side of the crankcase), the 17mm oil drain plug (underneath the crankcase), the 24mm oil strainer cap (on the lower left side of the engine crankcase), the oil strainer spring (beneath the oil strainer cap), and the oil strainer (held in place by the oil strainer spring).
The first step is to put an oil drain pan underneath the motorcycle to catch the oil as it drains from the engine.
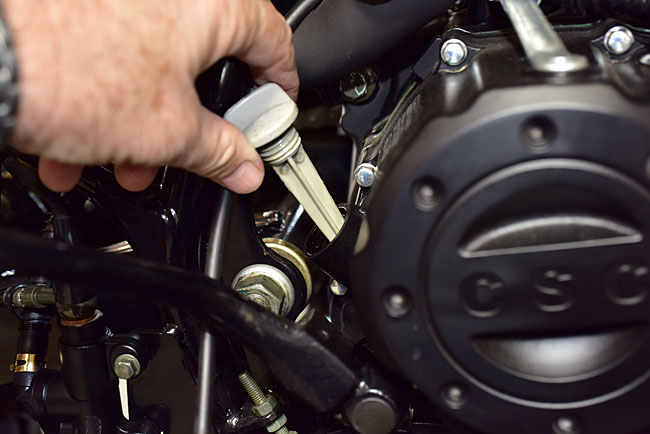
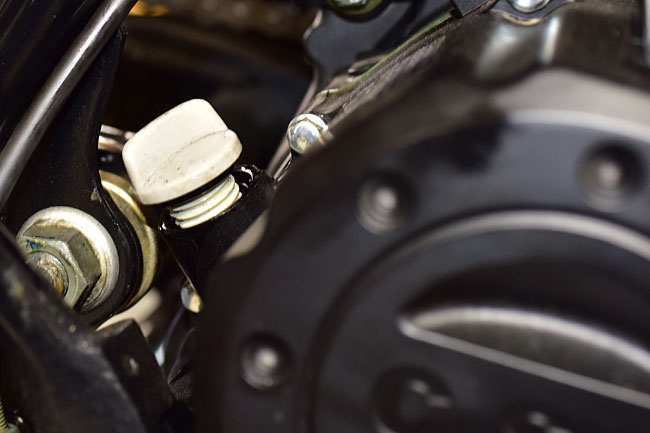
Remove the dipstick from the engine, as shown below.
-
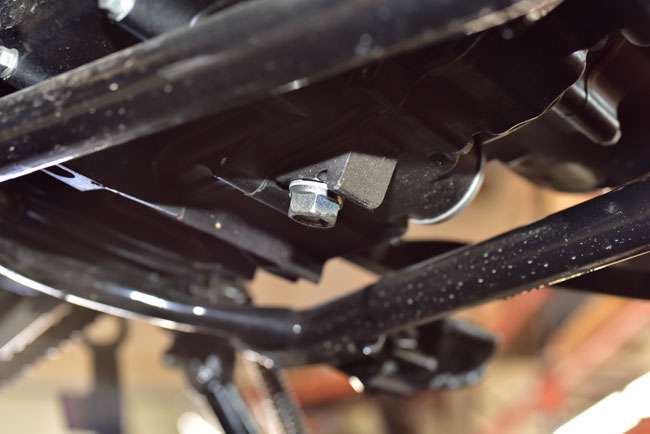
Remove the oil drain plug underneath the engine and allow the oil to drain. Hold the bike in the vertical position so all the oil drains.
-
-
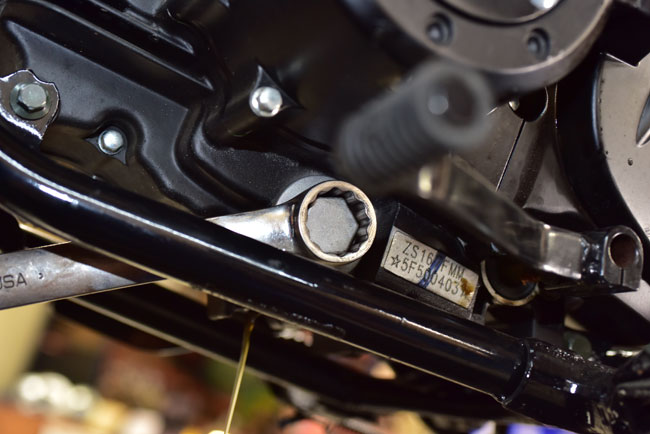
Remove the oil strainer cap on the left side of the engine.
-
-
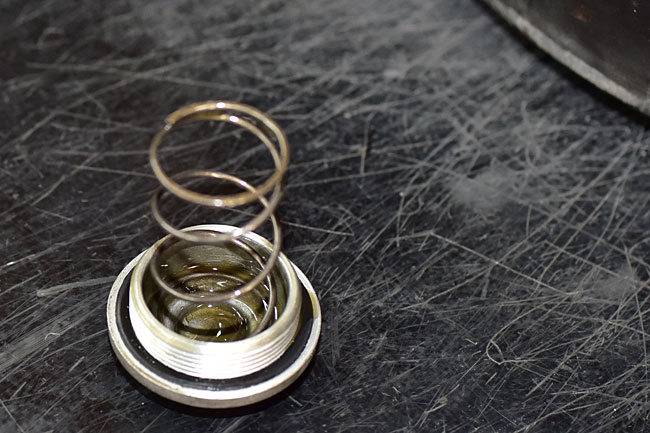
When the oil strainer cap is removed, there will be a spring inside of it, as shown below.
-
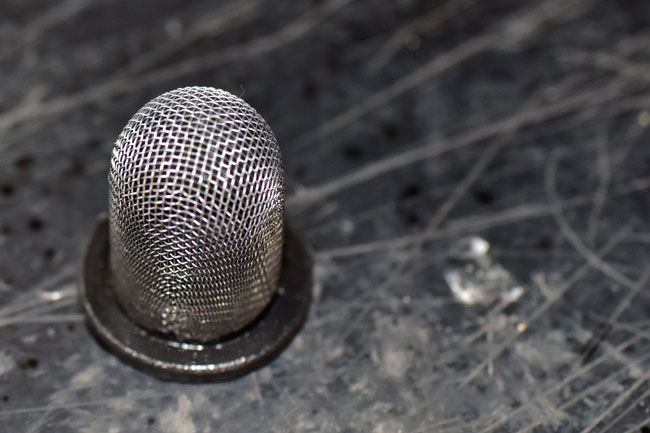
Usually, the oil strainer remains in the engine when the oil strainer cap and spring are removed. You’ll have to reach into the engine with a pick or a screwdriver to get the oil strainer out of the engine.
-
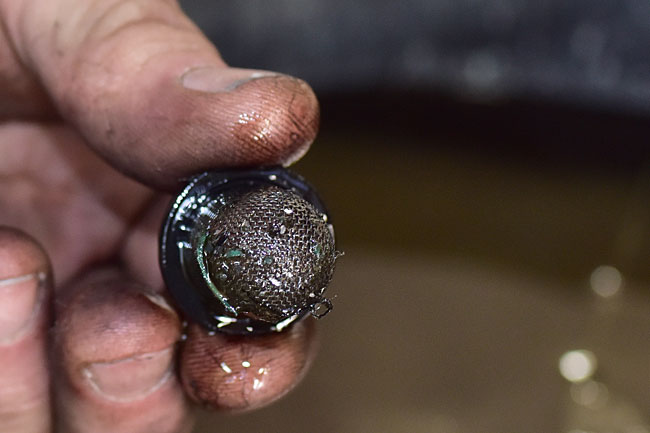
When you remove the oil strainer for the first couple of oil changes (as the engine is breaking in), you will see more than a few metallic particles and probably some plastic adhesive material (the green stuff) on the strainer. This is normal, so don’t be alarmed by it. When I’ve done the first oil change on most of my other motorcycles, it looked like someone swept up the floor in a machine shop and dumped the sweepings into my crankcase. It’s normal. When the engine is breaking it, wear occurs, and what you see in the photo above is the result.
Clean the strainer. WD-40 works well, because you can direct the spray into the strainer from the inside and blow the filtered particles off. If you wipe them off with a shop rag, take care not to deform the strainer.
-
After all of the oil has drained from the crankcase, insert the cleaned strainer into the spring/cap assembly, as you see below.
-
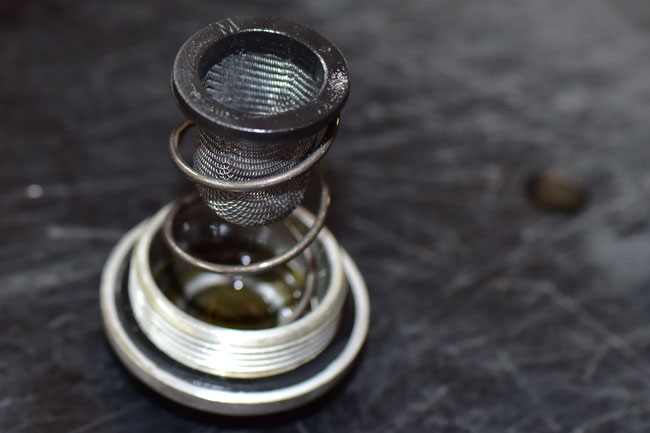
Reinstall the strainer, the spring, and the strainer cap.
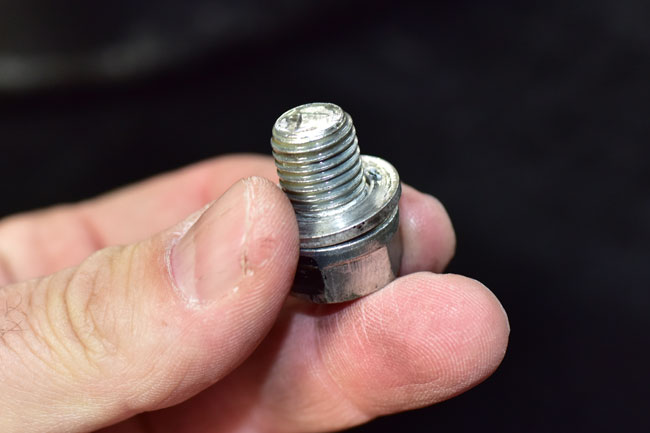
Reinstall the oil drain plug.
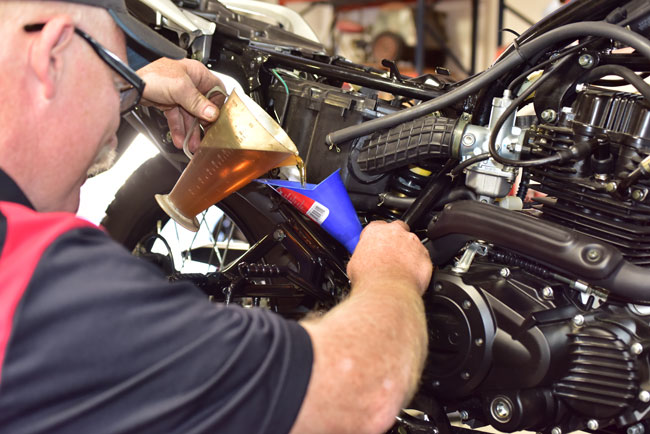
Pour 1.2 liters of oil into the oil fill port on the right side of the motorcycle. On the motorcycle you see in the photo below, we were doing lots of other stuff, so don’t think you need to remove the tank, the seat, the body panels, etc. All you need to remove during an oil change are the things described in the preceding paragraphs.
-
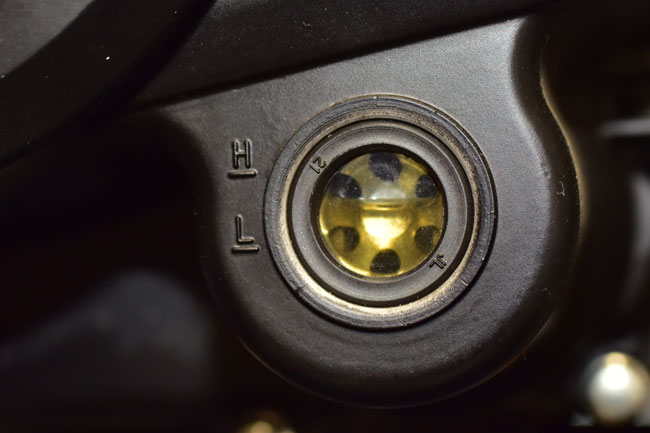
1.2 liters is about 1.3 quarts. If you’re like me, you don’t have a graduated beaker in your garage, so the best way to get the right amount of oil in the engine is to pour in a quart, and then pour that last 0.3 quarts in at a slow rate keeping an eye on the oil viewing port (on the right side of the engine). When you have 1.2 liters, the oil level will be between the L and H marks when the bike is vertical (off the sidestand), as you see below.
-
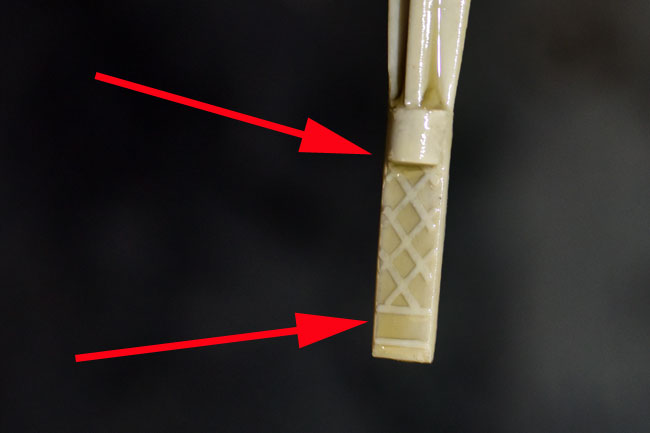
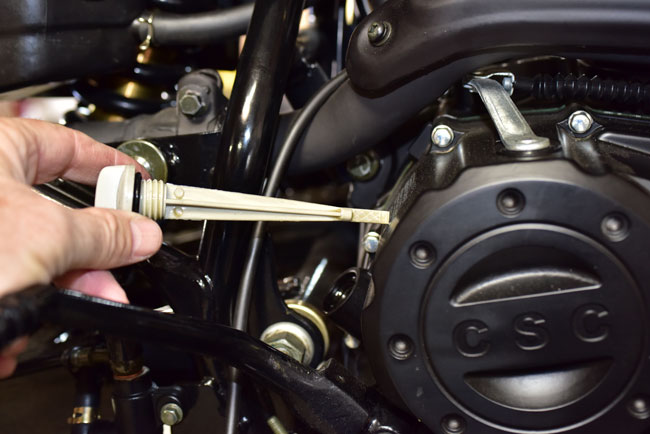
Start the engine, let the bike warm up, and then check the oil again. You can also check the oil with the dipstick. The proper way to do this is to let the engine warm, shut the ignition, remove the dipstick and wipe it clean, wait one minute, hold the bike vertical, and then reinsert the dipstick without screwing it into the engine. The photo below shows that last part.
-
Withdraw the dipstick and check the oil level. It should be at the upper level of the cross-hatched area on the dipstick (the oil should come up to the upper red arrow shown in the photo below).
-
-
And folks, that’s all there is to this one. After you’ve done this a couple of times, you’ll find changing your oil to be a 10 minute job. It’s easy.