This maintenance tutorial focuses on auxiliary lighting installation. We offer three different auxiliary lighting systems. The installation is the same for any of the three. We’ll show the installation using our largest auxiliary lighting system.
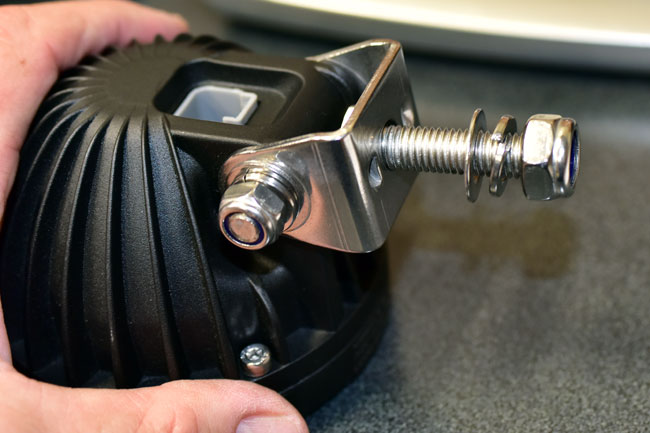
Your lighting kit will come with two lights, the mounting hardware, the bar mount brackets, and the wiring harness for each light. Each light will look like this…note the self-locking nut, the lock washer, and the washer on the lights’ threaded mounting post.
-
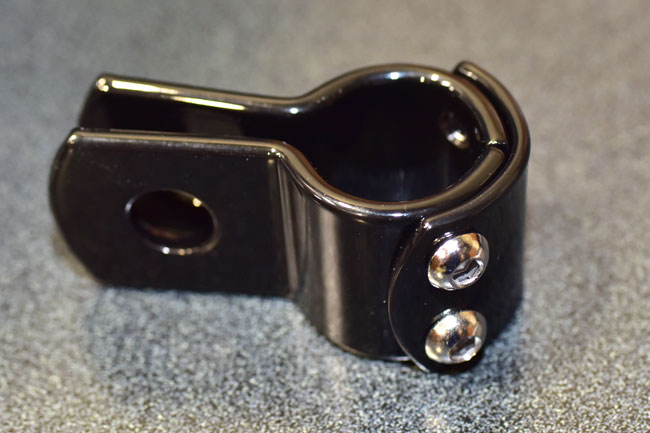
Here’s what the mounting bracket looks like. You will have two of these.
-
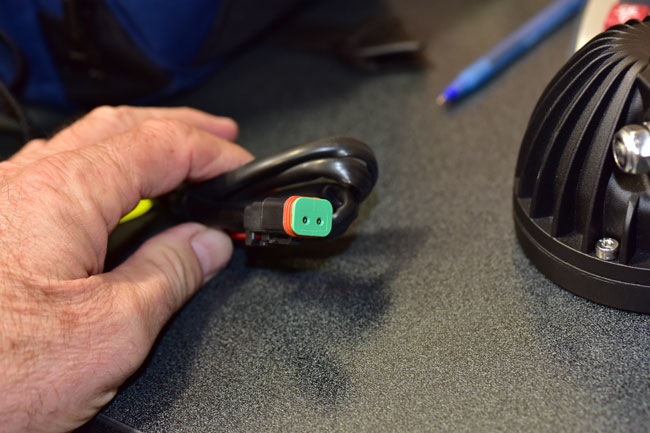
Each light has a wiring harness.
-
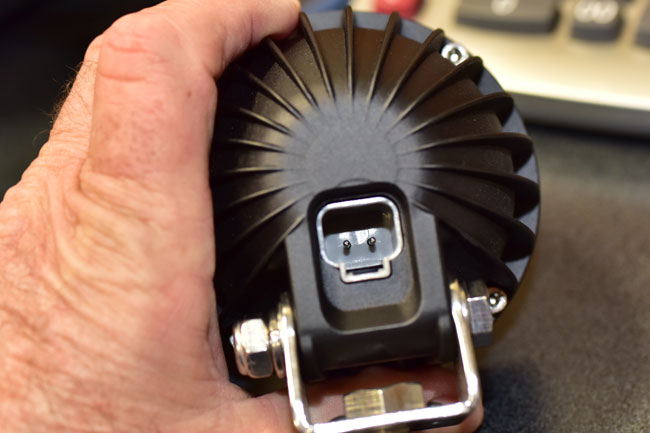
The wiring harness plugs into the back of the light.
-
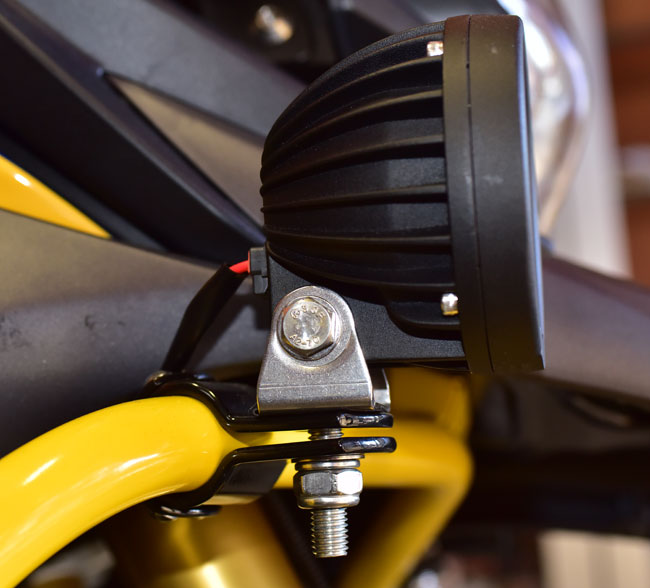
Remove the rear seat, the front seat, the body panels around the fuel tank, and the fuel tank. I usually wait to do all of this until the fuel tank is relatively empty, as it makes the tank easier to remove. You’ll need to plug the fuel hose emerging from the tank so it will not leak fuel once the tank has been removed.Mount the headlight on the engine guards, with the mounting bracket and the hardware arranged as shown.
-
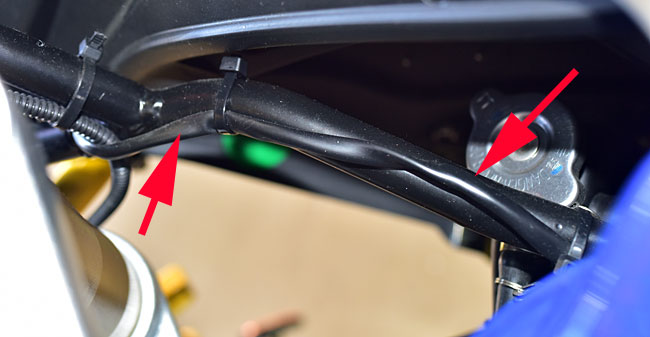
Run the harness for each light along the headlight mounting frame as shown in the photo below. Secure it to the frame using electrical tape or zip ties (not provided with the lighting kit).
-
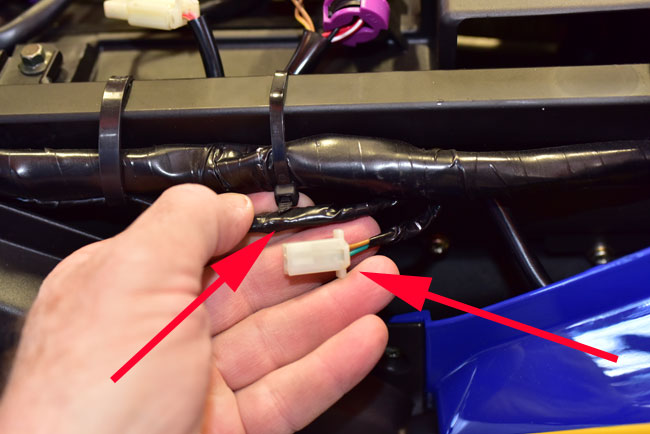
Run both lights’ harnesses along the motorcycle frame and secure them such that they will not interfere with the reinstalled fuel tank or seats. You’ll want the harnesses to emerge along the frame on the left side of the motorcycle beneath the front seat in the area where the two accessory plugs are located.Splice the positive leads from both lights together, and then do the same for the negative leads.Select one of the accessory plugs controlled by the O/A1/A2 right-handlebar-mounted switch. Cut the plug off and connect the powered lead to the positive spliced leads from the auxiliary lights (that’s the red wires from the lights). Similarly connect the ground lead to the negative spliced leads from the auxiliary lights (that’s the black wires from the lights). Insulate the connection area with electrical tape and secure the harness to the frame.
-
Check the lights for proper operation with the O/A1/A2 switch. Reinstall the body panels, the fuel tank, and the seats.
Provide power to the lights and adjust their aim by rotating the lights either left or right and either up or down on the mounting brackets. Tighten the light mounting hardware once the lights’ aim is adjusted to your satisfaction.
And folks, that’s it! You’re ready to light up the night and ride!