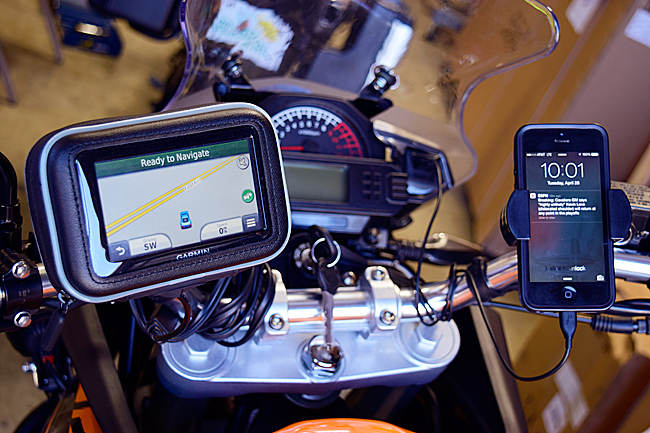
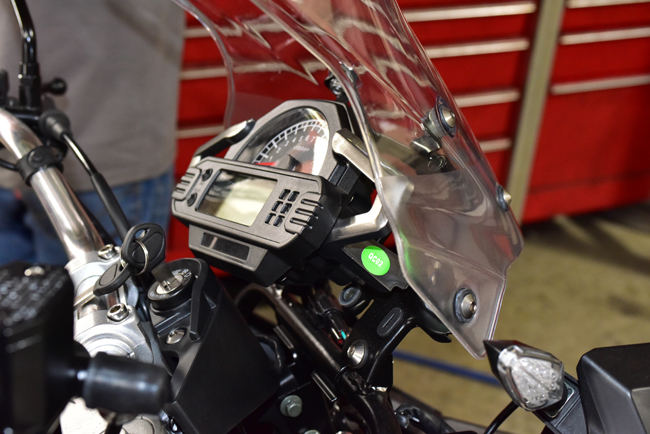
This maintenance tutorial focuses on installing our instrument cluster-mounted accessories outlet kit. The instrument cluster-mounted accessories kit includes a 12V cigarette-lighter-type receptable and a 5V USB receptacle. It’s a neat setup, and it allows you to convert your bike’s dash to something looking like a NORAD control room, as you see on our good buddy and intrepid explorer Pete’s RX3 cockpit…
-
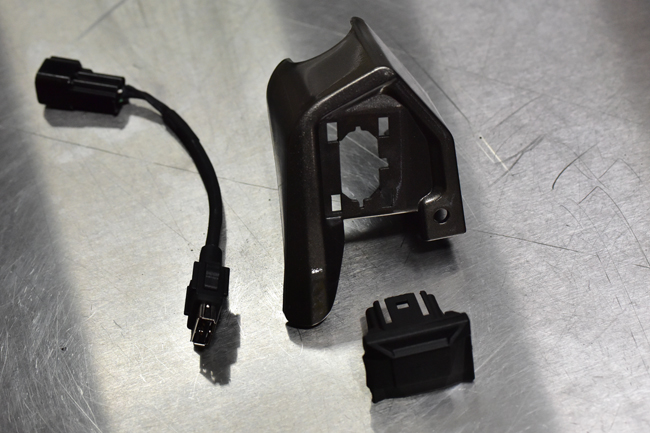
The accessories installation kit consists of six components, as you see below…the green resistor, the two instrument cluster wings, the 12V accessory port, the 5V accessory port cover, and the 5V accessory port.
-
-

-
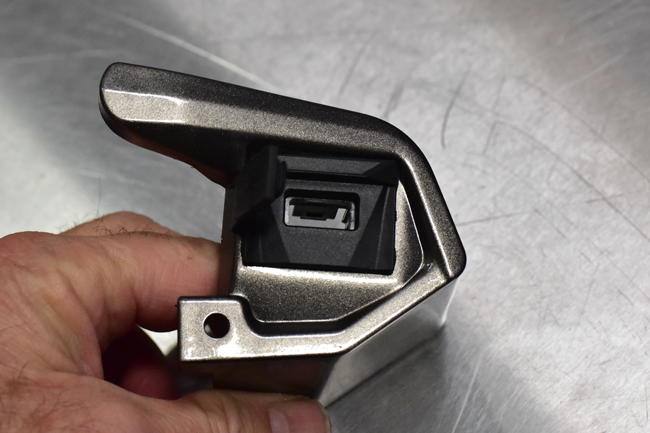
The first step is to insert the 5V USB accessory port into the right instrument cluster wing, as you see below. It will snap into place.
-
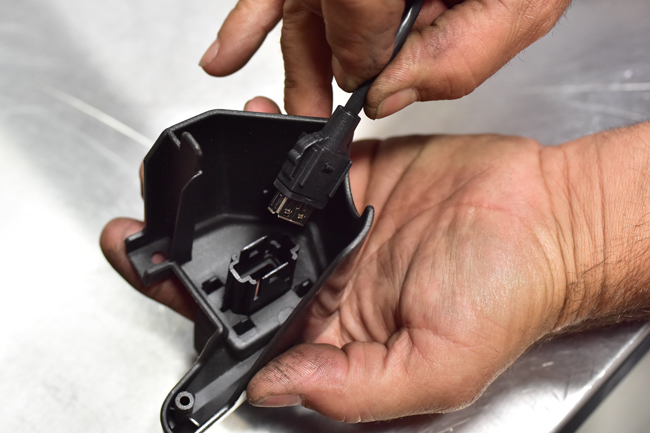
After you’ve done that, install the USB harness. The plug is indexed (so it will only insert one way). Make sure it is fully seated.
-
-
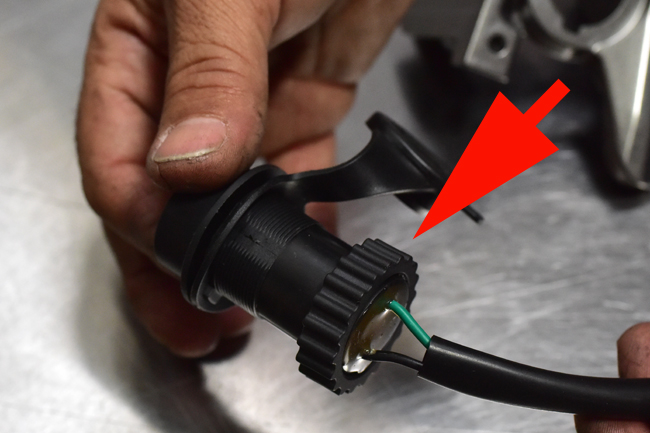
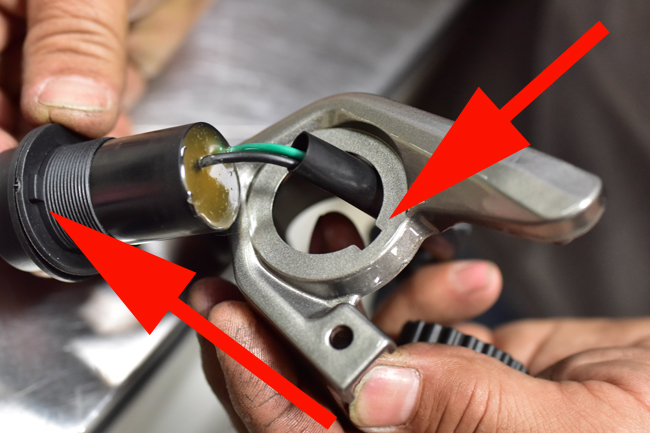
Let’s now assemble the left side. You’ll see a big knurled nut on the back of the accessory outlet. Unscrew it fully and remove it.
-
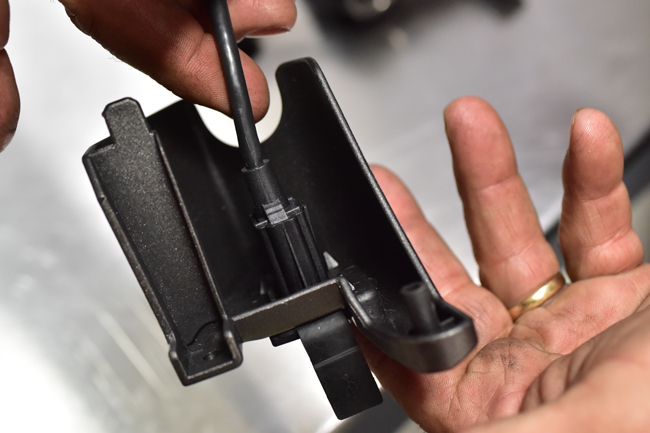
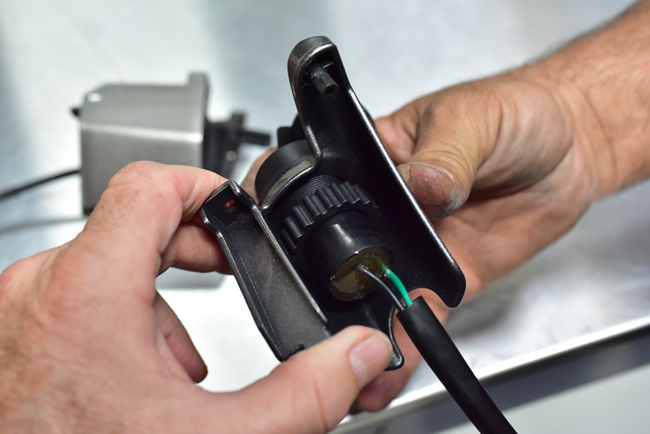
Install the accessory outlet into the left instrument cluster wing. Note that the outlet has an indexing key on it, which will align with a corresponding slot in the instrument cluster wing.
-
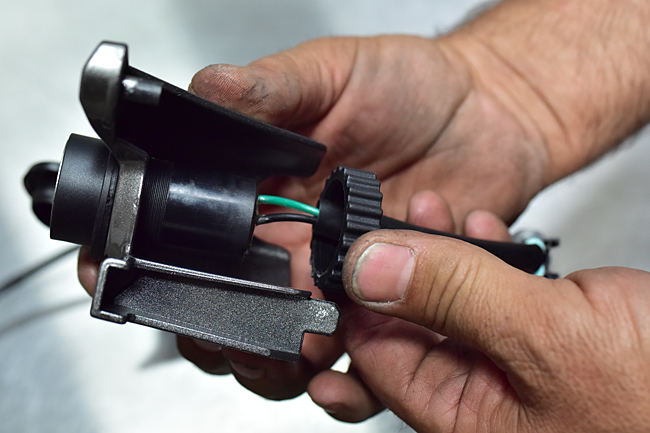
Reinstall the large knurled nut and fully thread it on to the connector port.
-
-
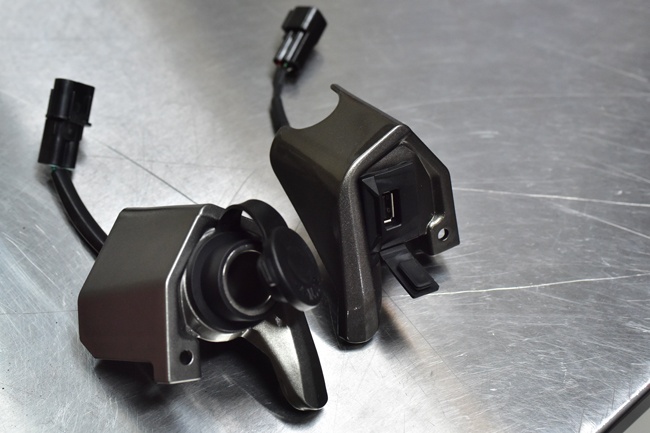
At this point, both dash wings will be assembled as you see in the photo below.
-
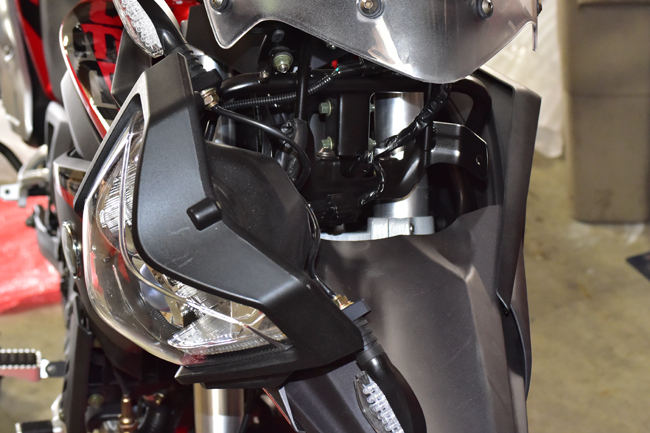
The next step is to remove the headlight nacelle. Remove the two Allen screws securing the headlight nacelle. There’s one on either side of the headlight nacelle.
-
Move the headlight nacelle to one side, as you see below.
-
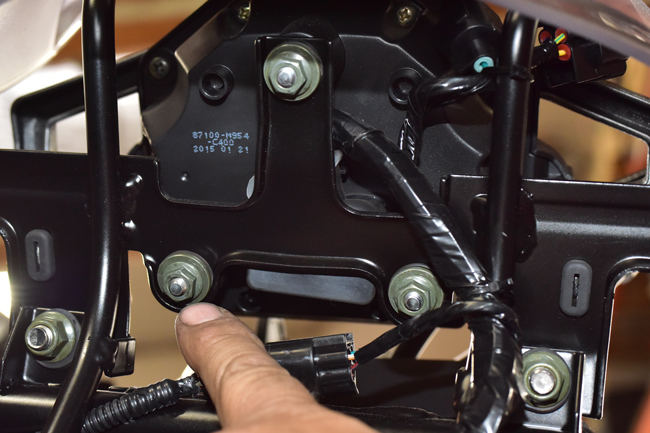
This next photo shows the instrument cluster from the bottom side. Note the three nuts securing the instrument cluster.
-
Remove the three nuts securing the instrument cluster.
-
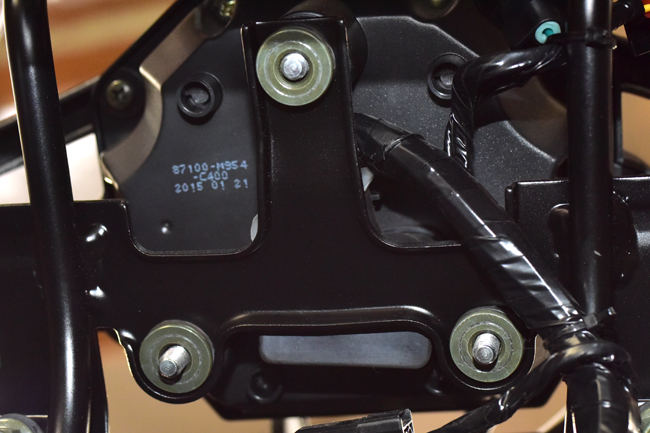
Once you’ve removed the three nuts shown above, the instrument cluster can be pulled away from its mounts.
-
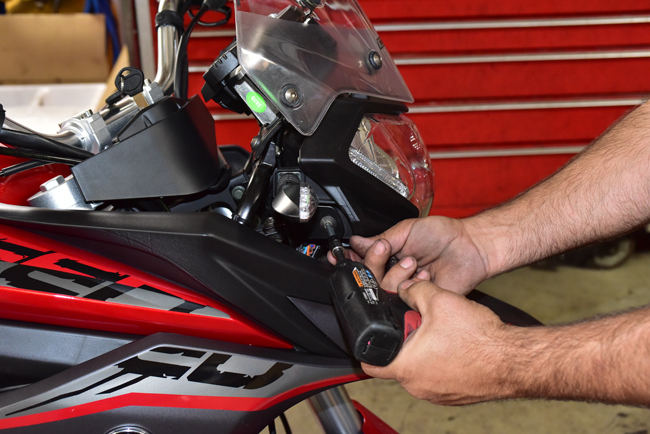
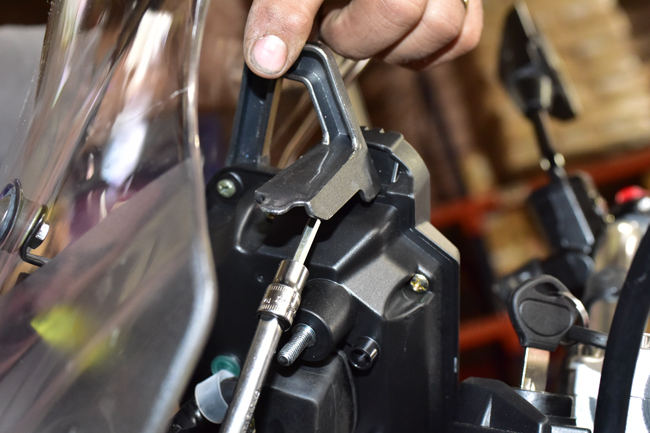
You don’t need to remove the windshield (or even loosen it) to install the accessory outlets. Reach under the windshield with an Allen wrench to remove the instrument cluster wing lower Allen bolt.
-
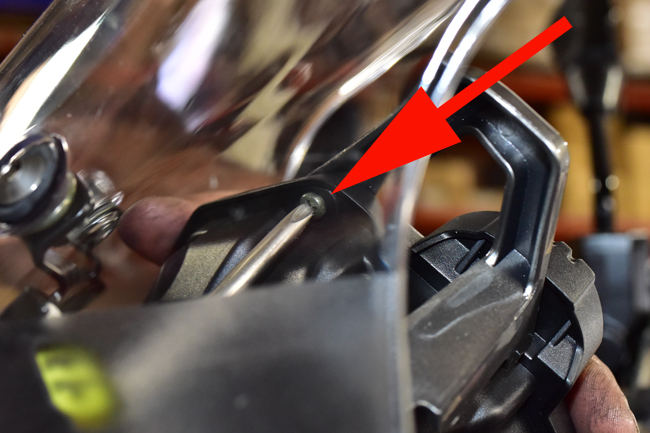
Then remove the Phillips-head screw from the upper instrument cluster wing mount. Once you’ve done this, you can remove the instrument cluster wing.
-
Take the new instrument cluster wing with the 12V accessory port and attach it to the instrument cluster where the old instrument cluster wing was removed.
-
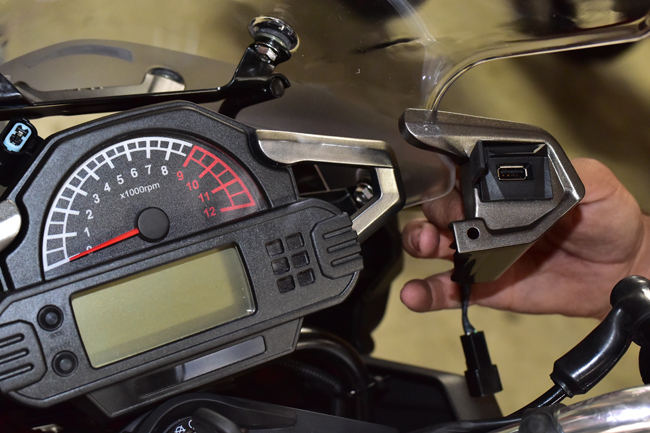
Repeat the process on the other side of the instrument cluster to install the USB accessory port and its instrument cluster wing.

-
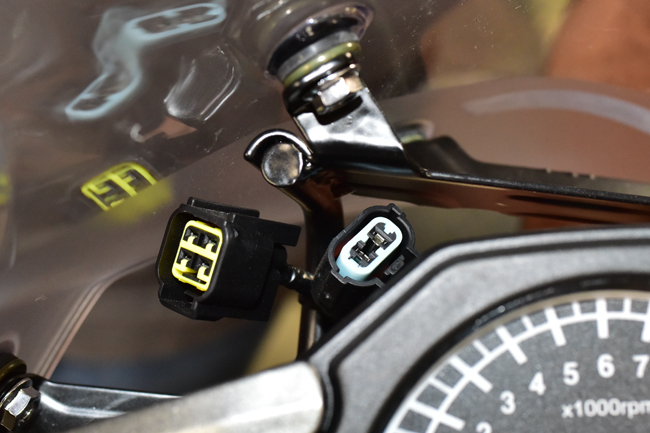
After installing the new instrument cluster wings with their accessory ports, note the connector plugs just forward of the instrument cluster. These are on every CSC RX3 motorcycle. We included the upgraded main wiring harness with these connector plugs on all of our motorcycles.
-
Connect the plugs from the harnesses on your new accessories outlets to these connectors, as shown below.
-
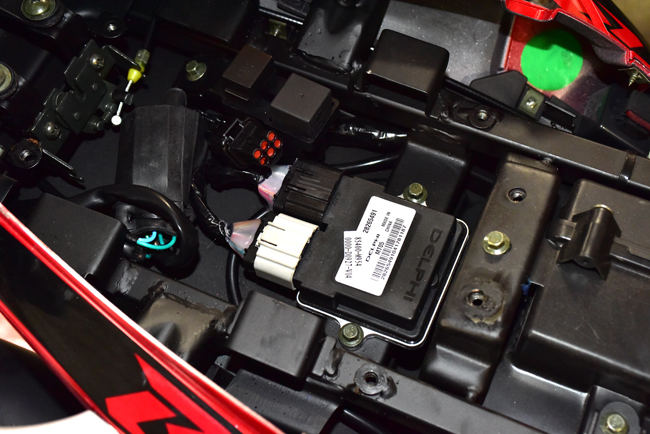
After you’ve done the above, reinstall the three nuts securing the instrument cluster to its mounting points, and reinstall the headlight.Remove the rear sight, the front seat, and the tray covering the electrical components beneath the rear seat.

-
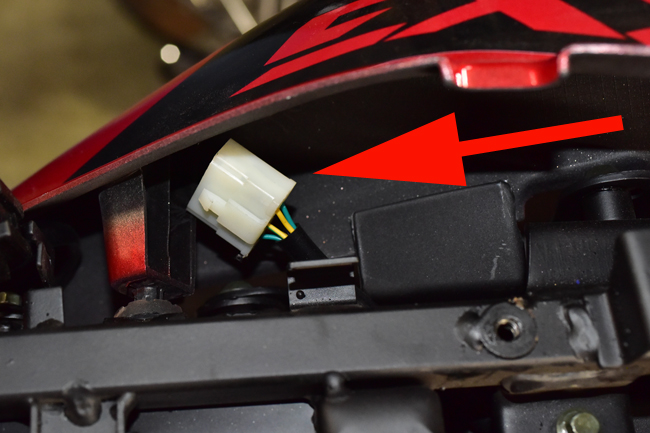
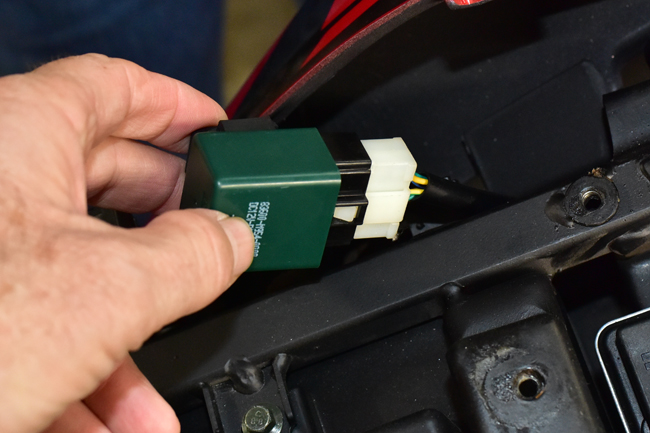
After you’ve done the above, you will see a large white connector plug just inside the motorcycle’s right rear body panel. This is also included with every CSC RX3 motorcycle.
-
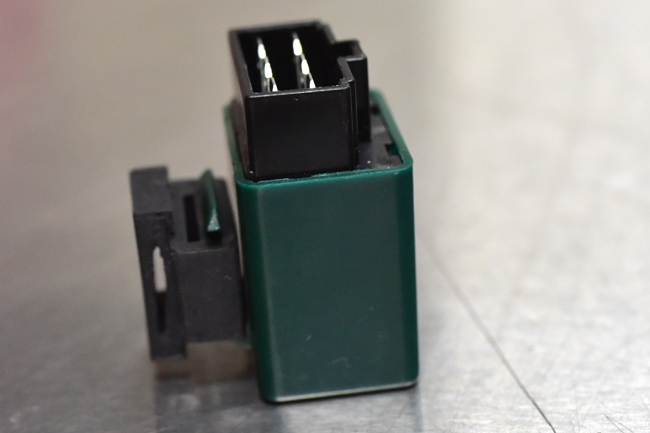
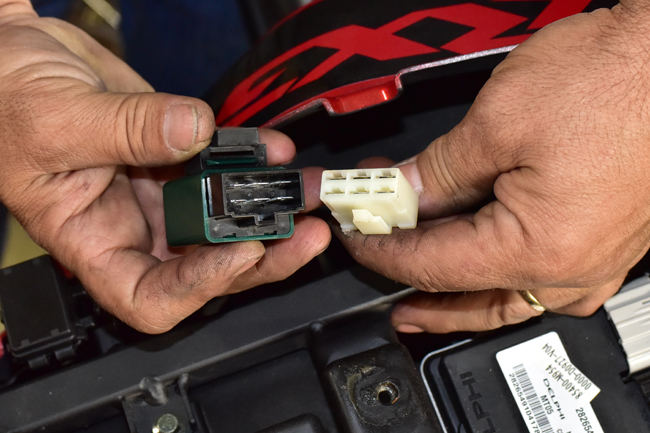
Insert the green electrical resistor (shown on the left of the photo below) into the white connector.
-
It should look like this.
-
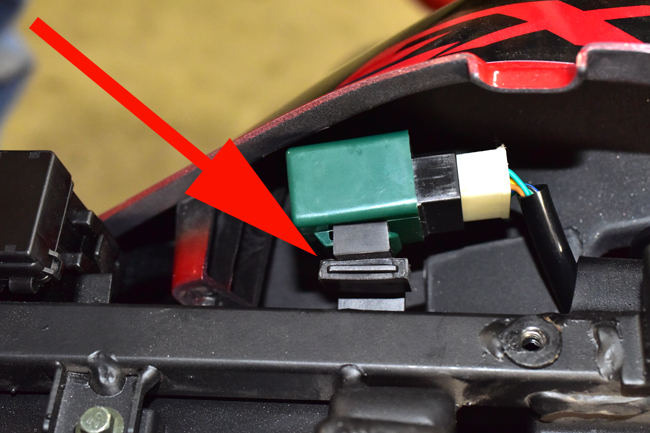
After you have connected the resistor to the connector plug, insert the resistor’s rubber frame over the frame tab on the right rear subframe, as shown below.
-
And folks, that’s it! Reinstall the tray covering the electrical components, the front seat, and the rear seat, and let’s ride!